Are you tired of using your terminal to manage your Docker containers? I was, and that’s when I found Portainer. It offers an easy-to-use interface for managing Docker containers. Plus, it even works in high-availability setups.
Why I Don’t Want to Live in a Terminal
While I didn’t start off with Docker-CLI (I started using Docker in Unraid), I’ve had my fair share of experience with it. I can appreciate the benefits of using a terminal, as it can be clutter-free, and the skills are generally transferable between operating systems. However, I find that it’s just not nearly as fun or simple to manage my Docker containers in a terminal environment.
With Docker-CLI, everything is terminal-based. The only consistency is the terminal, and everything requires a command. I know, I can already hear you yelling at your monitor, “That’s the point!” However, I just really think that sometimes a nice UI can be handy.
With my primary experience using Docker being based in Unraid, I was already used to having a proper user interface for starting and stopping containers, restarting containers, making adjustments without having to re-write a command, and more. So when I planned to migrate away from my Unraid server for Docker to a dedicated application server, I knew I needed a different solution than Docker-CLI.
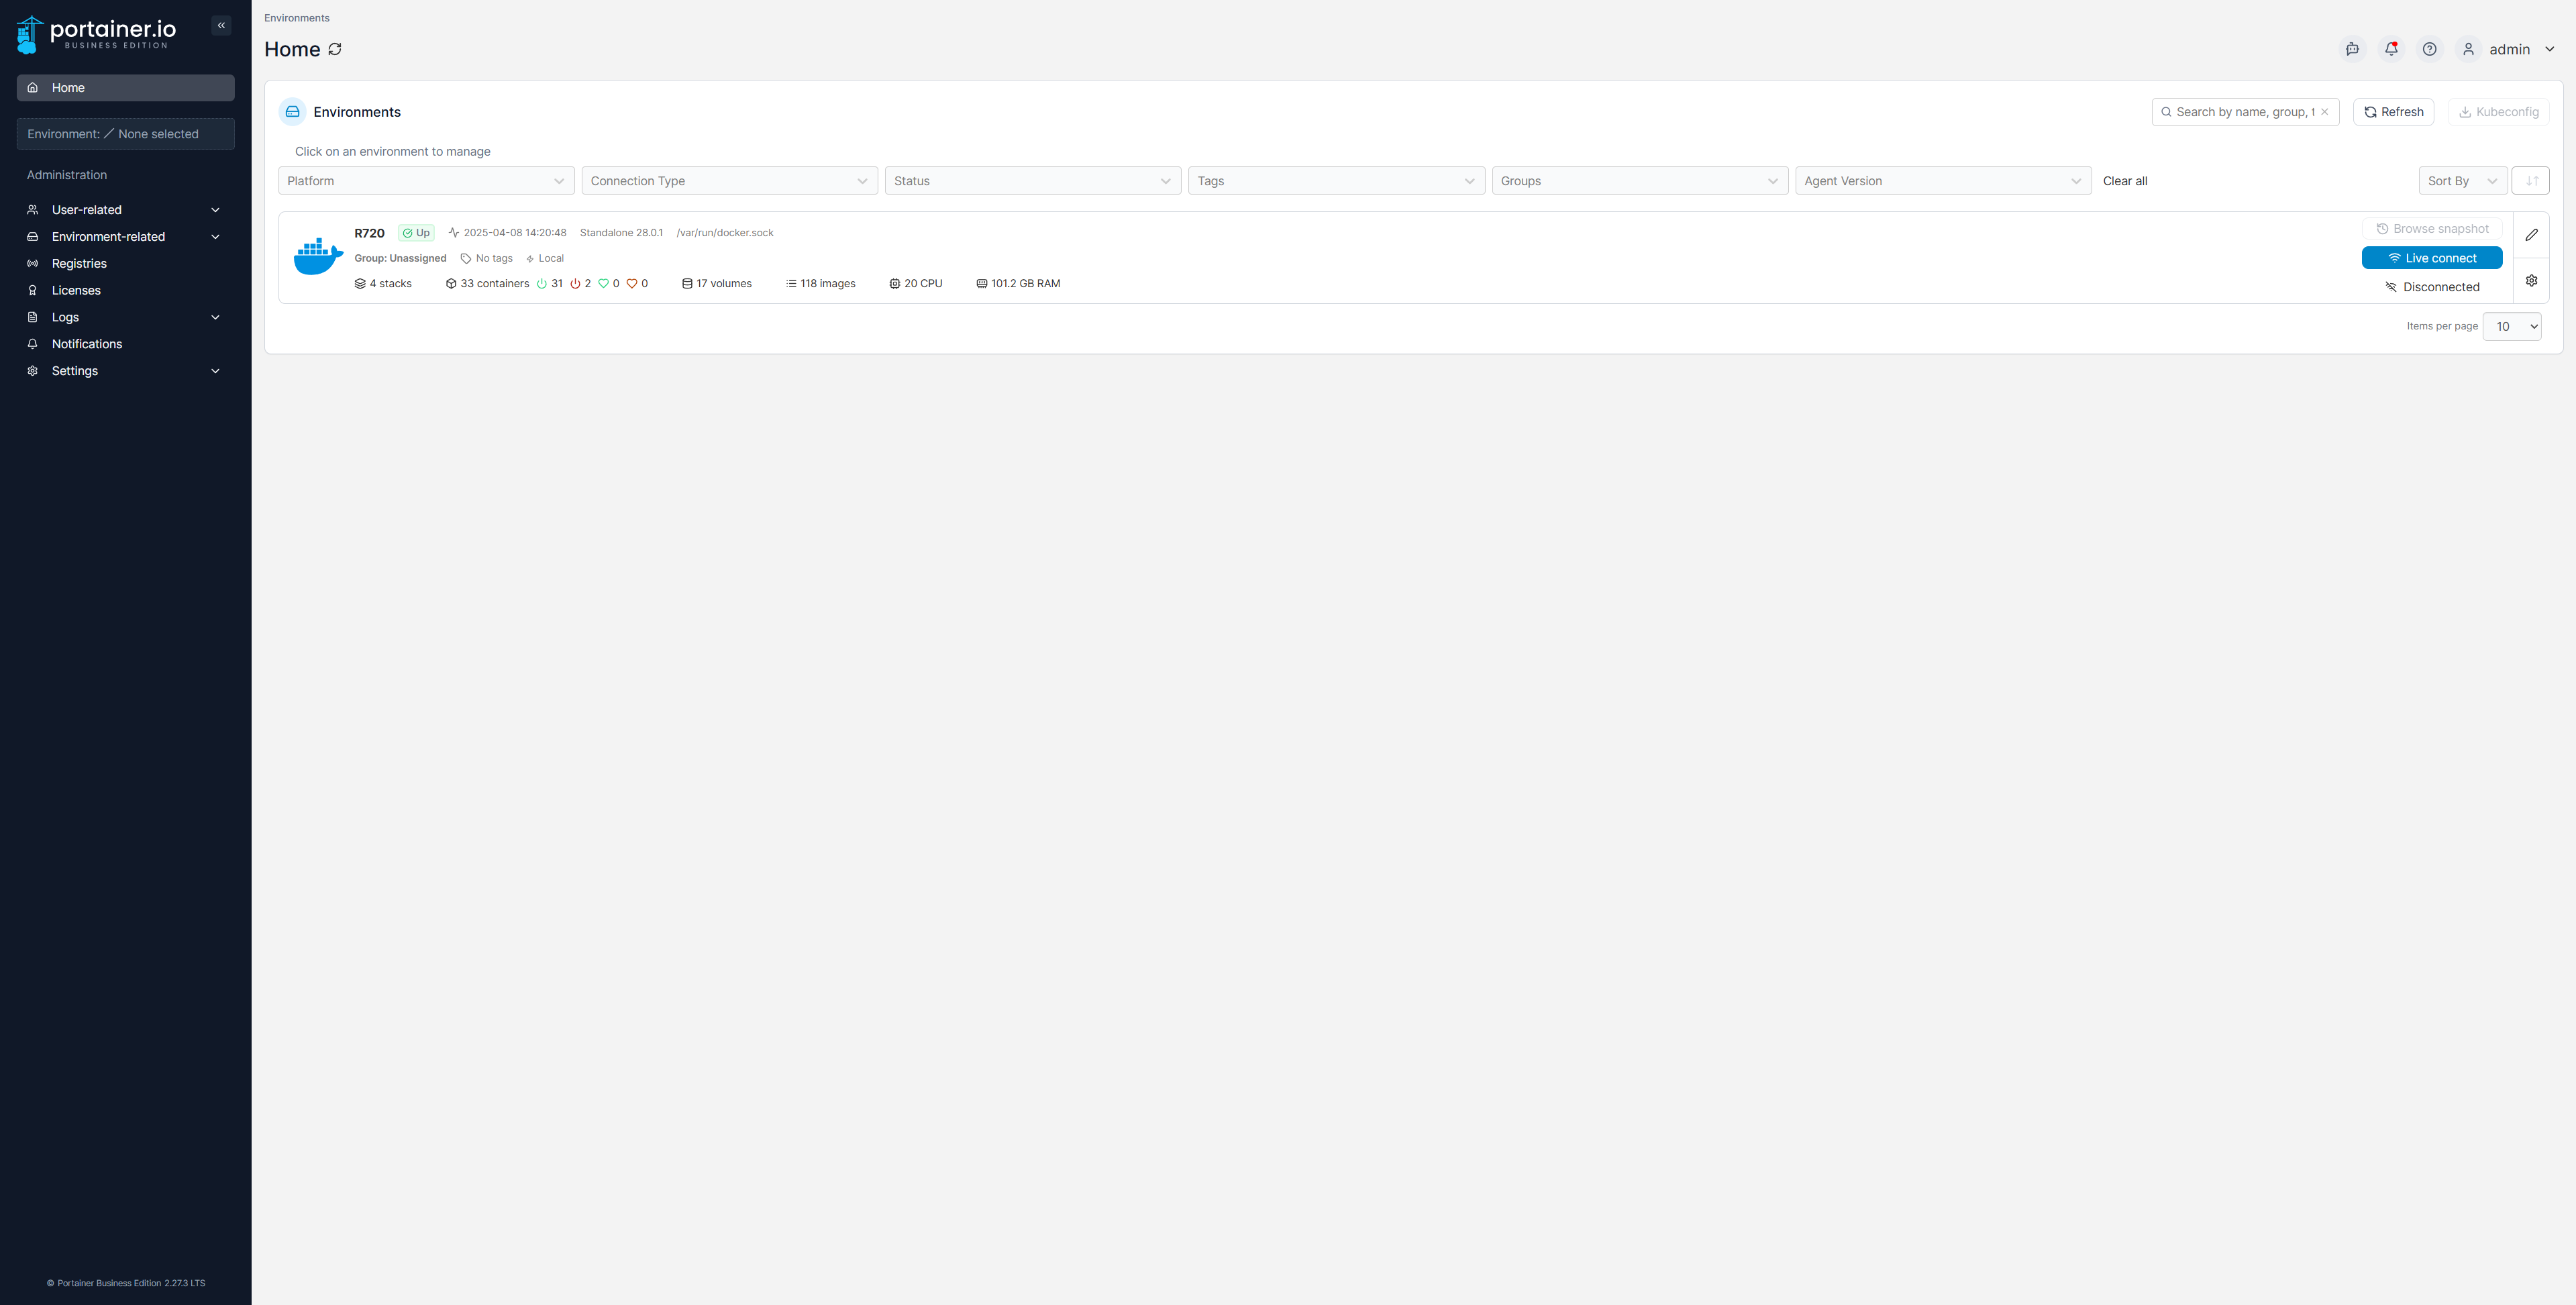
Portainer Delivers a User-Friendly UI to All Docker Installations
If you’ve never heard of Portainer before, it’s actually a Docker container itself. Portainer hooks into your Docker’s sock, which is a special file that allows it to talk to the Docker engine and manage your containers.
Once you have Portainer installed inside your Docker instance, it’ll open up its web UI for you to use to manage your Docker containers from. By default, the web UI is accessible on port 9443 (port 8000 is also opened but not used for any web interfaces).
The web interface is behind an SSL certificate, which is self-signed at first. I put my Portainer instance behind my reverse proxy to get rid of the SSL error, but it’s easy enough to just click that you accept the risks because you understand that it’s a self-signed certificate.

Related
Docker for Beginners: Everything You Need to Know
Learn to use this incredibly popular development tool.
You can actually use Portainer to manage both existing and new Docker containers. It can’t edit itself (without making some changes to a configuration file) but Portainer is able to control everything else about your Docker environment through its easy-to-use interface.
This is primarily why I decided to use Portainer. I really didn’t want to live within the Docker-CLI and terminal interface, as I wanted something more user-friendly. Portainer gave me exactly what I was looking for, and it only took a few minutes to get up and running, too.
Portainer Can Be Used in Conjunction With Docker-CLI
Because Portainer connects to the primary Docker sock, it is able to be used at the same time that you use Docker-CLI. There have been several times when I couldn’t figure something out within Portainer, so I went to Docker-CLI to fix it.
Every time I did this, it worked great. I did eventually figure out how to manage things like networks, volumes, and more in Portainer, which meant I didn’t have to keep going back to Docker-CLI anymore. However, being able to modify a container in Docker-CLI and Portainer at the same time is pretty nice, all things considered.
This also means that you can use Portainer as a stepping stone if your goal is to migrate fully to Docker-CLI. It also works the other way if you want to migrate away from using the terminal for everything, but are already familiar with how Docker-CLI runs. Since I was coming from another Docker web interface, it was nice that I didn’t have to learn Docker-CLI to run everything and I could just smoothly transition into Portainer, too.
Portainer Offers Both Docker Run and Docker Compose Deployments
Online, you likely won’t find many Portainer-specific instructions for deploying Docker containers. They do exist for some containers, but most instructions that you come across will be either for Docker-CLI or Docker Compose. This was honestly a slight shock to me. Coming from Unraid, where specific instructions exist for many Docker containers, Portainer just assumes you know how to set things up yourself.
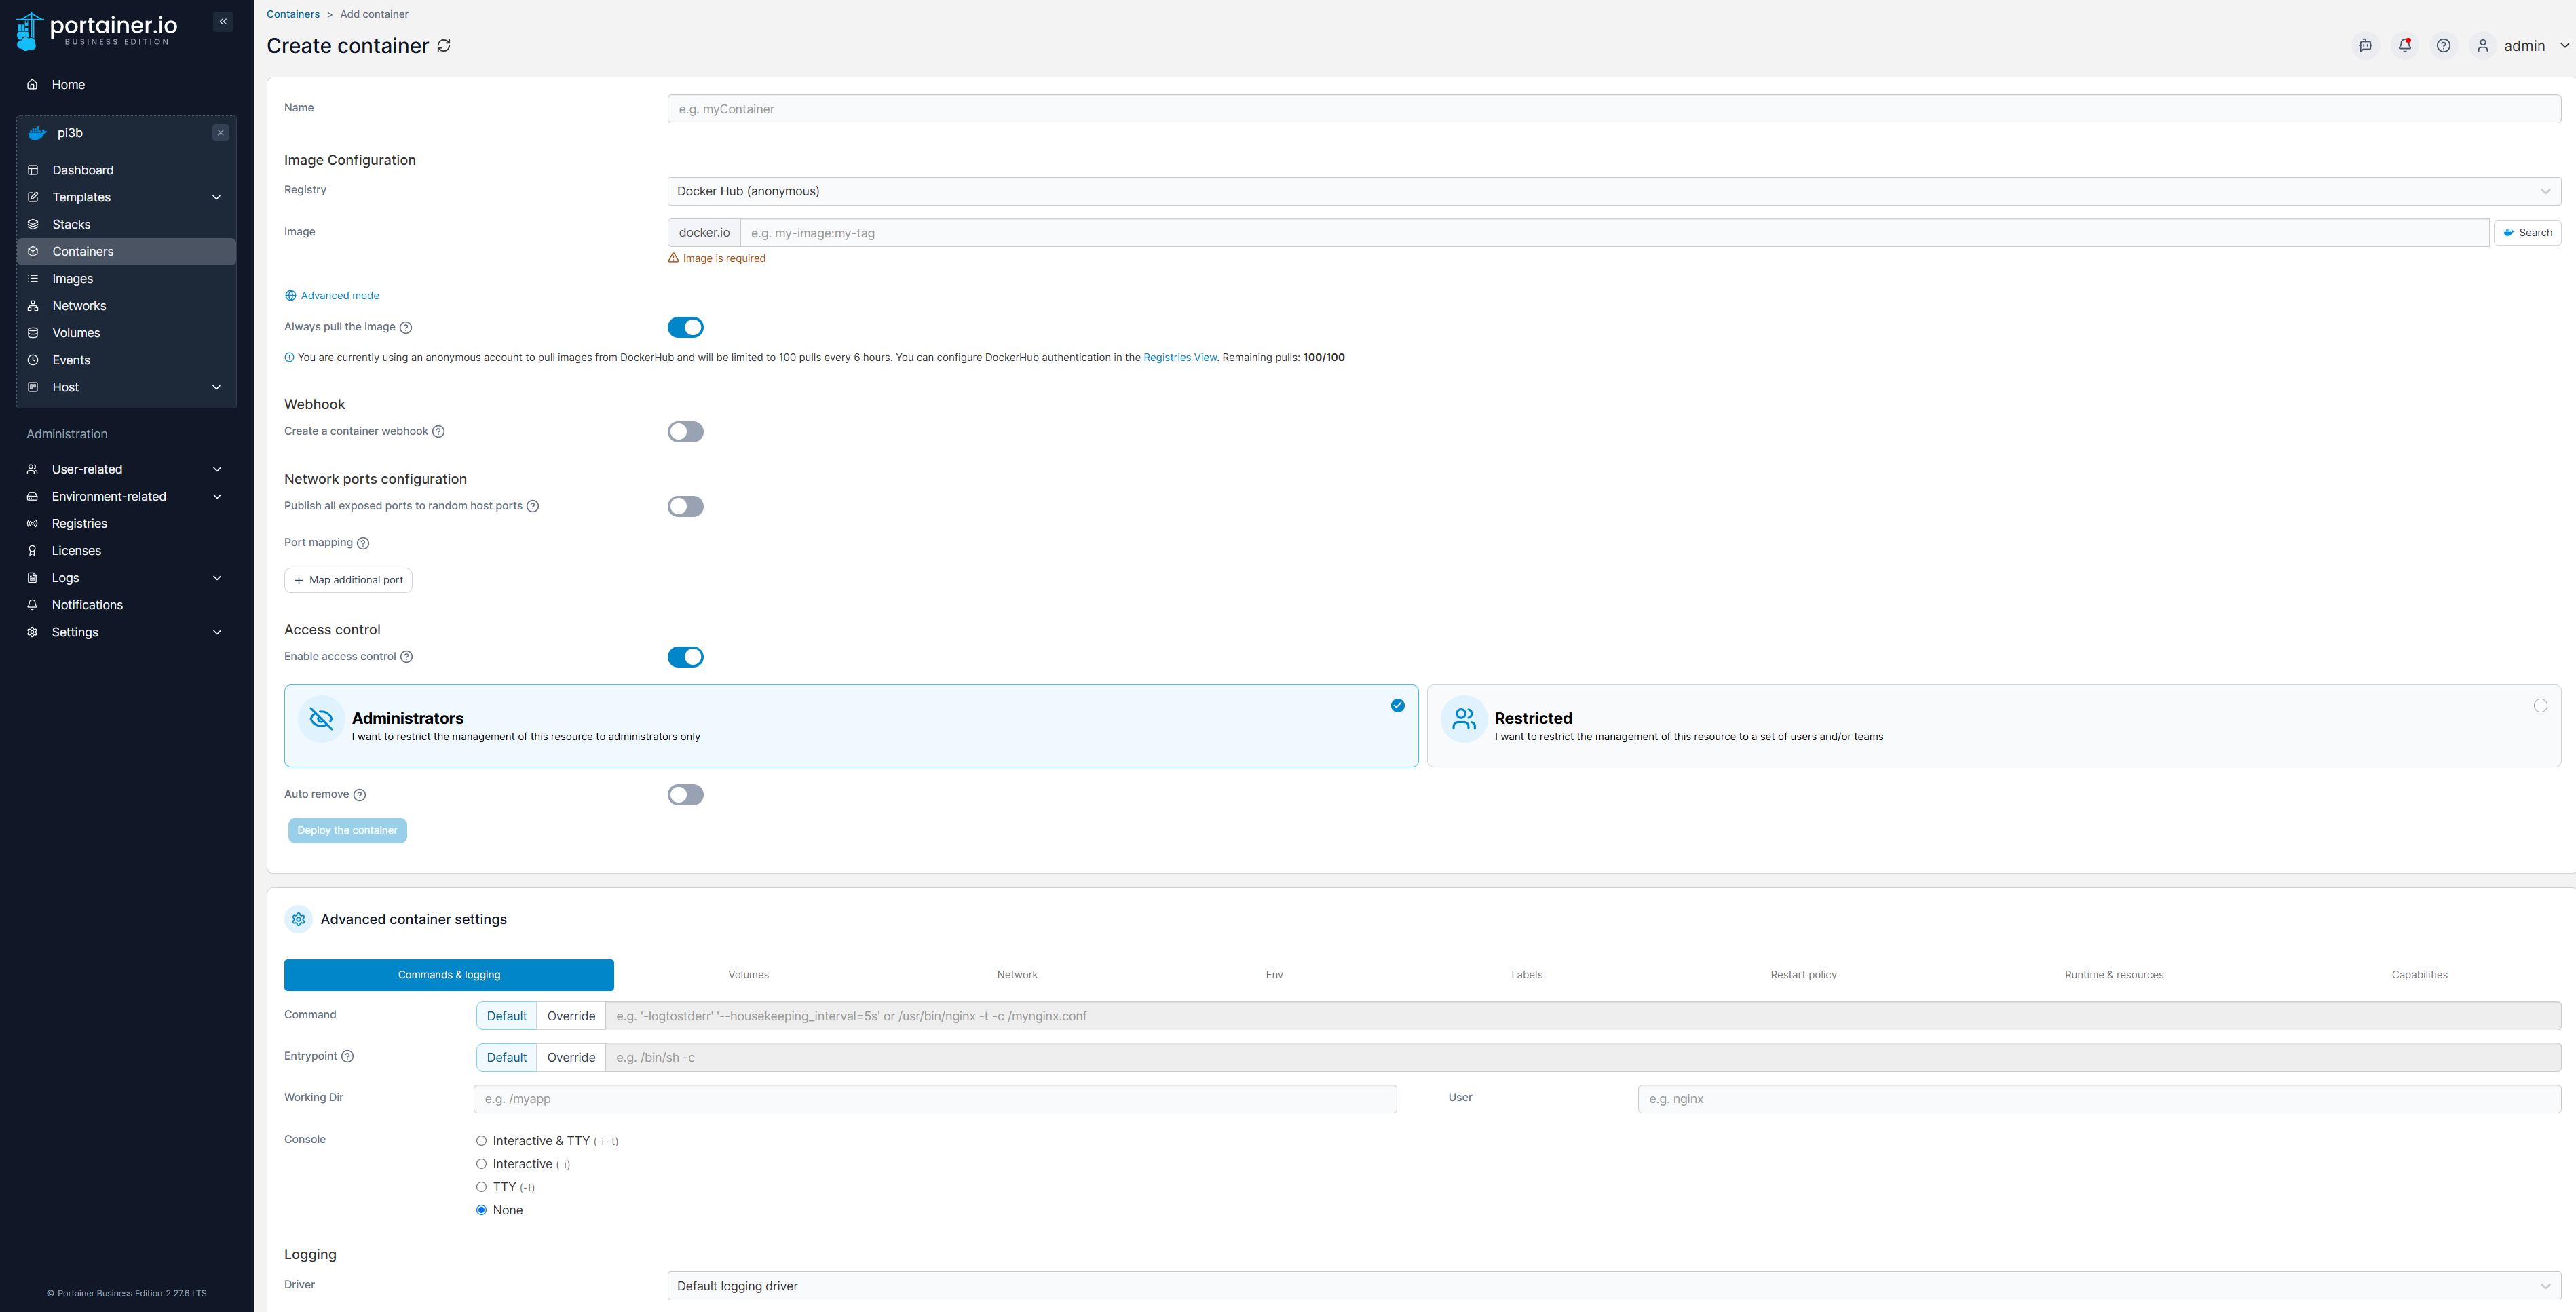
Thankfully, I have prior experience with Linux and the terminal, as I’m able to either translate the Docker Run or Docker Compose instructions to Portainer’s standard deployment mechanism. The standard way to add a single container in Portainer uses a well-thought-out UI to enter everything into. It’s also pretty easy to translate existing commands to that interface.
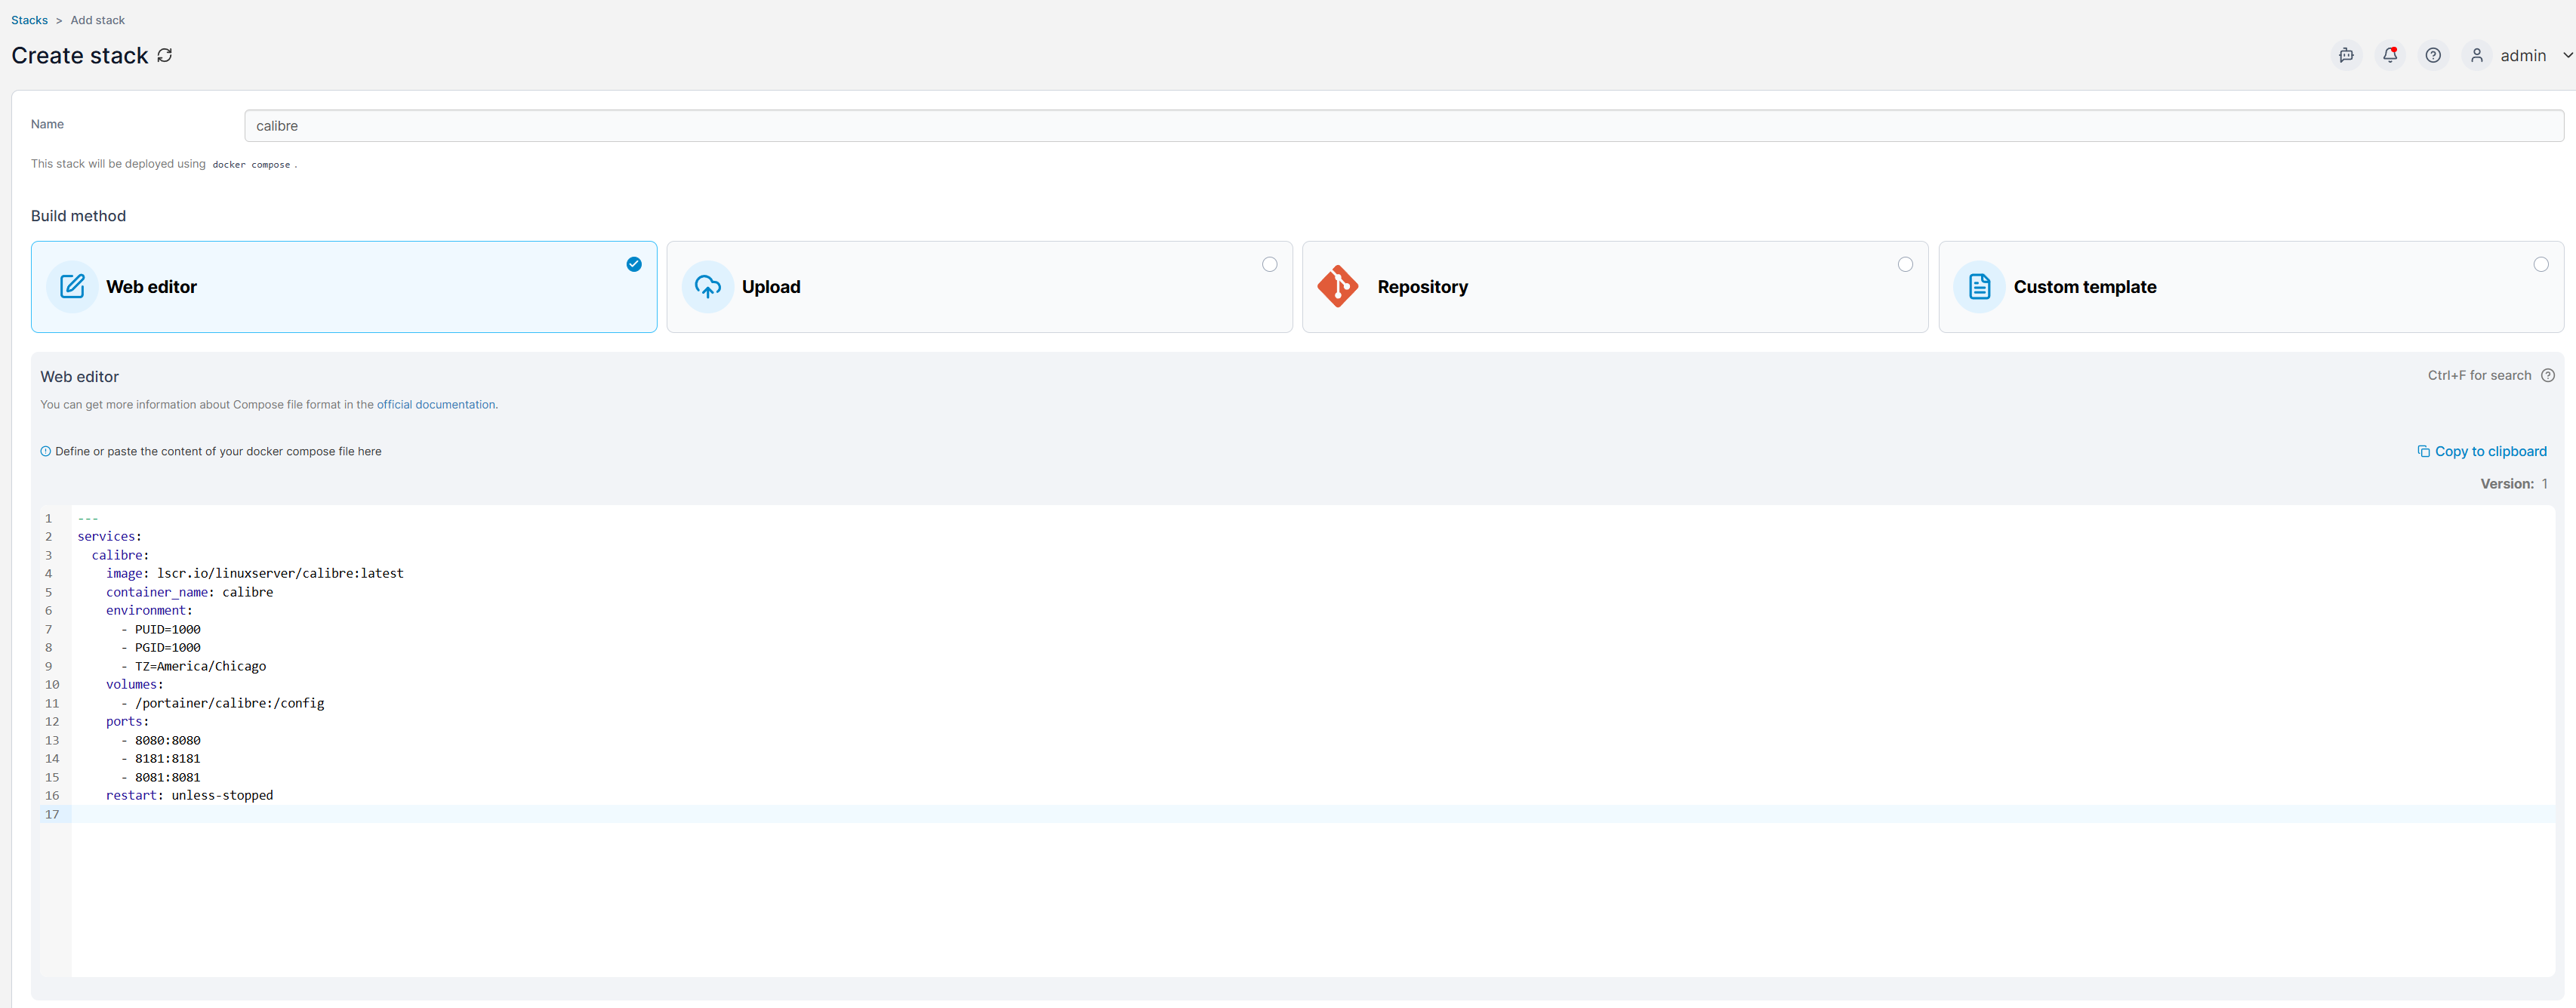
However, if you want to stick to using Docker Compose, that’s where Portainer’s Stacks come in. Stacks is simply an interface for Docker Compose. I have a few things running in Stacks—mainly containers that were difficult to separate because of how Docker handles networking and communication between containers.
I try to avoid Stacks when I can because those containers don’t communicate well with other containers not launched as part of the Stack. Every Stack that you launch can easily communicate within itself, making cross-talk between multiple databases and such a simple feat. So, for certain services (like Immich), I use Stacks. I try to launch almost everything else standalone, though, it’s just simpler that way for me.
If you choose to use Stacks, each container that is launched is available under the standard container view in Portainer. There, you can modify aspects of individual containers without having to re-launch the whole stack. Just know that if you do relaunch the whole Stack at some point, it’ll revert to the original setup and not anything you modified in the container view.
Portainer Offers Simple High-Availability Setups
While I’ve not dipped my toes into it yet, Portainer actually makes high-availability Docker pretty simple. It leverages Docker Swarm for this, and allows you to deploy multiple servers that can run your various containers. This is actually one of the primary reasons I went with Portainer. I eventually want to migrate my services off of the large, power-hungry rack-mount server they’re on and go with a few mini PCs in a high-availability setup. Learning Portainer now prepares me for this.
If you’ve not heard of high-availability before, the term refers to a setup that requires at least three computers or servers to run. Ideally, they’ll all be of similar specs and have similar capabilities.
Within a high-availability environment, when one server goes down, the other two pick up the load. This all happens automatically in the background, and means you can service a server with little-to-no downtime.
Whenever that downed server comes back online, it’s added back into the availability cluster and is now part of the redundancy of your services. While three servers is the minimum, you could, in theory, have as many as you wanted for ultra redundant services.

Related
Why a NUC or Mini PC Is the Perfect Homelab Starter Box
Who needs a server room when you’ve got a shelf?
Within a high-availability cluster, you can also specify what serves a specific service is able to run on. For instance, if you only had two of your three servers able to transcode, then you could tell your Plex container to only run on those two servers.
However, if you have Plex set to only run on one specific server, as that’s the only one capable of transcoding, and you take that server offline, Plex will then simply go offline as there will be no suitable candidate for it to migrate to.
Once you have Portainer up and running, check out these 10 Docker containers that I believe every homelabber should run. From simple things like Homepage to Home Assistant, Tautulli, and much more, the list has something for everyone on it.


