
The GEPRC Cinelog30 V3 is arguably one of the best cinewhoops of 2025 for capturing cinematic footage. But like any drone, it’s not perfect. There are a few simple upgrades that can make it even better—such as removing the LED strip, installing GPS, and setting up Rescue Mode.


Check out my full review of the GEPRC Cinelog30 V3: https://oscarliang.com/geprc-cinelog30-v3/
Using ND Filters
Get more cinematic footage by using ND filters. The official DJI ND filters don’t fit in the Cinelog30 frame, so I recommend these low-profile ND filters from BetaFPV—they’re also among the most affordable options available: https://oscarliang.com/betafpv-nd-filters-dji-o4-pro/
Learn how to use ND filters in this guide: https://oscarliang.com/nd-filter-fpv/

Removing LED Strip
If you’re a few grams over the sub-250g limit, removing the LED strip could do the trick—this saves over 4 grams.
It’s really cool that GEPRC includes two sets of prop guards: the default orange one with built-in LED strips, and a black one without LEDs. To remove the LEDs, simply swap to the black prop guards—no need to rip out the LED strip.

Don’t forget to unplug the LED connector located underneath the drone first.


Bonus tip: Go into Betaflight > Modes tab, and remove the USER1 mode (used to control the LED). This frees up AUX4, which you can use for GPS Rescue Mode or other functions.
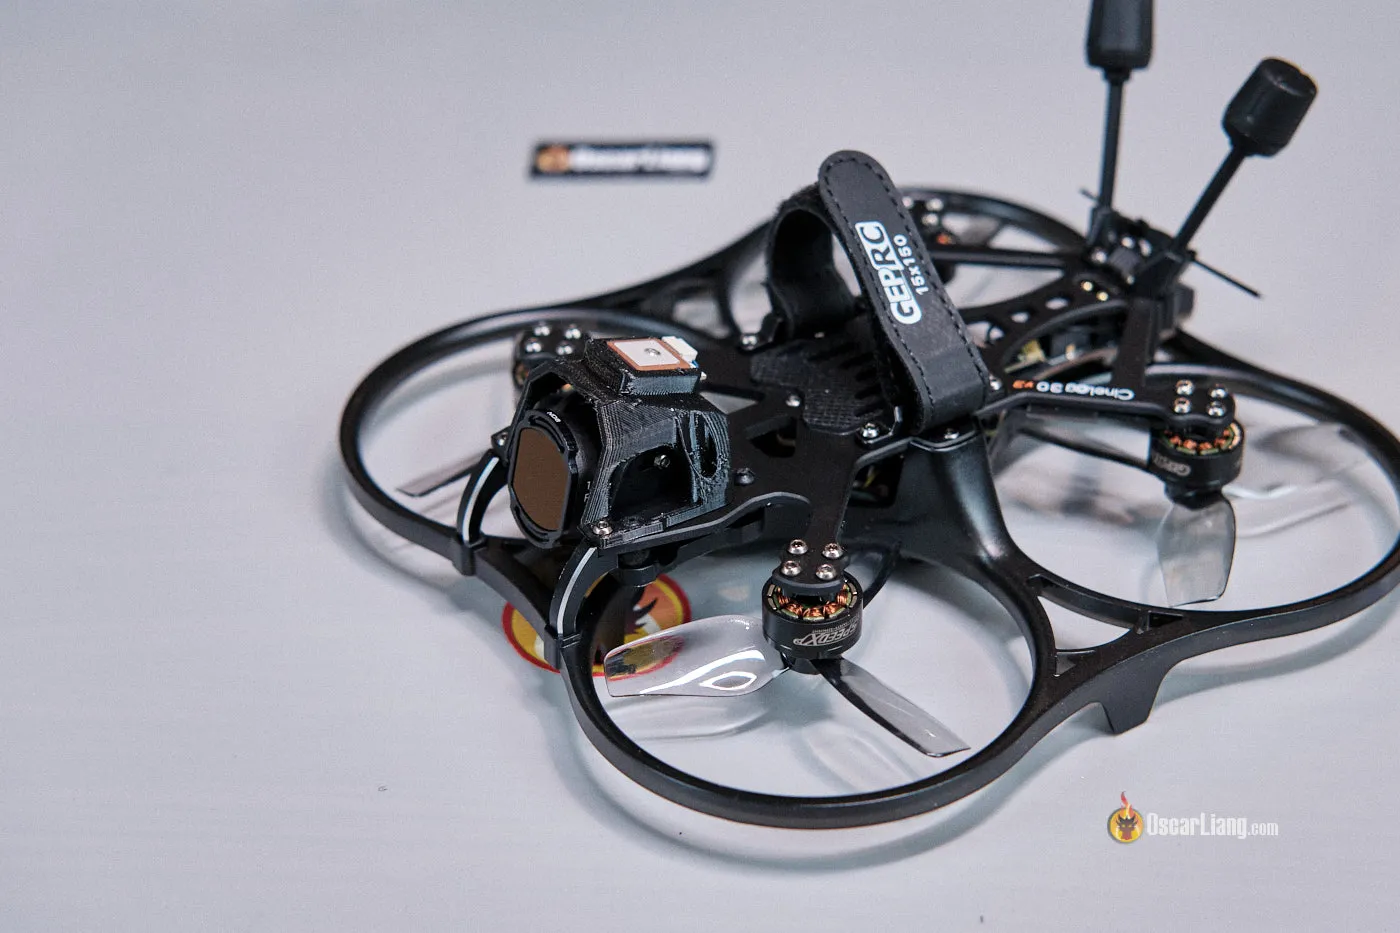
Installing GPS
There’s no ideal spot to mount a GPS on the Cinelog30 V3, so I decided to replace the GoPro mount (which I won’t be using on this cinewhoop) with a GPS mount.
I’m using the Flywoo GOKU Nano GPS V3, paired with this 3D printed mount:
I am using this Flywoo Nano GPS V3 with this GPS mount, download STL file here: https://www.printables.com/model/1247558-geprc-cinelog-30-v3-gps-mount-for-121-gps-12mm-cin
I tested this GPS here, works well I am normally getting 23 satellites: https://oscarliang.com/gps-review/
You can find the Flywoo GOKU Nano GPS here:


If you’re using a larger GPS module (22x22mm), try this mount instead: https://www.printables.com/model/1262419-cinelog30-v3-gps-25x25x82
I wanted to connect the onboard compass, especially with Betaflight soon supporting position hold. Unfortunately, the GEPRC F722 AIO flight controller doesn’t have an I2C port, so I wasn’t able to connect the compass. I just heat-shrunk the compass wires for now and might swap the FC later if I really want that functionality.
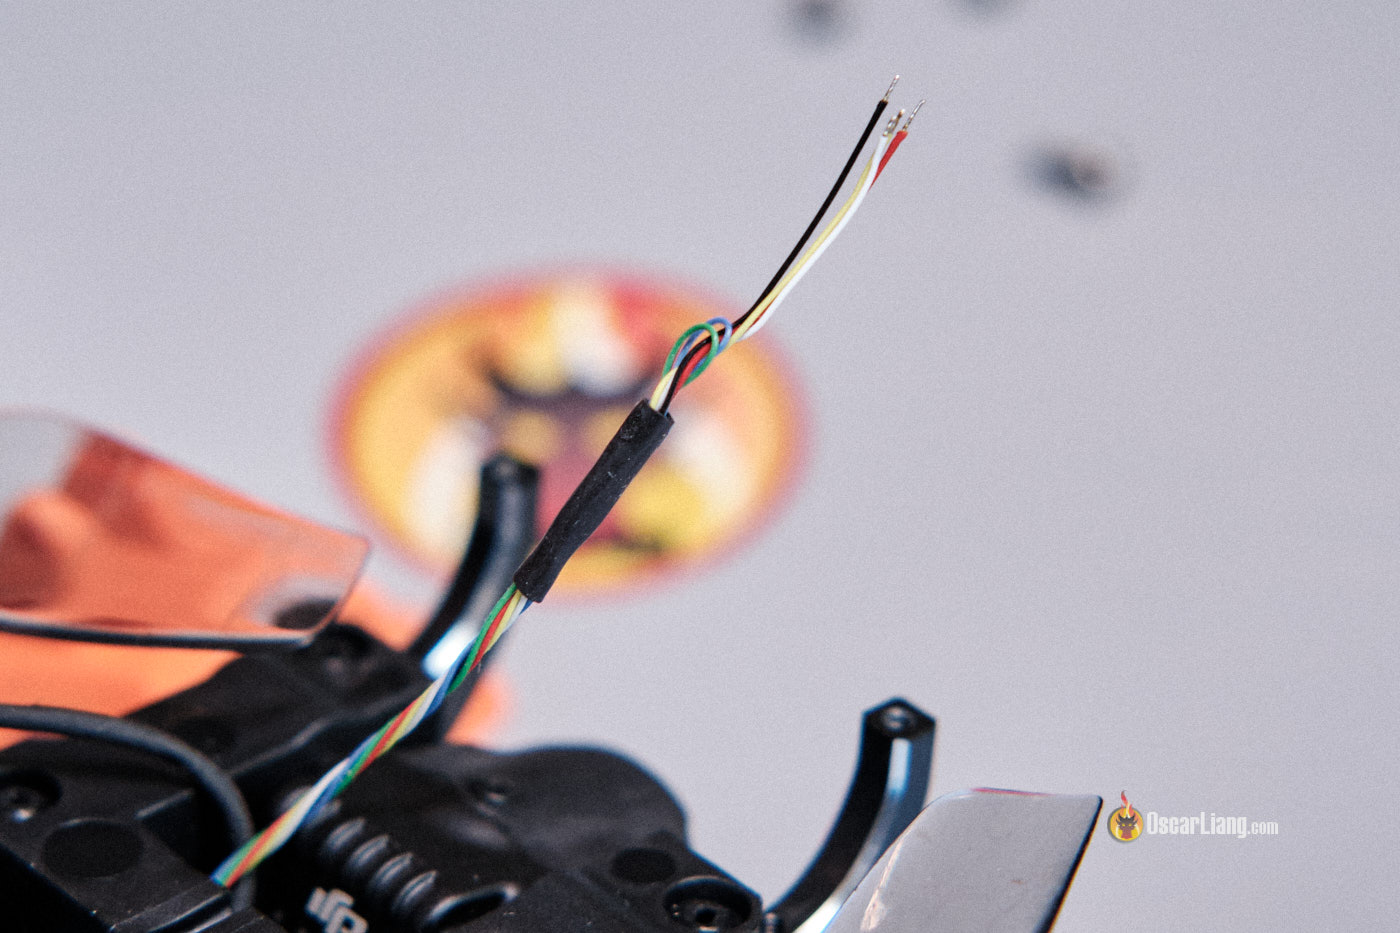
I wired the GPS to UART4 (TX4 and RX4). Conveniently, the 5V pad provides power from USB which is great—so you can power the GPS without plugging in a LiPo.

Make sure the GPS wiring is snug and secured. Loose wires can get sucked into the props mid-flight.

Setting Up GPS Rescue Mode
Some demo footage of Rescue mode working on my Cinelog:
I’ve posted screenshots of my Betaflight GPS and Rescue Mode setup on my Patreon. Feel free to use my settings for reference: https://www.patreon.com/posts/gps-rescue-for-130311690
If you’re not a Patreon member, you can follow my full step-by-step guide here: https://oscarliang.com/setup-gps-rescue-mode-betaflight/
Any other great mods that I didn’t mention? Let us know in the comments below.