
Quick Links
Deleting rows from a large filtered range in Microsoft Excel can take a long time, temporarily place the program into a “not responding” state, or—in a worst-case scenario—cause Excel to crash altogether. However, taking one simple step allows Excel to continue running smoothly.
Why Deleting Filtered Rows Crashes Excel
Let’s imagine you want to tidy up this dataset of 50,000 products by deleting the rows containing discontinued items.

To follow along as you read this guide, download a free copy of the Excel workbook used in the example. After you click the link, you’ll find the download button in the top-right corner of your screen.
One way to execute this task is to use the filter buttons that appear by default when you format the data as an Excel table. Alternatively, if your data isn’t formatted as an Excel table, select any cell in the range, and press Ctrl+Shift+L to add filter buttons manually.
Related
Everything You Need to Know About Excel Tables (And Why You Should Always Use Them)
This could totally change how you work in Excel.
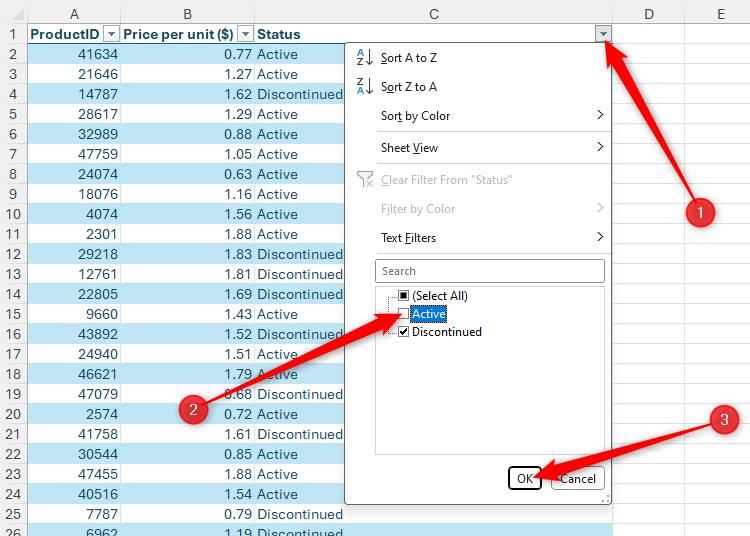
First, click the filter button in the Status column, uncheck “Active,” and click “OK,” so that only the discontinued items are displayed in the table.
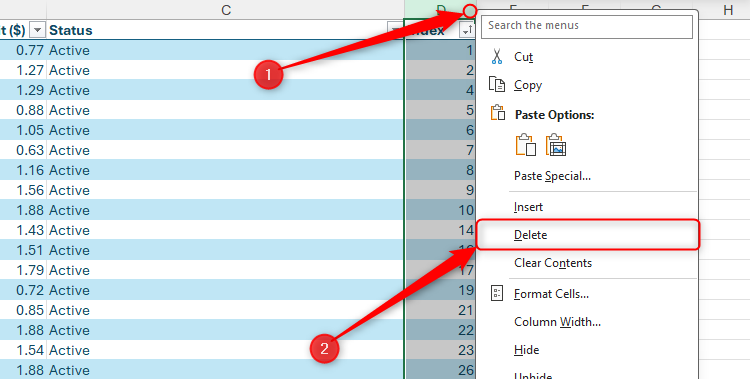
Next, select one cell in the range, and press Ctrl+A to select the whole range. Then, right-click the selected range, and click Delete > Entire Sheet Row. This will only delete the rows on display, meaning you can later clear the filters to display the active items again.

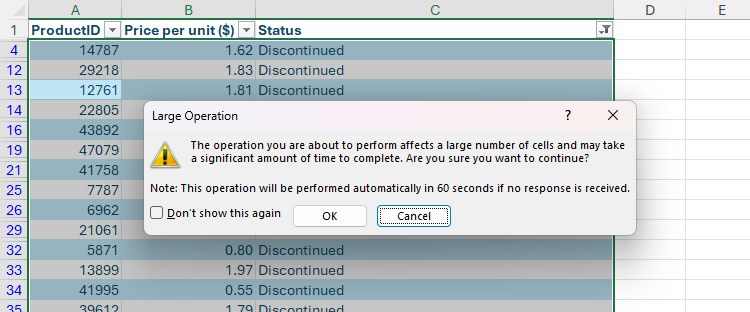
However, at this point, Excel may warn you that the operation may take a long time to complete.
Related
And it’s true—when I clicked “OK,” Excel froze for around 42 seconds—including entering the “not responding” state—before finally reactivating to display the intended result.

What’s more, when I pressed Ctrl+Z to undo the operation, Excel crashed entirely, and I had to close and restart the program.
This happens because most of the deleted rows aren’t directly next to each other. Indeed, when you look at the row headers on the left side of the data, you can see a non-continuous set of row labels, as the filtered-out data occupies all the other rows.

As a result, when Excel goes to delete the rows on show, it has to run through each group of contiguous cells (also known as an area) one by one. So, in this case, it will delete row 4, then rows 12 to 14, then row 16, and so on. In total, there are 11,873 areas in this data, so Excel has to perform the delete operation 11,873 times!
Sort the Data First to Prevent Excel From Crashing
To stop Excel from crashing when you delete rows from a large filtered dataset, simply sort the relevant column first.
However, before you do this, it’s worth thinking about how you want your data to be presented after you’ve deleted the relevant rows. In this example, the products are listed in the order in which they were first added to the inventory, so it’s important to retain this order in the long term.
To ensure this happens, add another column called “Index,” and type 1, 2, and 3 into the top three cells of this new column.
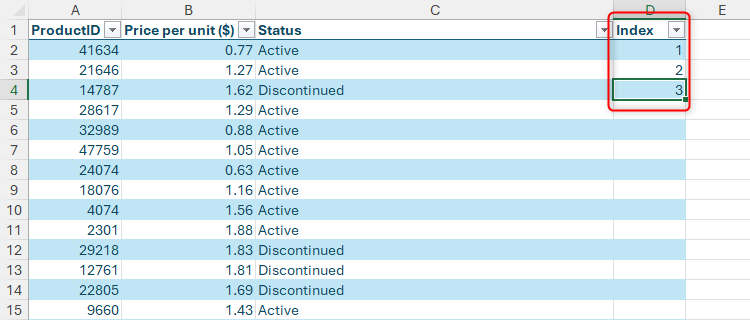
As soon as you type the column header in column D, the formatted Excel table will expand one column to the right.
Then, select those three cells, and double-click the fill handle in the bottom-right corner of the selection to apply these index numbers to the remaining cells in the range.

Next, click the filter button in the Status column, and select “Sort A To Z” or “Sort Z To A.” When you click “OK,” items with the same status are grouped together.

Now, click the filter button again, and uncheck “Active” and click “OK,” so that only the discontinued items are displayed in the table.

Notice how all the discontinued products are now in adjacent rows. This means that when you delete these rows in the next step, Excel only has to handle one area, rather than the 11,873 areas it would have had to handle if you hadn’t sorted the data first.

As a result, when you select all the cells in the range (Ctrl+A), right-click the selected range, and click Delete > Entire Sheet Row, Excel performs the operation in less than a second.
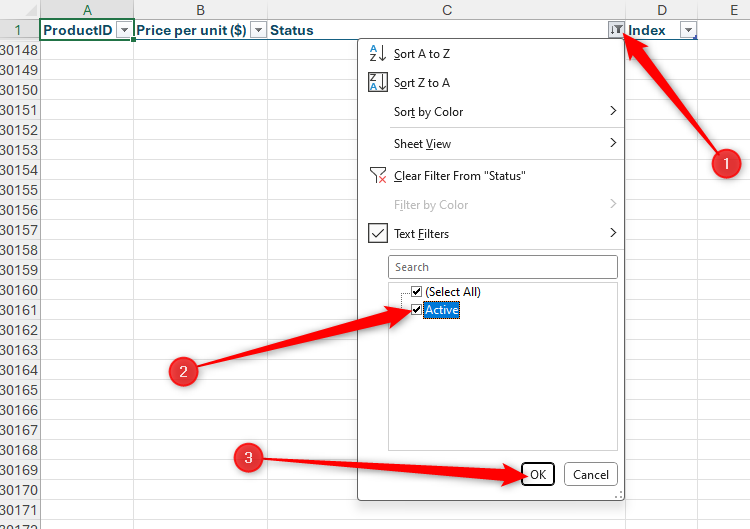
Now that the operation is complete, click the filter button in the Status column, clear the filters, and click “OK” to display the active items again.
Finally, revert the data back to its original order by sorting the table by the Index column, and delete that column if you no longer need it.
Knowing what can cause Excel to slow down can save you from becoming frustrated with the program. For example, having too many volatile functions or unnecessarily over-formatting your worksheet makes Excel (and your computer) work harder than it needs to, so avoid these wherever possible!