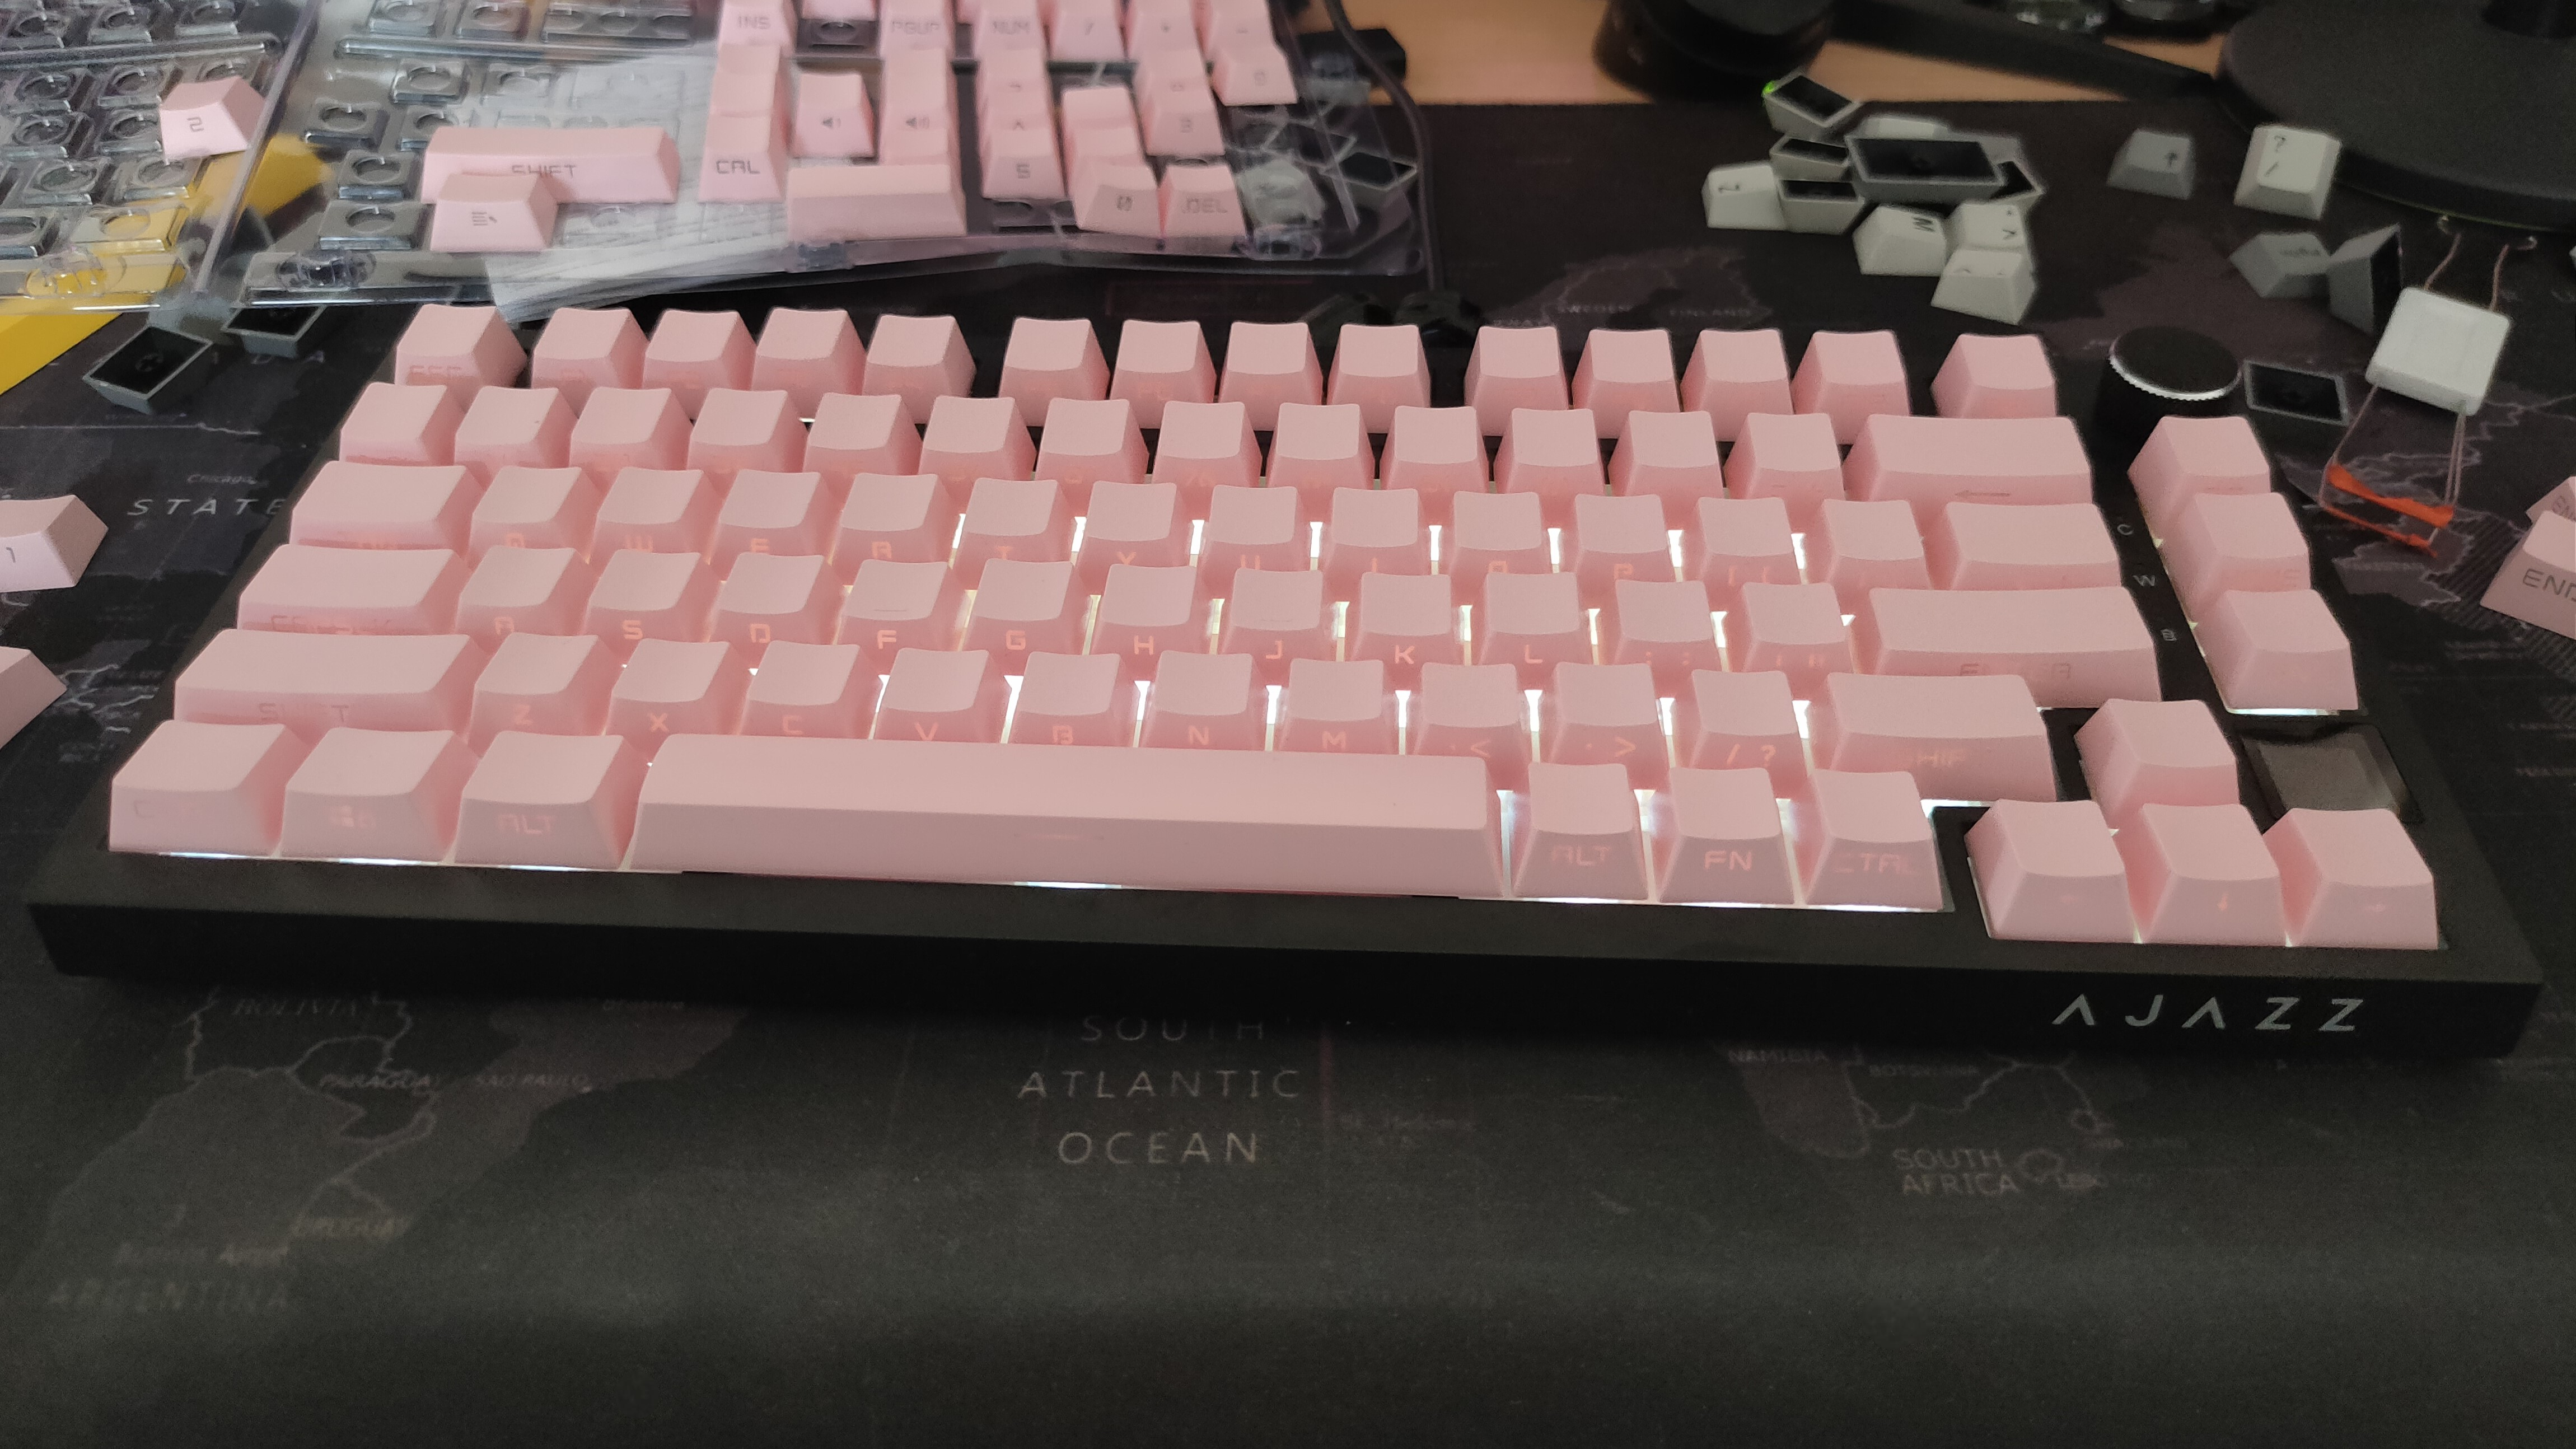
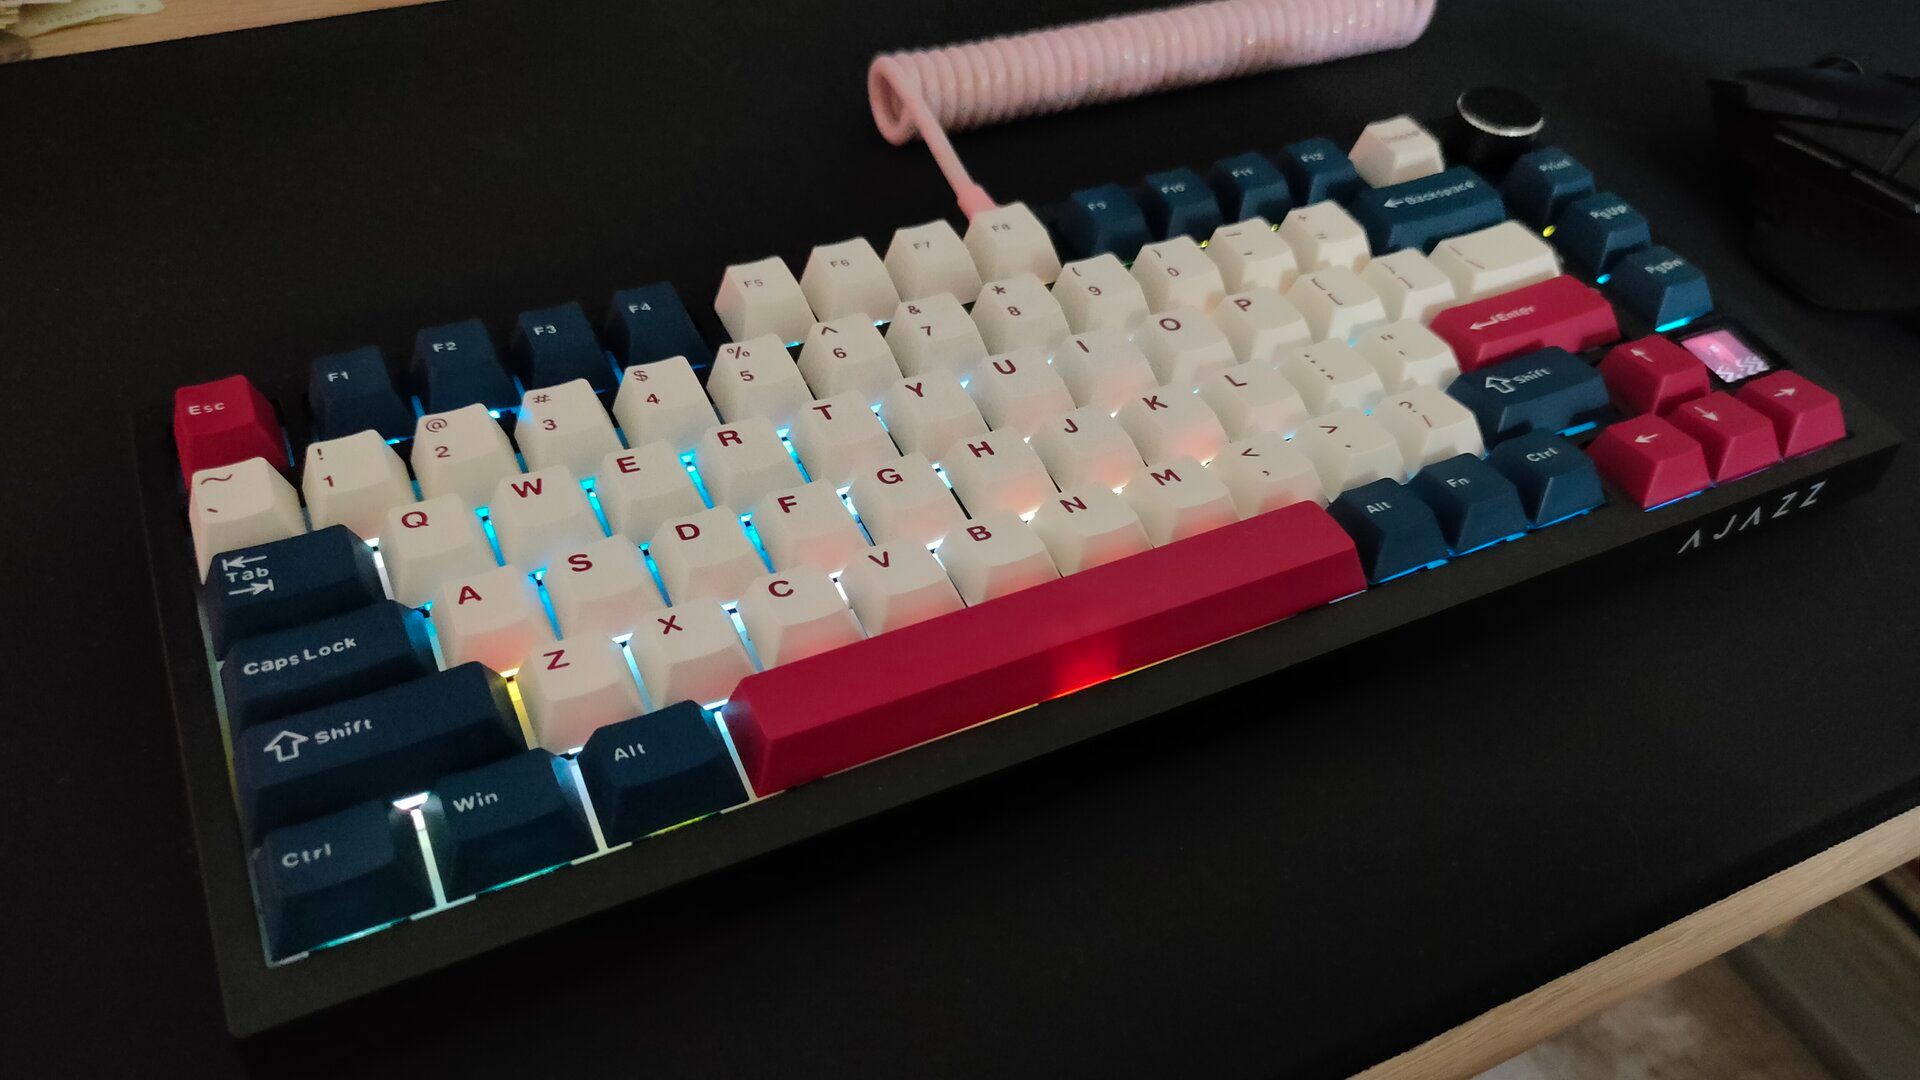
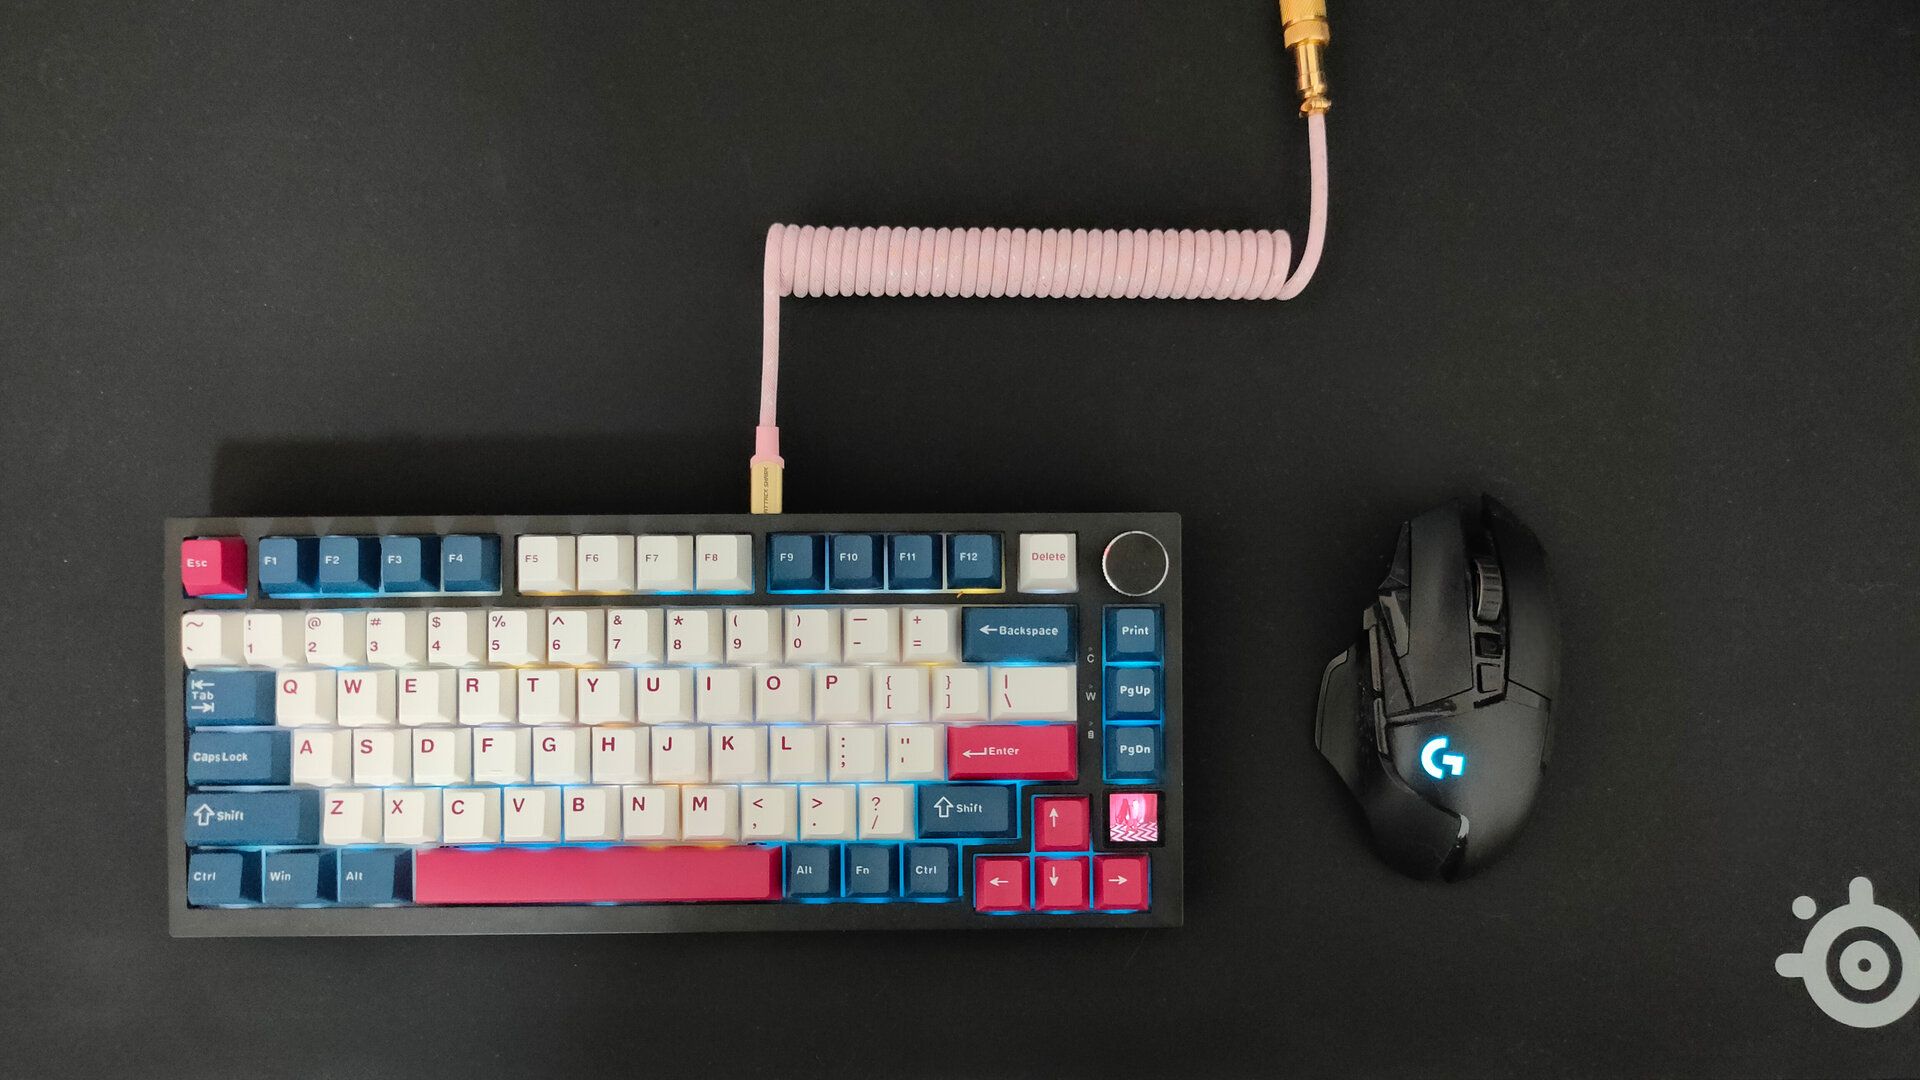
Not long ago, your only mechanical keyboard options were cheap no-name brands, overpriced gaming boards, or ultra-expensive enthusiast kits. Fortunately, keyboards have undergone a renaissance. You can now build a custom board with full control over every detail—here’s how.
Select Your Layout
Before we dive into the endless sea of keyboard parts, start by deciding on the basics. First and perhaps most important, think about what kind of keyboard layout you want. This refers to the number of keys and how they’re arranged.
A 100% keyboard includes all 104 standard keys, but you can also look for models with macros (or even a left-side numpad, also known as the “Southpaw”). Smaller layouts remove more keys and include the following:
- 80%: Also known as the tenkeyless, it removes the numpad.
- 75%: Removes a few less-used keys above the arrow cluster and rearranges them to be more compact.
- 65%: Removes the F-row by relocating it to the function layer (you press Fn+numbers instead of F-keys).
- 60%: Removes all navigation and arrow keys by relocating them to the function layer.
There are some other, more niche layouts that I won’t go over here, but you might encounter them in the wild. As you can imagine, the 75% layout is the most popular among both gamers and typists who don’t need a numpad, as it significantly reduces the keyboard’s size on the desk while barely affecting its functionality. It’s also my favorite layout and the one I recommend to newcomers in the mechanical keyboard community.
Related
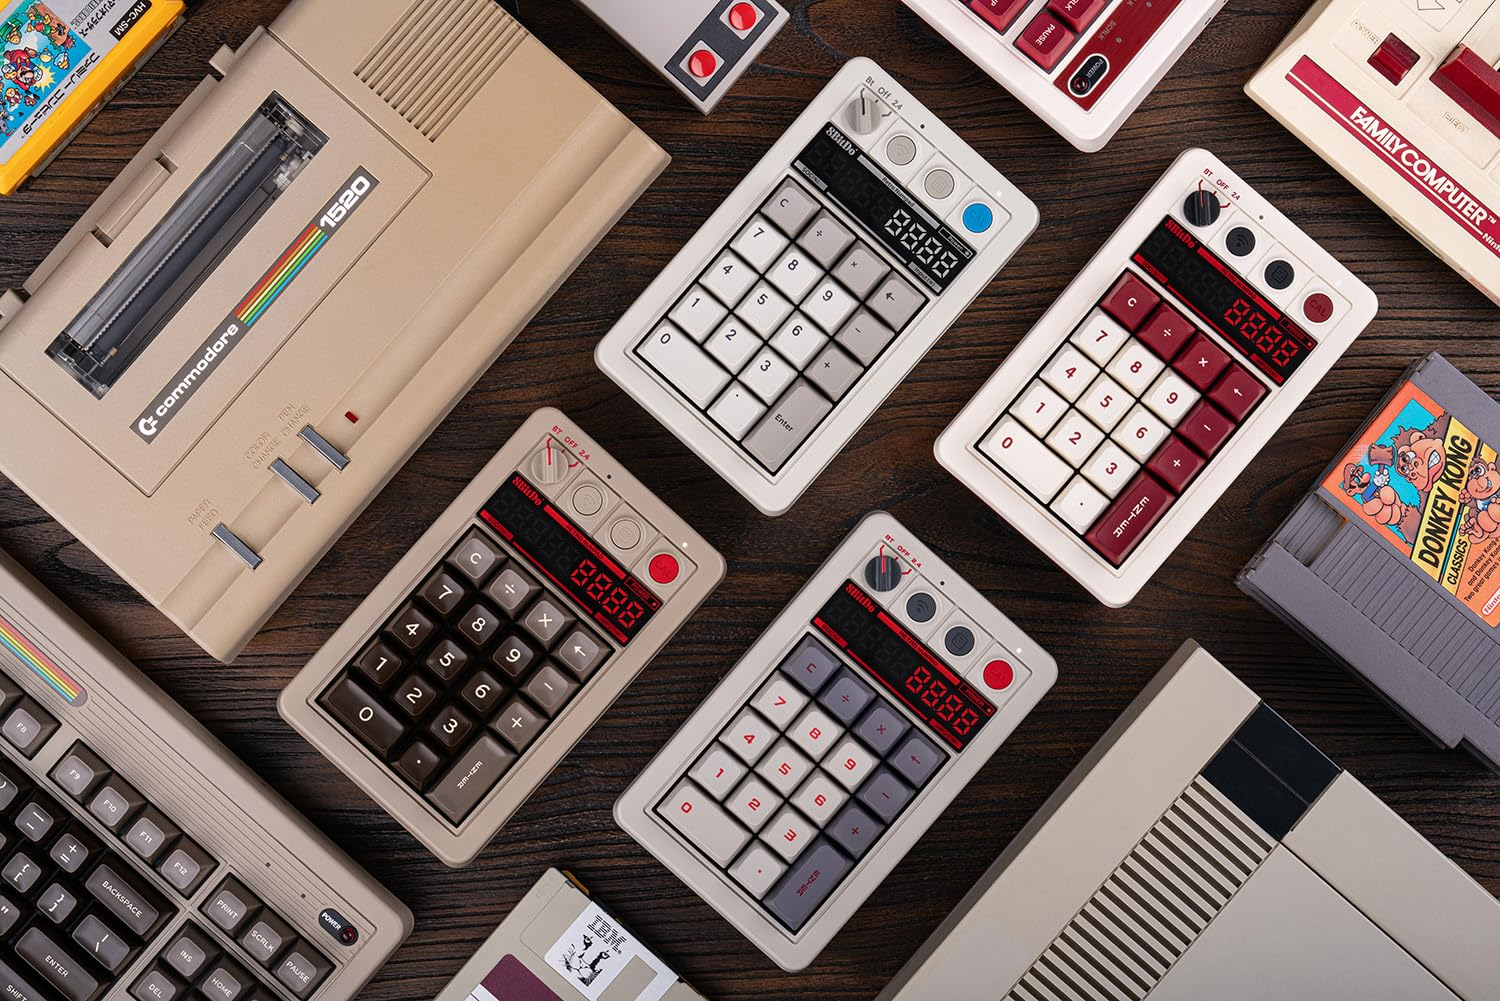
Get a Chunky Retro Numpad for Your Chunky Retro Keyboard
8BitDo has a new accessory to go with its first mechanical keyboard.
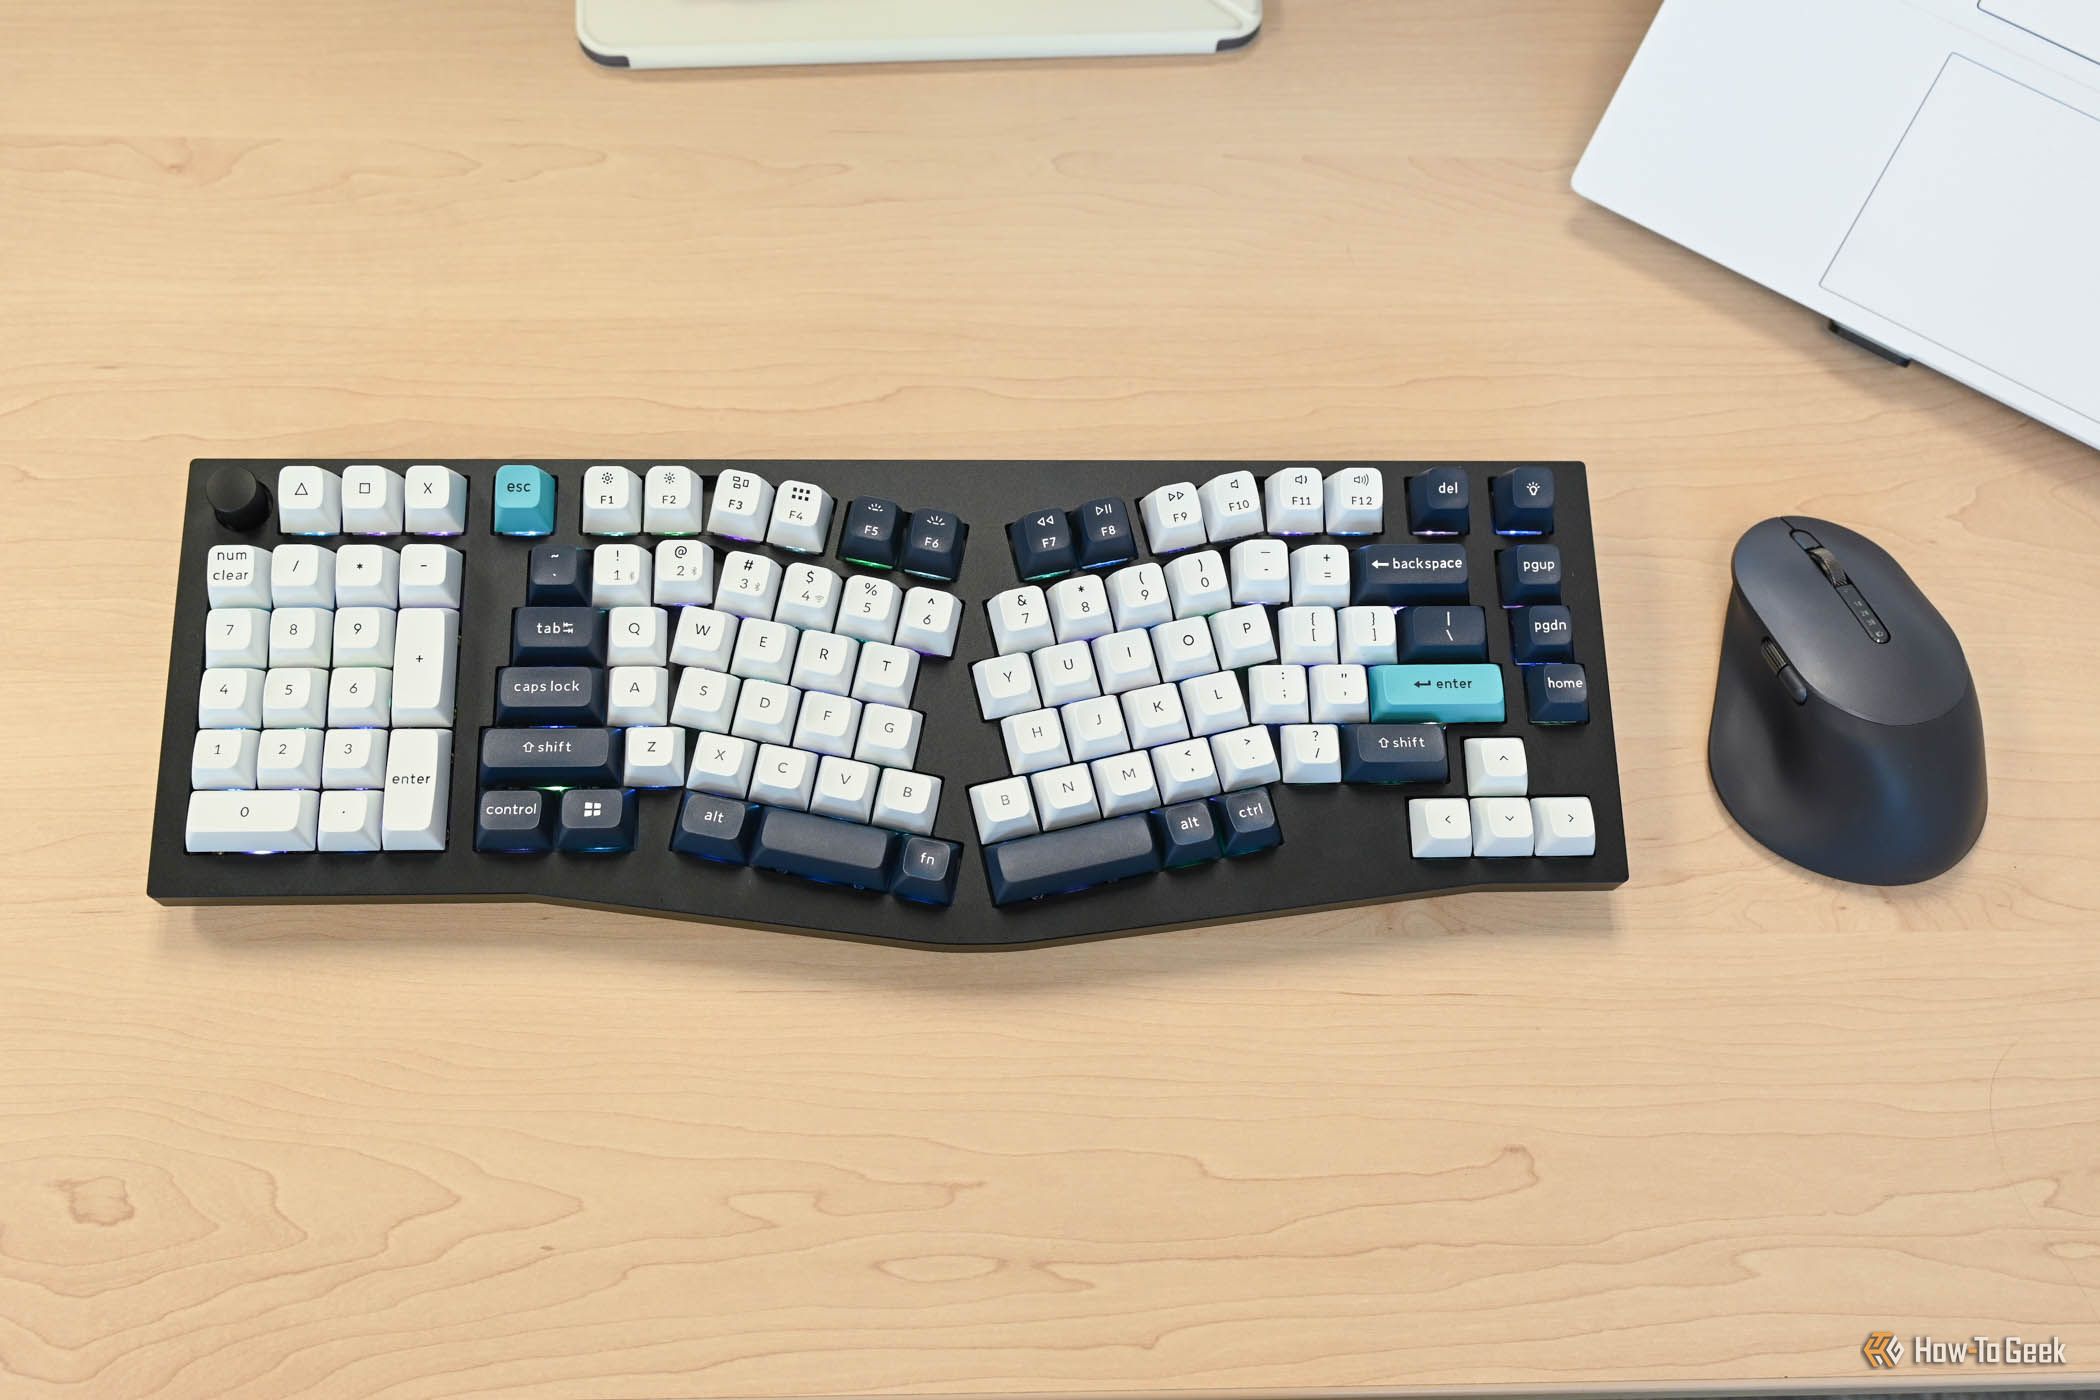
But what if none of the standard layouts work for you ergonomically? In that case, you might want to look for a tented split mechanical keyboard, or perhaps one with the “Alice” layout like the Keychron Q8.
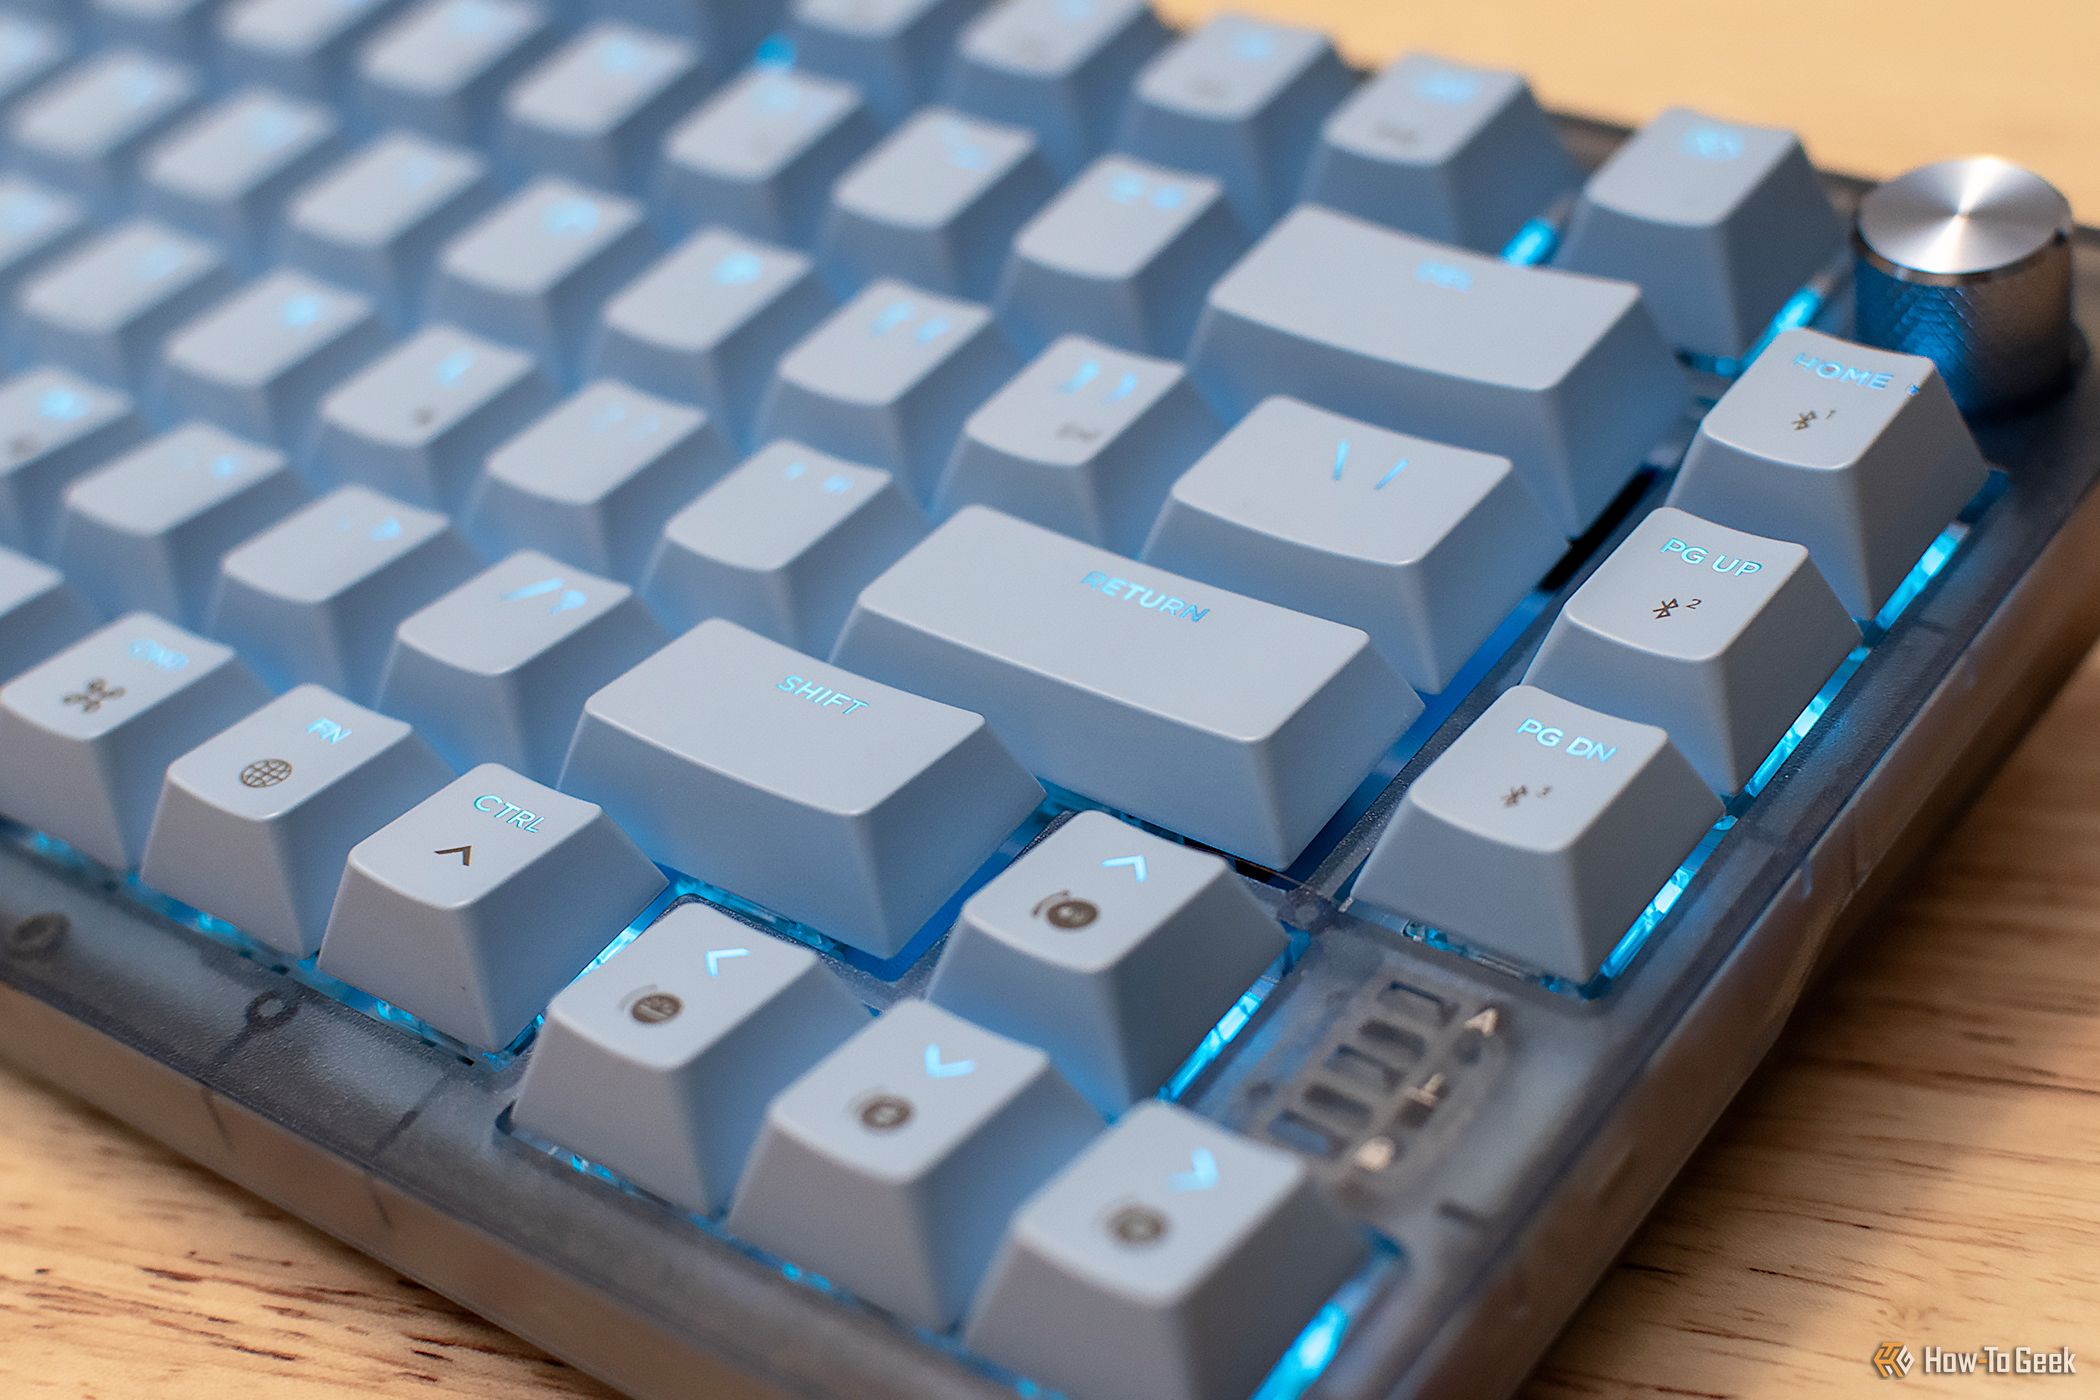
In addition to the number of keys, you should also decide if you’d rather have an ISO or ANSI layout. The most important difference between the two is the size of the left Shift and Enter buttons, along with how the surrounding keys are laid out.
ANSI has a large left Shift and small Enter to the right, and it’s common in the US and many other countries around the globe. The ISO layout has a smaller Shift but a larger, L-shaped Enter button and is more popular in Europe. There isn’t a massive practical difference between the two, and even most keycap sets come with both types, but it’s something to keep in mind when selecting your preferred base.
Choose Your Keyboard Base
After picking the layout, it’s time to decide whether you want to buy a fully assembled keyboard and use it as your base, a barebones kit, or a separate PCB and base.
Before you even do that, determine what kind of material you want the keyboard’s case (shell) to be made of. The two most common options are plastic and aluminum, but there are also some niche materials like steel, wood, and acrylic.
Plastic sounds like it’s inherently inferior to aluminum, and while the prices of the keyboards might suggest so, I strongly disagree. Plastic provides a more cushioned, soft, almost flexible typing feel and sound that I love, while aluminum has more of a deeper, thocky sound and a premium look and feel.
Now, let’s shift our focus back to what your base is going to be.
Getting a fully assembled keyboard might seem counterintuitive for building a custom keyboard, but it actually makes sense—that’s what I did with both of my custom keyboards, which use the Ajazz AK820 and AK820 Pro as the base. You get a keyboard with fully assembled internals and (hopefully) a good base, plus, you get to keep the keycaps and switches when you replace them.
The important thing is that it’s hot-swappable, so that you don’t have to solder the switches manually, something that you seriously shouldn’t put yourself through, considering how cheap and widely available hot-swappable keyboards are now.
If you’d rather start from scratch, a barebones kit is the next logical choice. Like a fully-assembled keyboard, barebone kits typically come with a PCB (with or without RGB and media controls), case, and additional integral parts like gaskets, PCB plates, sound-damping materials, stabilizers, and so on.
While what you get varies between barebones kits, it usually boils down to getting pretty much everything except for the switches and keycaps, which are left to you to customize. Some great beginner-friendly barebones options are the Keychron Q2, Glorious GMMK 2 Barebones, DROP ALT, and EPOMAKER x LEOBOG Hi75.
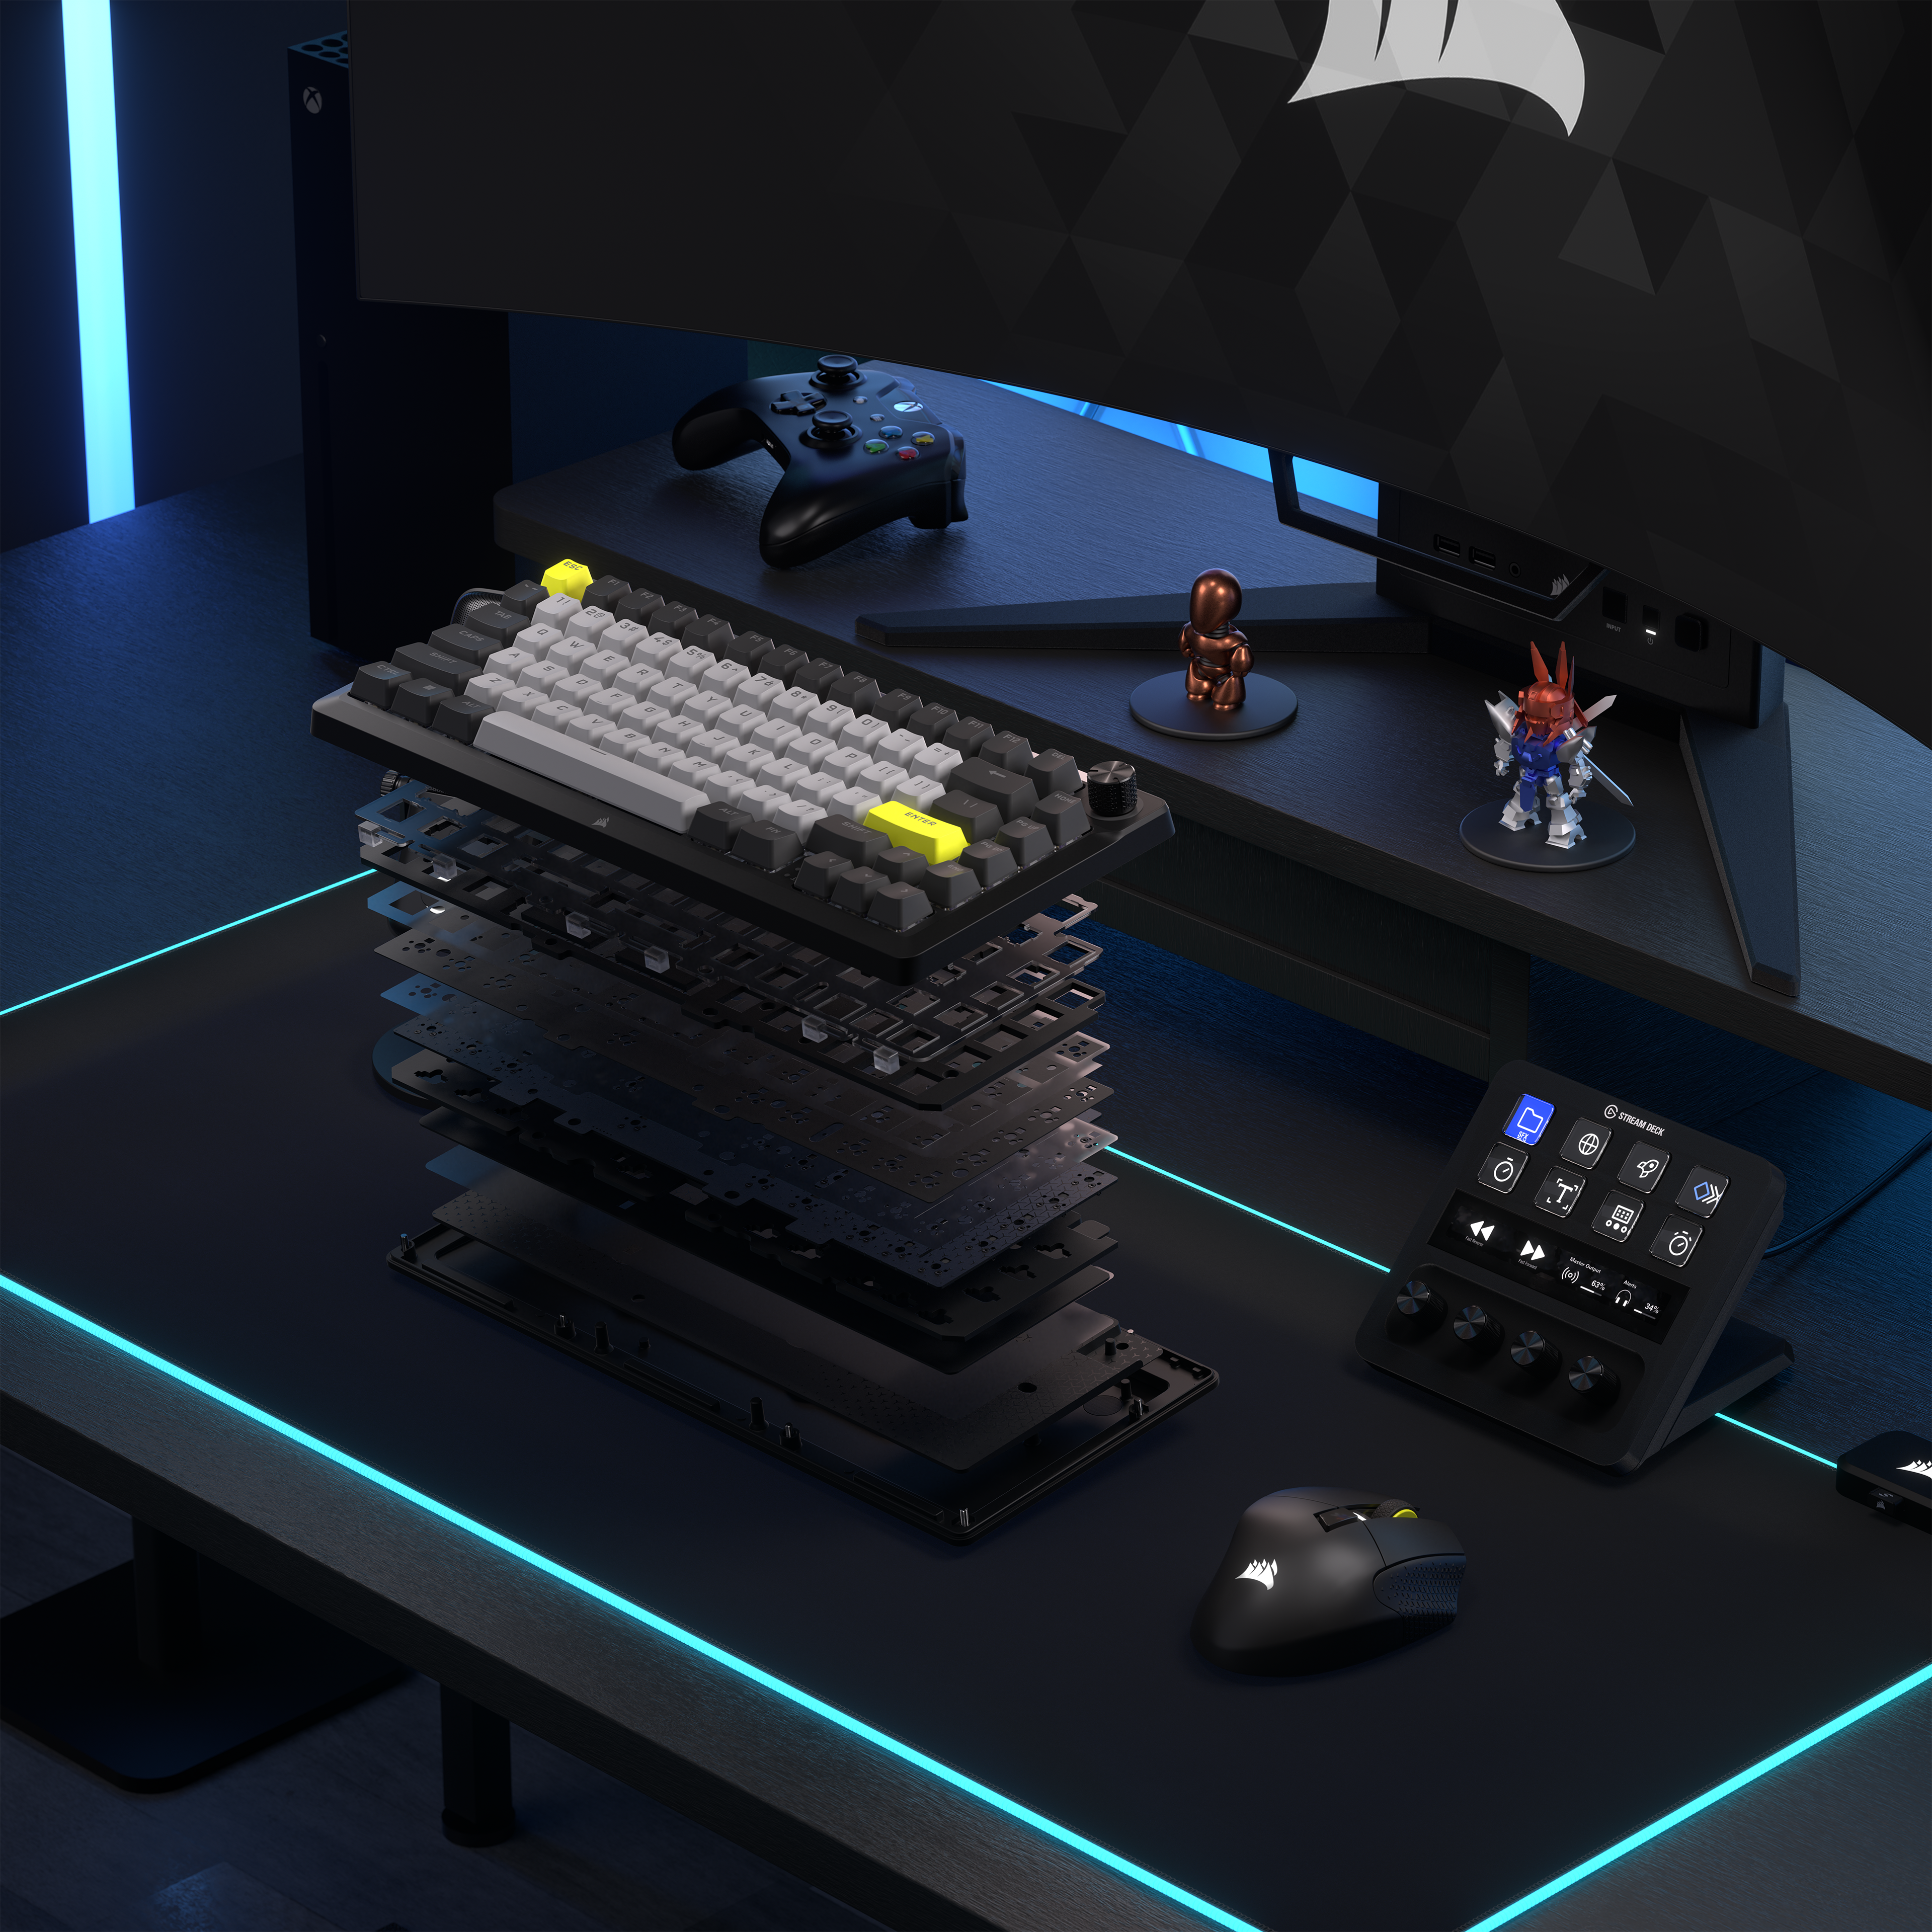
You might also be interested in a keyboard that Corsair recently released, the Corsair MAKR 75. It sits somewhere in between a prebuilt and a barebones kit; it requires a bit more assembly than typical kits but less than a separate PCB and case, making it feel a bit like the IKEA version of a mechanical keyboard.
The final option is to source a separate PCB and case and frame, along with other components and materials like a switch plate, sound-damping layers such as Poron foam, switch pads, and even gaskets (if your case supports them).
Frankly, given the wide variety in the barebones market, I don’t recommend going this route—the cons often outweigh the pros, and sourcing compatible parts can be a hassle.
Select Your Switches
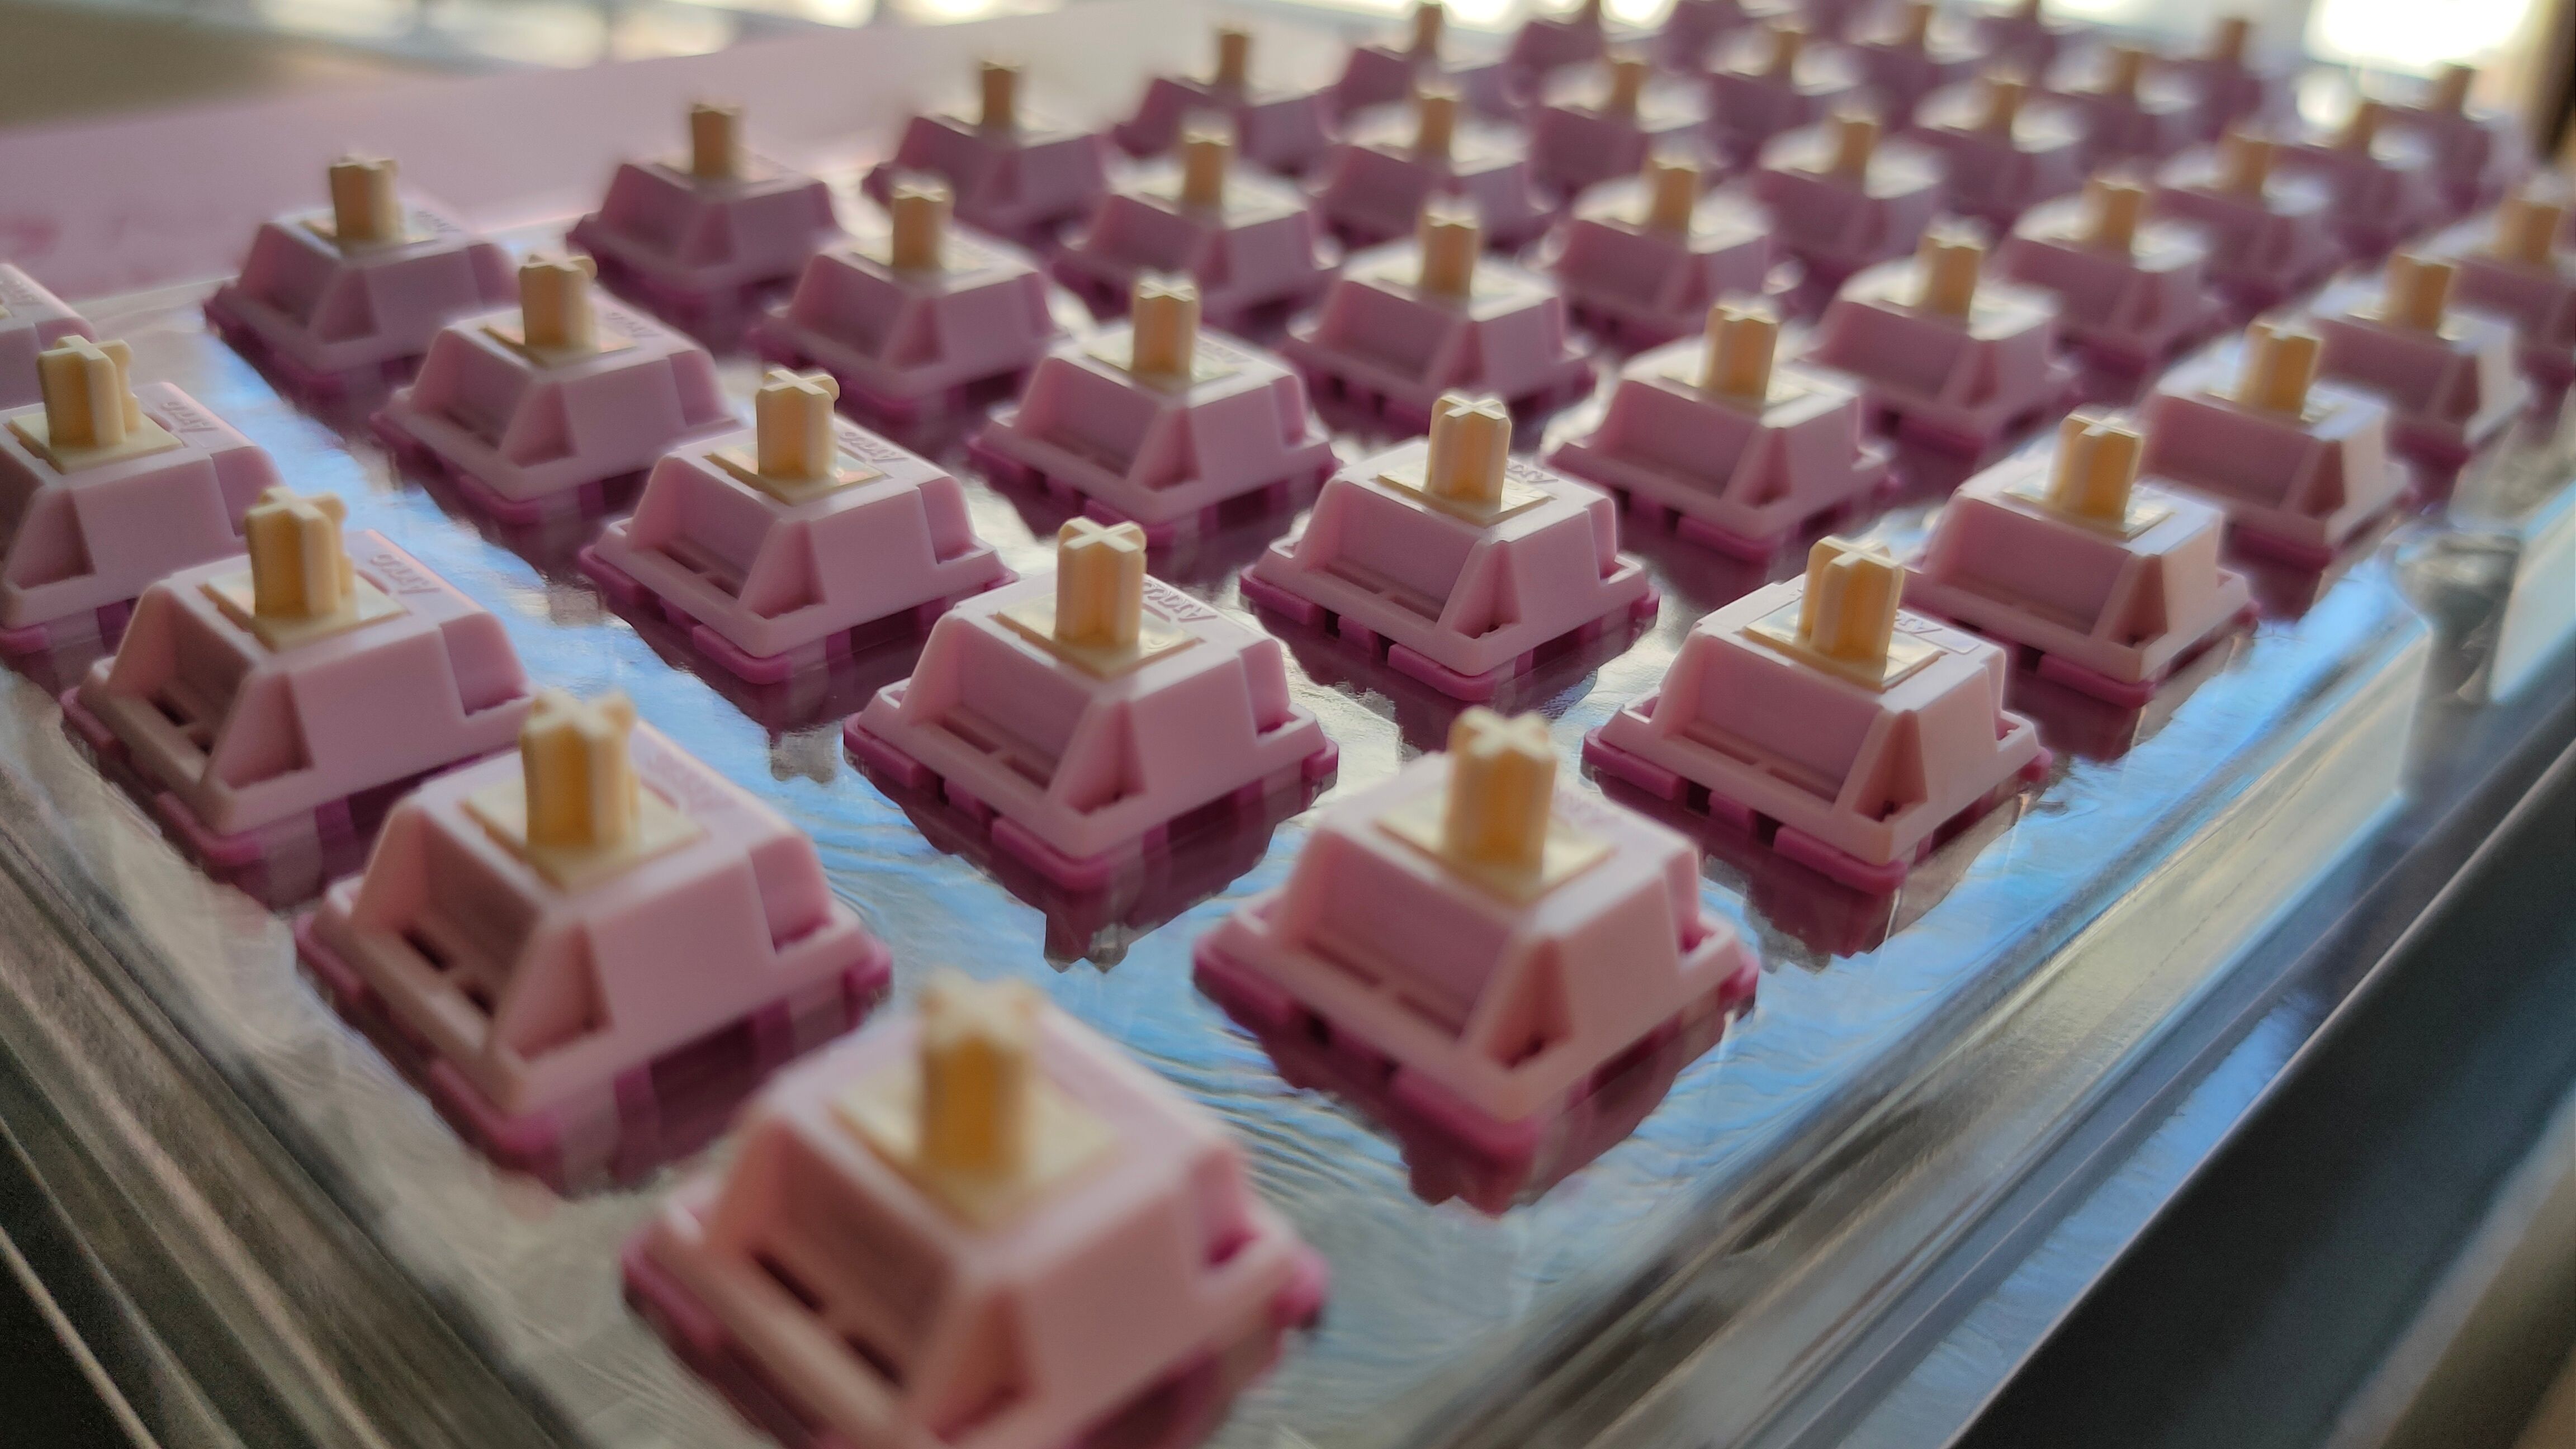
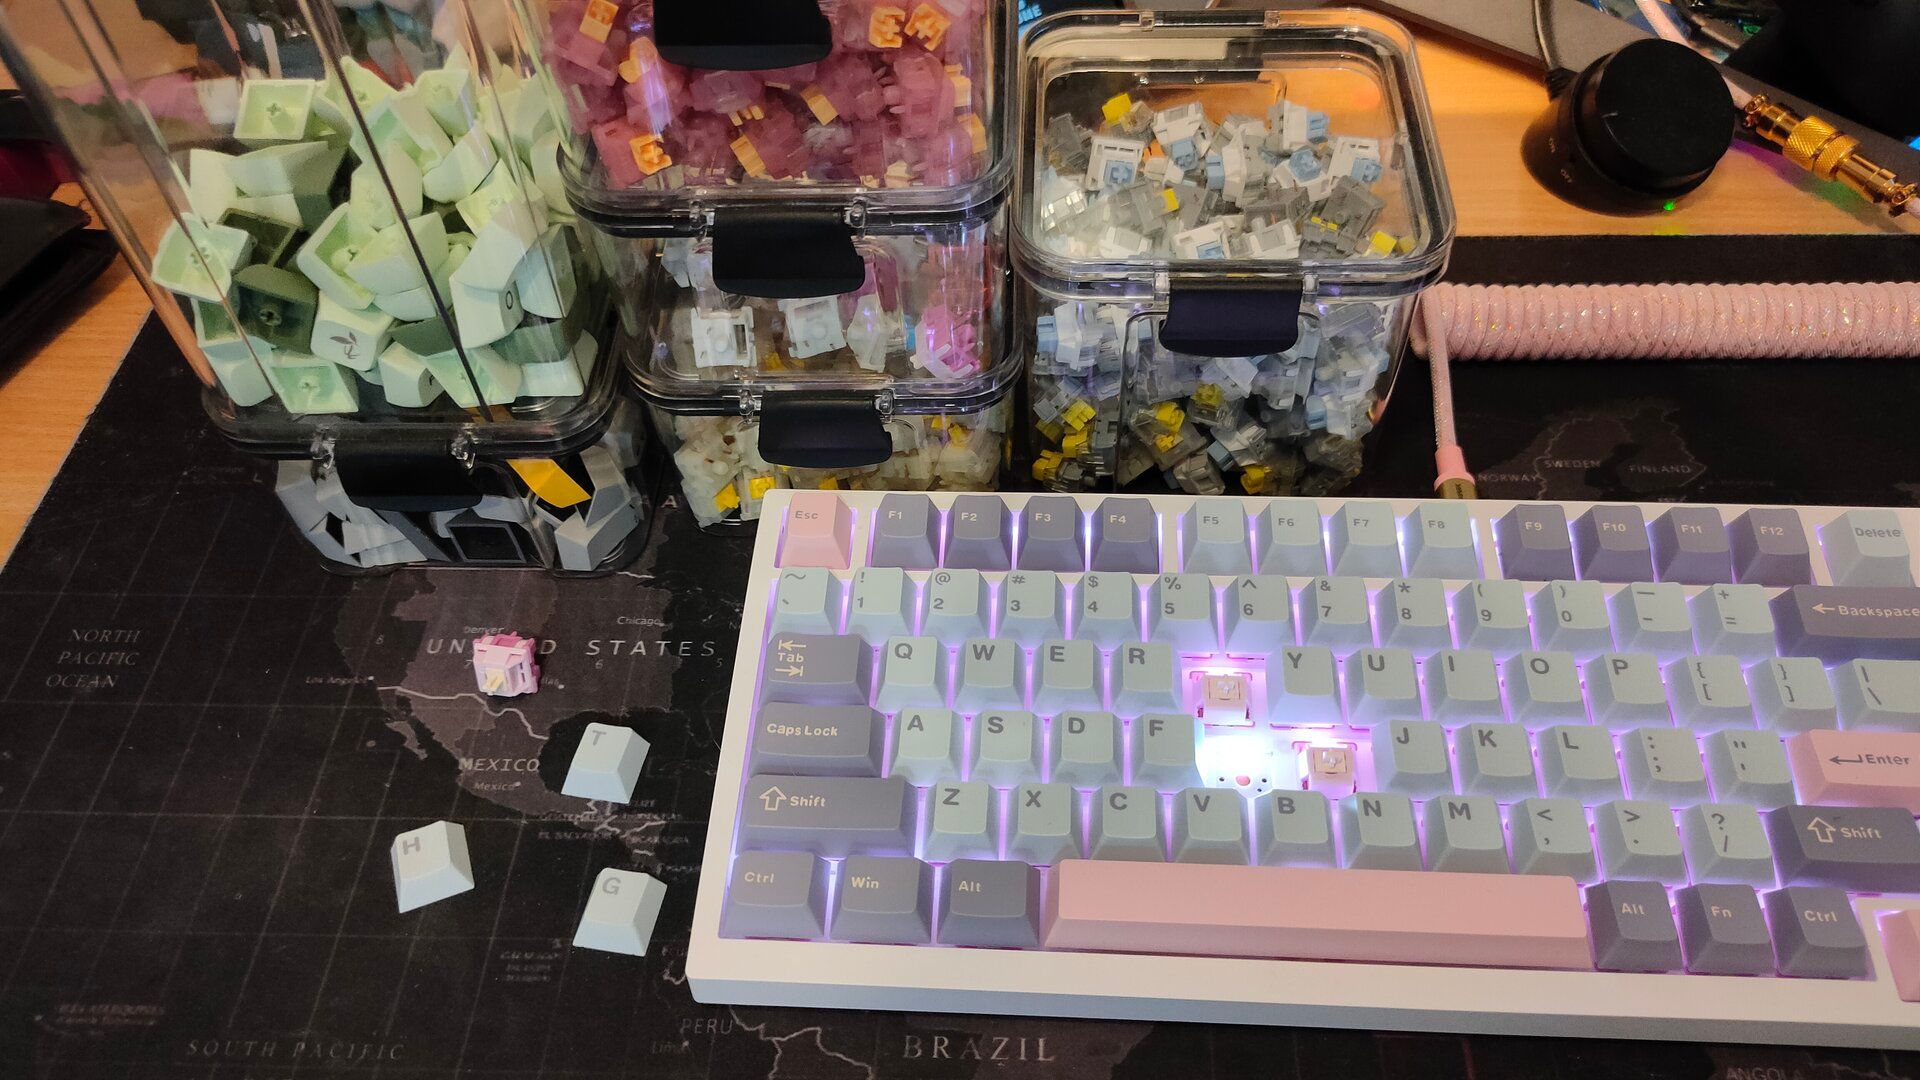
Here’s one of the most fun parts of building a mechanical keyboard: selecting the switches. As you probably know, the switch is the main mechanism that registers your keystrokes, so everything from the materials to the travel distance and actuation point affects how your final keyboard will feel and sound.
Related
Forget Collecting Keyboards, I’m Obsessed With Switches and Keycaps
Okay, maybe I’m just obsessed with collecting anything that clicks and clacks.
I won’t dive into the endless rabbit hole of spring types and lengths or the numerous housing and stem materials, as there are just too many factors at play. Instead, let’s go over a quick checklist of the key characteristics I look for when buying switches:
- Linear, tactile, and clicky: These are the three main types of switches, and they have a massive impact on how your keyboard feels and sounds. Linears feel consistently smooth as you press, tactiles have a distinct bump that you feel as you press down, and clicky switches are similar to tactiles, but a loud click accompanies each keypress.
- Travel distance: This refers to how far your key press travels. 3.8mm to 4.0mm is standard, but some switches have a shorter travel distance that can feel “faster” to type on.
- Actuation force: Each switch requires a certain amount of force to register a keypress, measured in grams. This determines whether a switch is considered light (60g).
- Silent: Silent switches are a special sub-category designed to minimize noise. I built a silent mechanical keyboard myself, and I can confirm that they’re extremely silent.
Regardless of which switch you choose, make sure it comes pre-lubed from the factory. This helps ensure a smooth, satisfying press in place of the horrible, scratchy feel of a dry switch.
While you could use the popular Krytox GPL 205 GD0 lube to do it yourself, this step would require disassembling each switch, cleaning the factory lube, and precisely lubing the stem, housing, and springs. It’s just too much work when so many great switches are already lubed from the factory, but you can still totally do it yourself if you want.
As for which switch manufacturer to buy from, there are many good ones. Cherry switches are the “original,” and they’ve recently upgraded their lineup to match the high standards set by newer competitors like Kailh, TTC, Outemu, Gazzew, and others.
My personal favorites are Akko and Gateron. If you’re wondering about my current top picks, they’re the Akko V3 Creamy Purple Pro, Akko Dracula, and Gateron Milky Yellow Pro V2.
Pick Your Keycaps
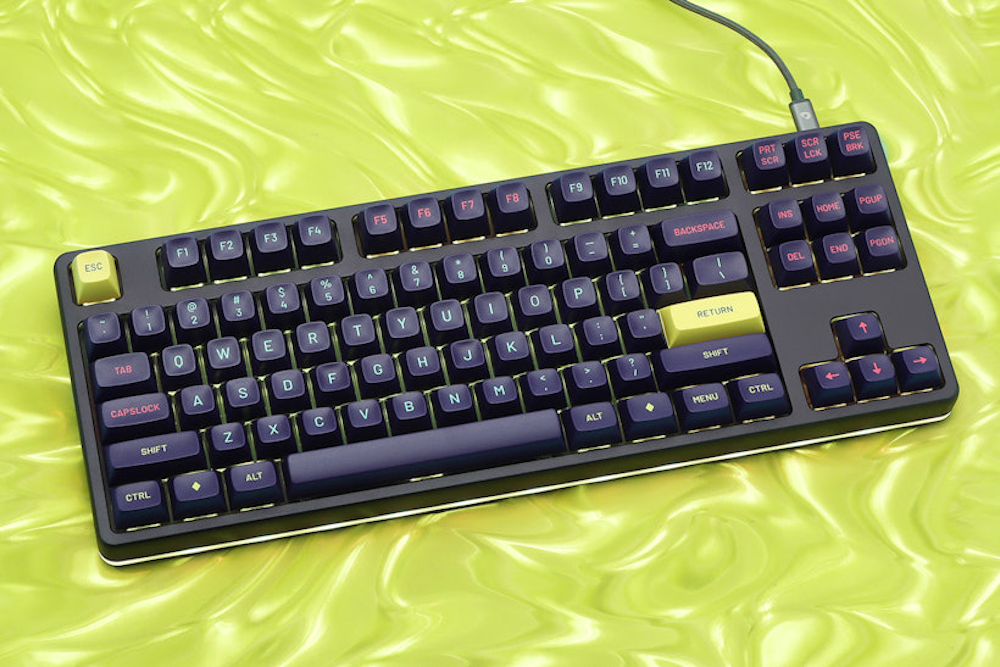
While the switches are the most important part in terms of sound and feel, the keycaps lead the charge with looks (though they also definitely influence sound and feel). Since they cover the largest surface area of your keyboard, keycaps offer the perfect opportunity to express your style and complement your desk’s aesthetic.
The two most common materials used in keycaps are ABS and PBT plastic: ABS is smooth and glossy, while PBT is more matte and textured.
POM is another relatively common material that feels ultra-smooth and a bit slippery, which isn’t for everyone. There are also niche materials like ceramic, metal, and even wood, but these are usually expensive and don’t always provide the best typing experience. Rubber is best reserved for WASD keys (if used at all), and resin is typically used for artisanal accent keys like Esc and Enter.
Related
Want to Breathe New Life Into Your Keyboard? Mix and Match Keycap Sets
Change things up on your desk for just a few bucks.
Another important factor you should never overlook is the keycap profile. The most common profiles are Cherry, OEM, XDA, and SA, but there are also niche ones like DCX, MT3, and HPX. Contoured profiles like Cherry and OEM are generally more familiar and tend to be more comfortable, while flat profiles like XDA feel more like a laptop keyboard. Keycaps are usually affordable, so don’t hesitate to experiment!
The great thing about keycaps is that they’re largely universal, assuming your keyboard uses a “standard” keycap length, particularly in the bottom row. Do some quick research on both your keyboard and keycaps before committing.
Get Some Stabilizers and a Cable
If you bought an assembled keyboard or a barebones kit that includes both stabilizers and a cable and don’t plan to customize them, you can skip this step. Otherwise, keep reading!
Stabilizers (stabs for short) are the wires with plastic housings on each end that you’ll find on larger keys like the spacebar, enter, and shift. Their job is to reduce rattle, and higher-quality stabs can do a better job at this because they’re more robust and “tuned” (have a straight wire) from the factory.
Stabs aren’t completely universal, as you’ll need to consider their lengths for different keys and whether they use screw-in or plate-mount mounting styles, depending on your keyboard’s compatibility. The gold standard of stabs is the DUROCK Screw-In Stabilizers V3.
As for the cable, most “good” mechanical keyboards will use a standard detachable USB-C cable, so there isn’t much to say here.
That said, coiled cables exist, and they’re pretty awesome! They add an extra layer of customization, though their functionality is mostly aesthetic, aside from the convenience of swapping keyboards without stressing the USB-C port.
Optional Mods and Enhancements
There are numerous ways to mod your keyboard. Whether you want a marbly, clacky sound signature or a deep, satisfying “thock,” mods provide a way to drastically improve how any keyboard sounds, even on a limited budget.
Most mods involve disassembling the keyboard and adding layers of sound-dampening materials like Poron foam, Kilmat, silicone, or even polyfill. If you’re starting with a decent keyboard or barebones kit, you can probably skip some of these.
I’ll only highlight two mods worth considering on most keyboards—the tape mod (which involves applying painter’s tape to the back of the PCB), and lubing your stabilizers with dielectric grease for a smoother feel and less noise, particularly on the spacebar.
Time to Put It All Together
Once your keyboard parts arrive, it’s finally time for the most exciting step—assembling your custom keyboard! I strongly recommend watching an assembly or disassembly video specific to your keyboard, but I’ll walk you through the key steps here.
If you’re starting with a fully assembled keyboard as your base, start by removing the keycaps and switches using a Semi-automatic 2-in-1 Switch Puller. If you’re also modding its sound, check a guide online to see how to open up the case. For barebones kits, simply follow the manufacturer’s instructions on how to assemble.
If you’re using screw-in stabilizers, start by installing them first, then move on to the switches, and finally keycaps. Once everything is in place, plug in your keyboard and head over to the Keyboard Tester website to check if all your keys work. If one or two keys don’t register, don’t panic—chances are you’ve bent a switch pin during installation. Just pull out the switch, gently straighten the pin with tweezers, and pop it back in.
Congratulations on building your first fully custom keyboard! You now have a keyboard that’s uniquely yours.
Remember, this is only the starting point—you can use your new keyboard and experience to continue modifying the keyboard by swapping in different sound-damping materials, switches, and keycaps to alter how it feels and sounds. There’s always more to explore, tweak, and customize, so enjoy your new setup and welcome to the keyboard rabbit hole!


