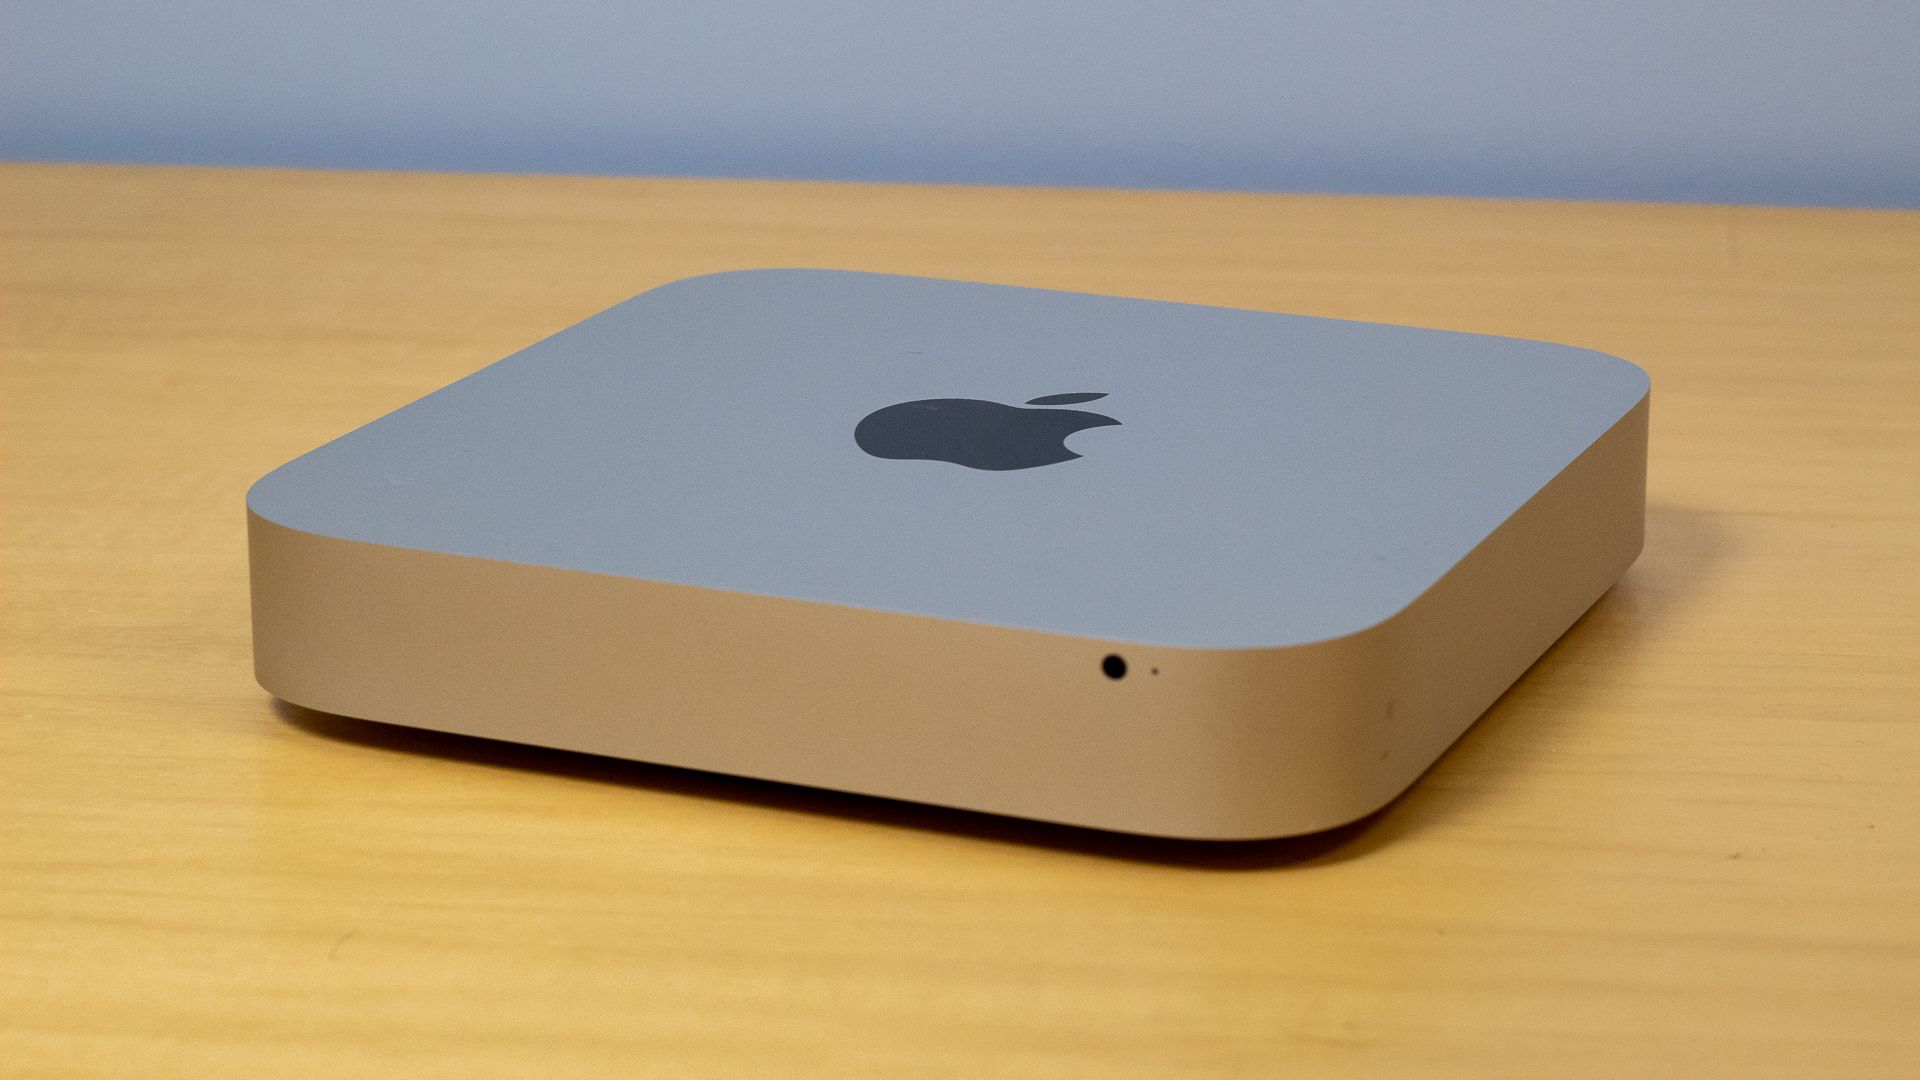
The Mac mini is one of the best small computers you can buy thanks to its small yet mighty footprint and value for money. Things get even better if you can score yourself a deal on the second-hand market, which is where I found mine.
I have all sorts of grand plans for my Mac mini, but the first thing I was keen to discover was how this thing functions as a media center front-end.
Why the Mac Mini?
I picked up an M1 Mac mini with 16GB of RAM and a paltry 256GB of storage as a second-hand bargain on Facebook marketplace. It’s my bargain of the year considering it cost me around $160, only saw light office use, and hasn’t got a scratch on it. It’s also not locked to the previous owner’s iCloud account, nor is it infected with device management profiles.
Before settling on my decision to take a chance on Apple’s smallest and cheapest desktop computer, I had some experience plugging my MacBook Pro into the living room TV to watch the odd movie, play games via emulation, and dabble with software like Kodi, and Movist Pro.
As a result, I knew that the Mac mini would do the job. I was also aware of some of the limitations I would have to overcome, notably the fact that this is still a desktop-first device. After spending plenty of time using my partner’s baseline M1 MacBook Air, I wasn’t too concerned about performance. It might be a five-year-old chip, but it’s perfectly capable of pumping out a 4K image, decoding H.264 and HEVC files, and serving up files over the local network.
I have plenty of uses for a Mac mini beyond the living room. It’s a versatile little machine that you can set and forget. I’m already planning on dabbling with Asahi Linux, running Home Assistant, caching updates for my house full of Apple devices, and using it as a Time Machine endpoint.
But first I had to know how well the Mac mini would do as a media center front-end.
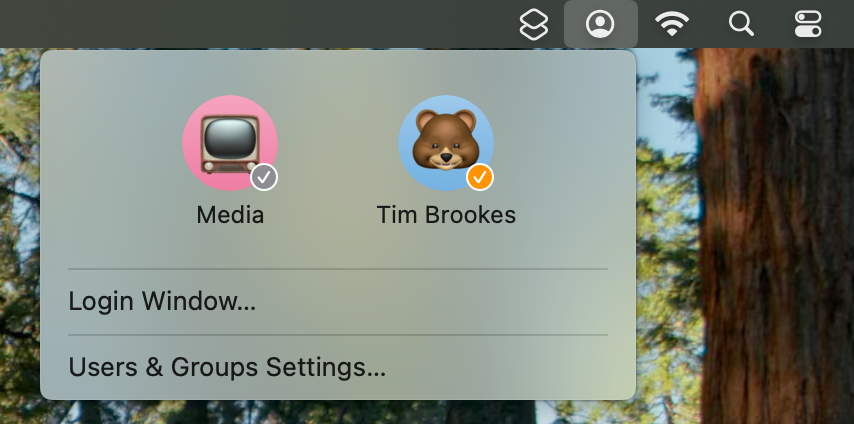
My Mac mini was in an “as new” condition in terms of being a completely blank slate. I set it up from cold by activating it and pairing my primary Apple Account. Using the admin account that’s created when you set up any Mac from scratch, I decided to create a regular “Media” user account that I’d use to consume media.
The idea here was to avoid tying my primary Apple Account to the TV. No guests should be able to snoop through my messages and Photos or make changes to the computer without my knowledge. I also wanted to have an auto login enabled, so the media center could be switched on, automatically log in, and be ready for use.
So under System Settings > Users & Groups I created a brand new user account, with “Standard” non-admin permissions. I called it “Media” and didn’t set a password (macOS will prompt you for one, but it’s not mandatory). From here, I set the “Automatically log in as” drop-down to my newly created account.
While I was at it, I popped over to System Settings > Control Center and turned on the “Fast User Switching” menu bar icon. This makes it easy to bounce between accounts if you need to, which is great when you’re setting things up.
Picking a media center app is a personal choice, but the two I immediately reached for were Stremio and Kodi.
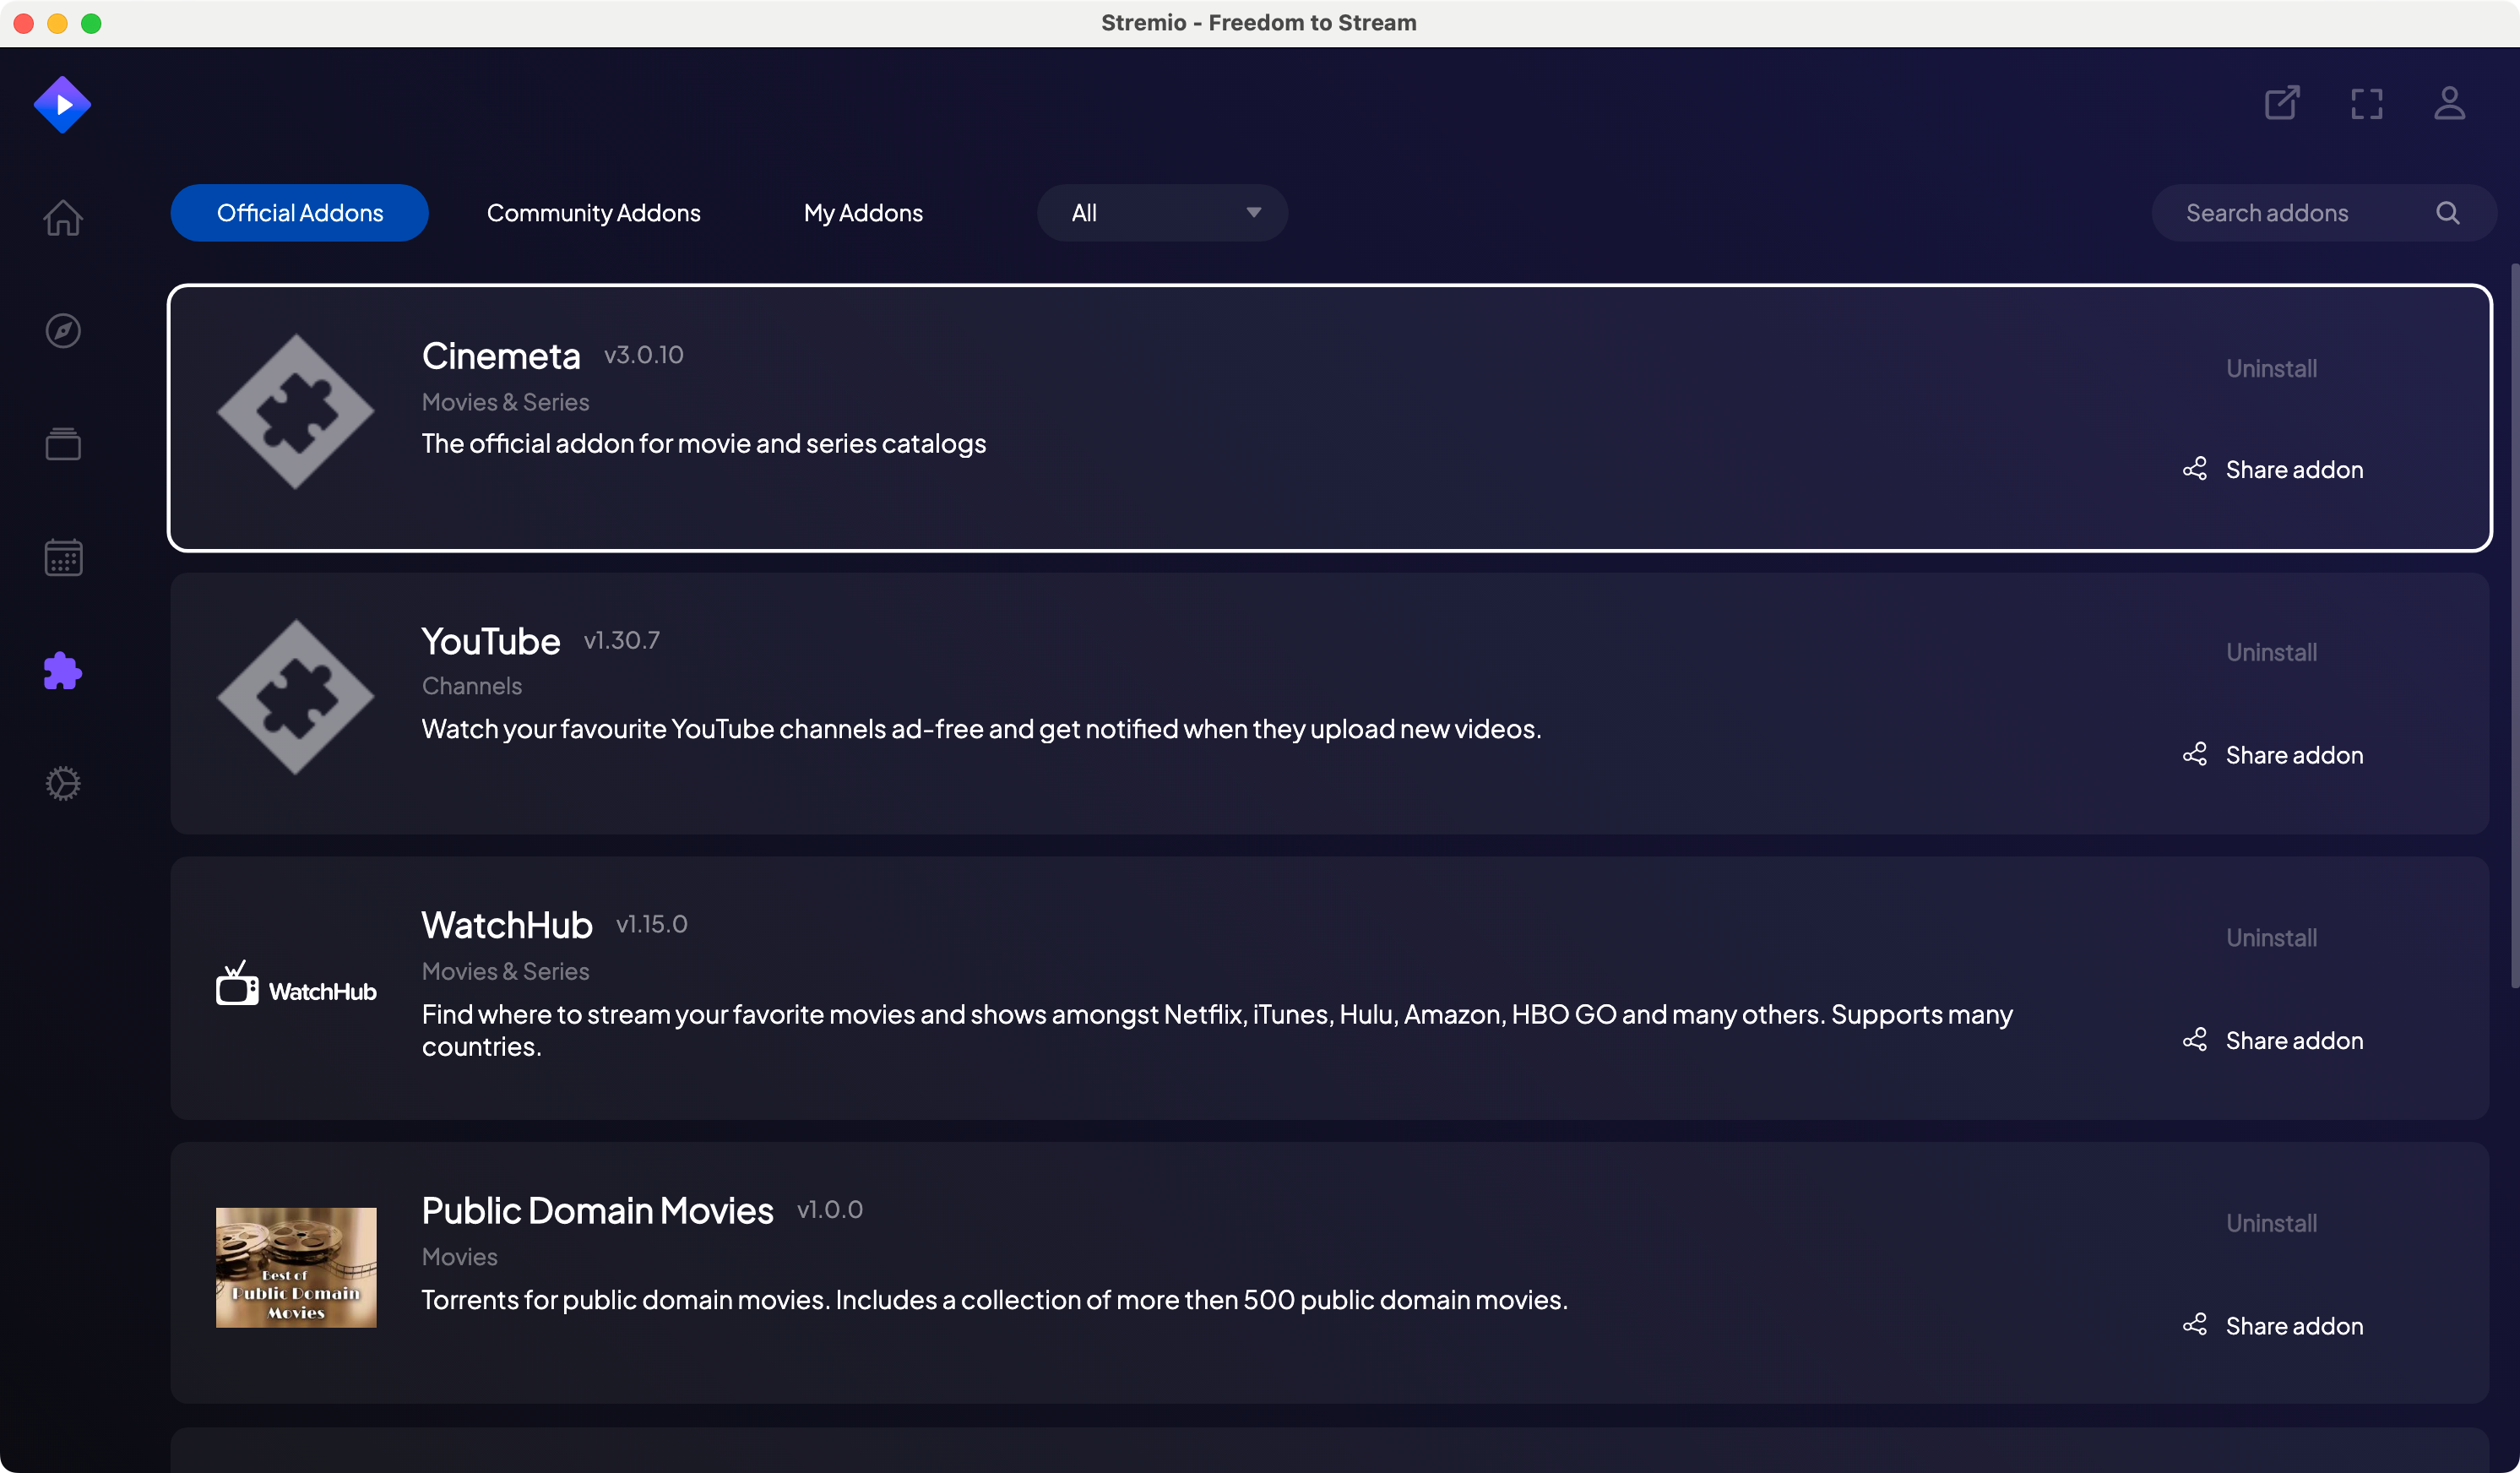
Stremio is a front-end for streaming content that comes with official add-ons a huge range of public domain movies out of the box and many more community add-ons to explore. You can use it to jump directly to a stream on a relevant storefront or streaming service. It’s a neat way to consume streaming content, with options for launching content in external players and the ability to sync add-ons and watch data remotely with just a free account.
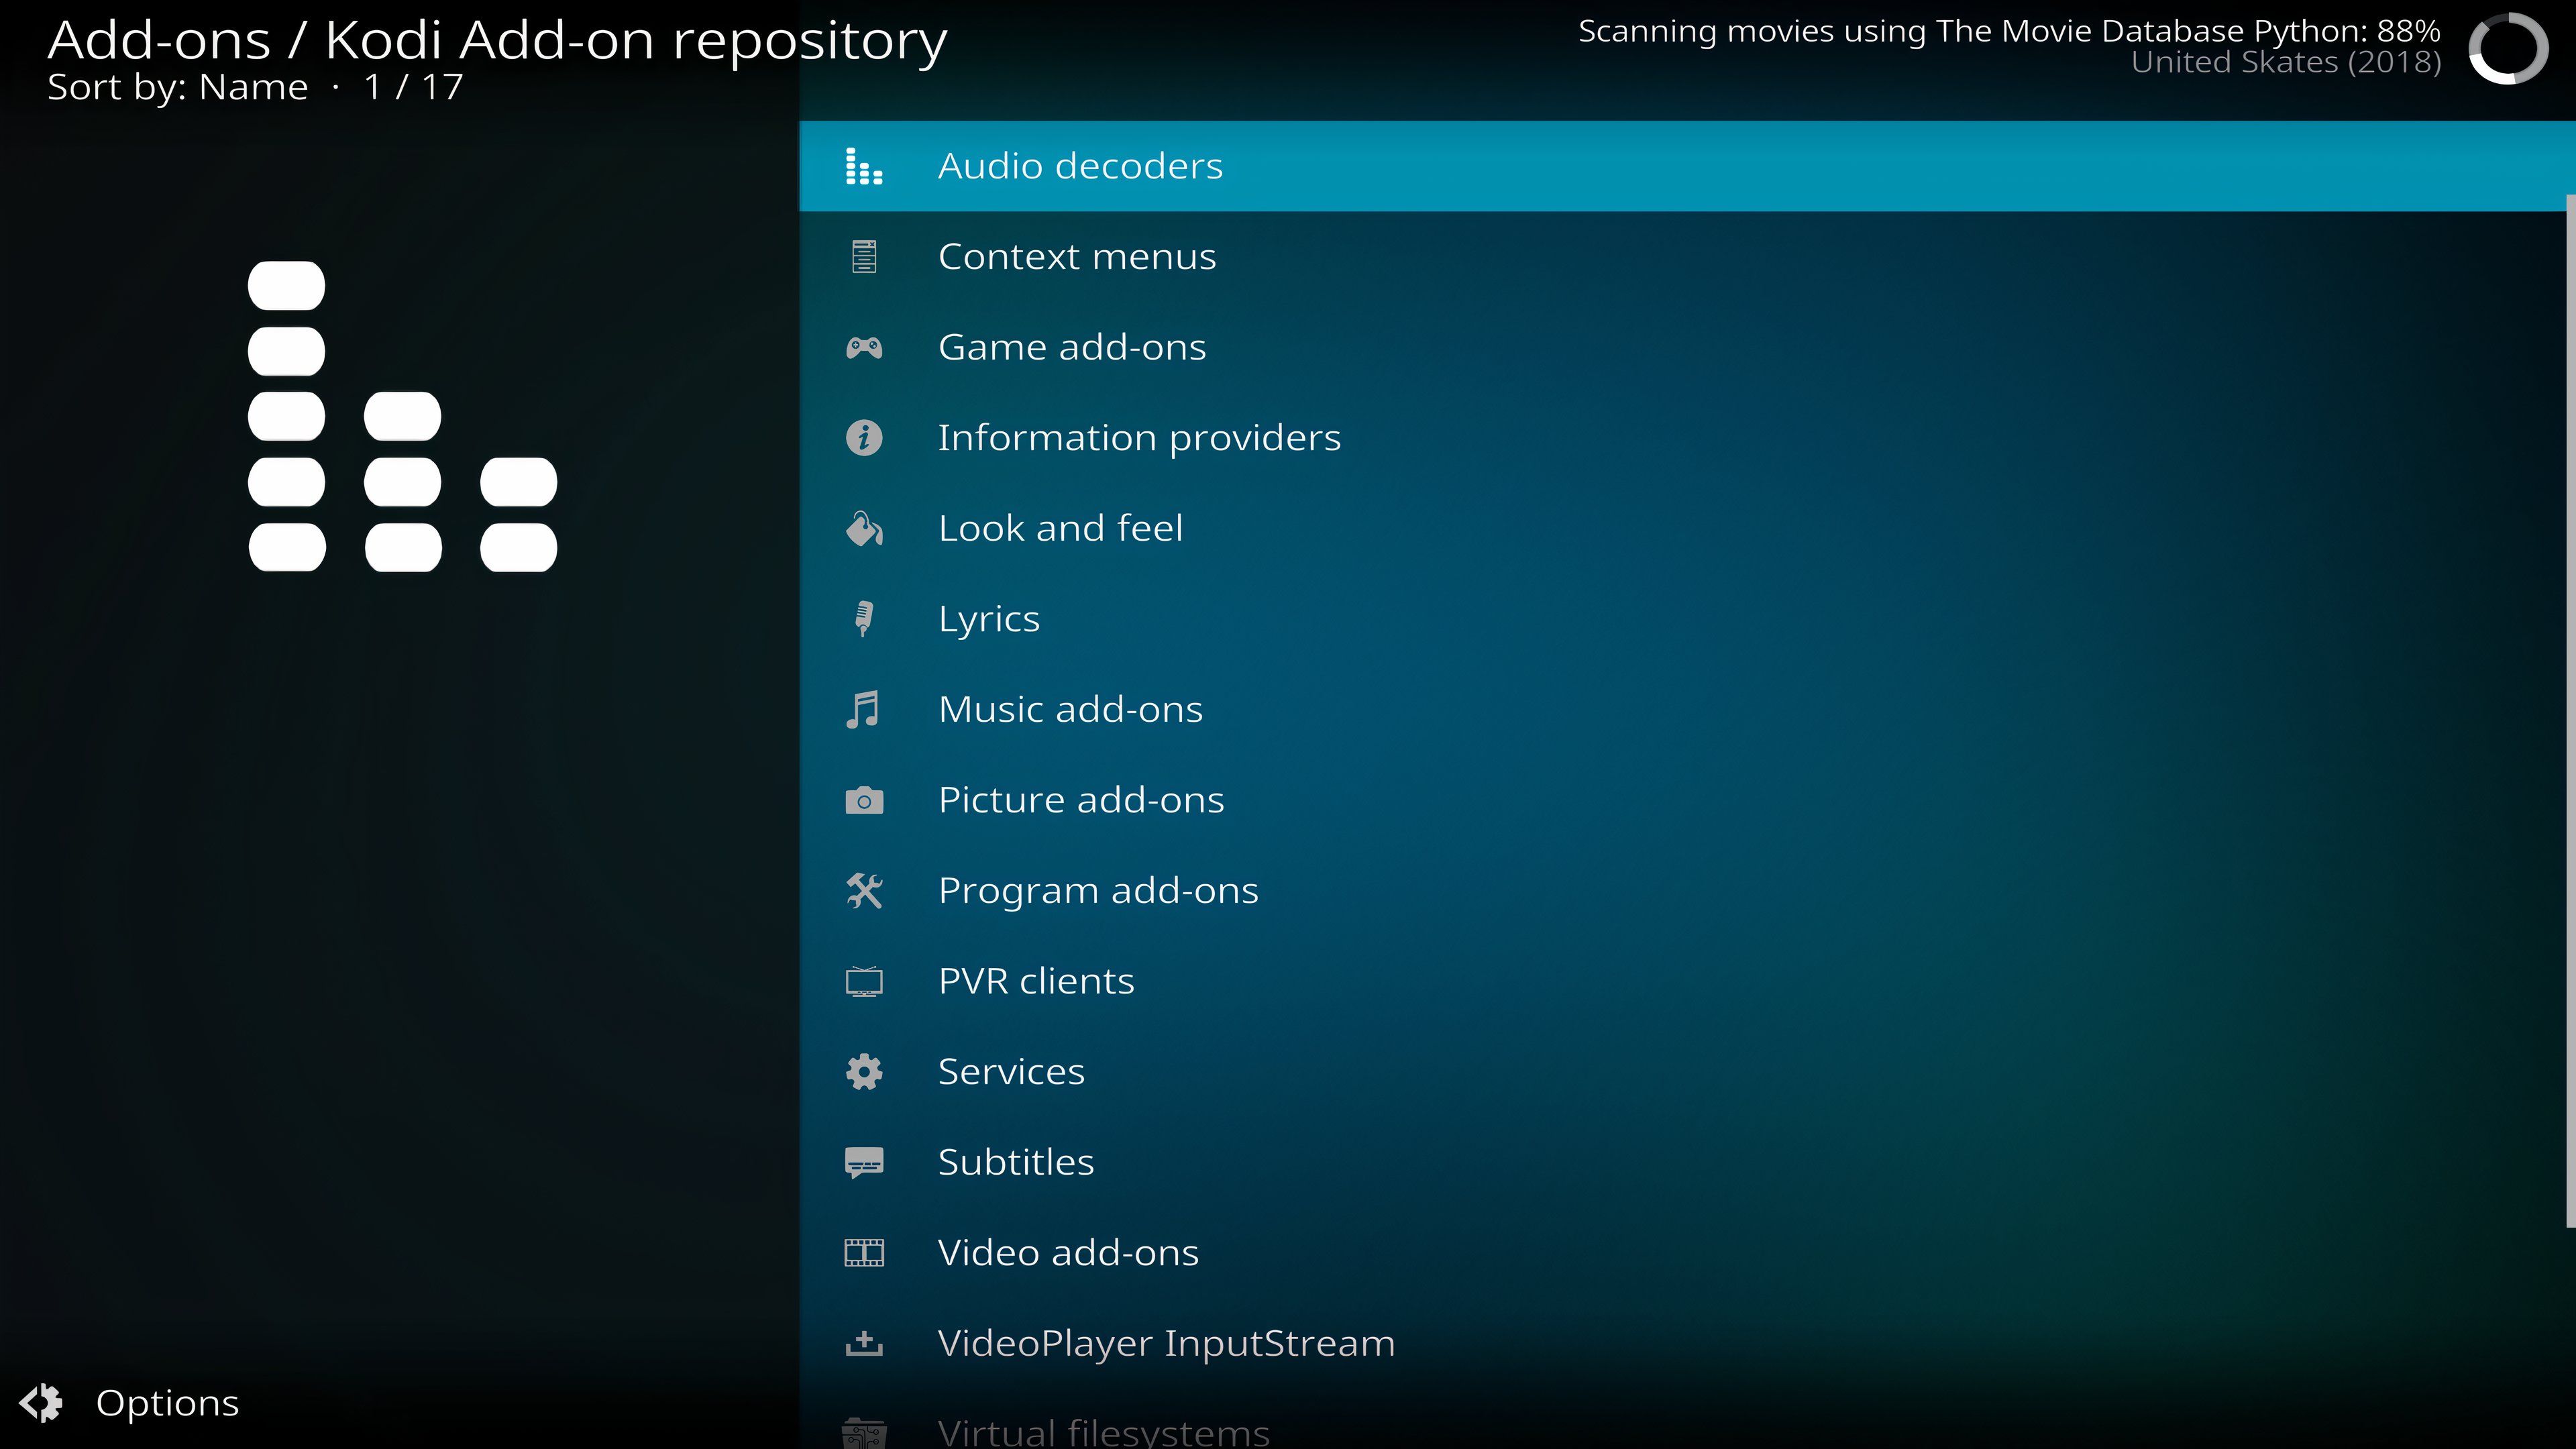
While Stremio is great for finding content on streaming services, Kodi is a different beast altogether. Previously known as XBMC (and Xbox Media Center before that), Kodi is an all-in-one front-end for curating and consuming a local media library.
Though Kodi has a huge range of add-ons available for it that also facilitate streaming, playing games, and much more; I primarily settled on it as a front-end for consuming local media. It’s a more mature platform than Stremio, the interface feels more responsive, and unlike Stremio it has a native Apple Silicon release (whereas Stremio still depends on Rosetta 2).
You might settle on something different entirely like Emby or OSMC. For me, Kodi has been the most reliable option thus far.
Another box I wanted to tick was delivering media anywhere else on the network. Though Kodi has add-ons for this, I’ve gone ahead on installed the Jellyfin media server (a great Plex alternative) and configured it to serve the same folders I’ve indexed in Kodi. This ensures I can stream this content from virtually any other device on the network that can make use of the UPnP protocol.
Unlike your smart TV’s interface or even an Apple TV, the Mac mini isn’t usable out of the box without some sort of mouse and keyboard. This isn’t necessarily an issue during setup, since you can borrow a spare keyboard and mouse from anywhere.
For daily use, however, it poses a problem. My two media center apps of choice—Stremio and Kodi—both support gamepad input, but I found myself venturing beyond these apps from time to time and wanting a compact yet fully-featured method of control.
I’ve settled on what I’ve been referring to as a “keyboard mouse,” an idea I shamelessly stole from fellow How-To Geek writer Adam Davidson who essentially rolled their own media control method in order to cut down on the number of remotes in the living room.
Some examples include the Miritz Mini Wireless Keyboard with Touchpad or the Fosmon Mini Bluetooth Keyboard. These connect wirelessly and show up as standard Bluetooth peripherals, each requiring a recharge when the battery gets low. They make it easy to use a mouse pointer, type in search queries, and trigger useful keyboard shortcuts you may need.
If you don’t want to go this far, you could use a smartphone with an app like Remote Mouse. I’ve dabbled with this solution, but it’s not quite as reliable as I’d like and it doesn’t work when I’m deliberately leaving my iPhone in another room to cut down on doomscrolling.
Finishing Up
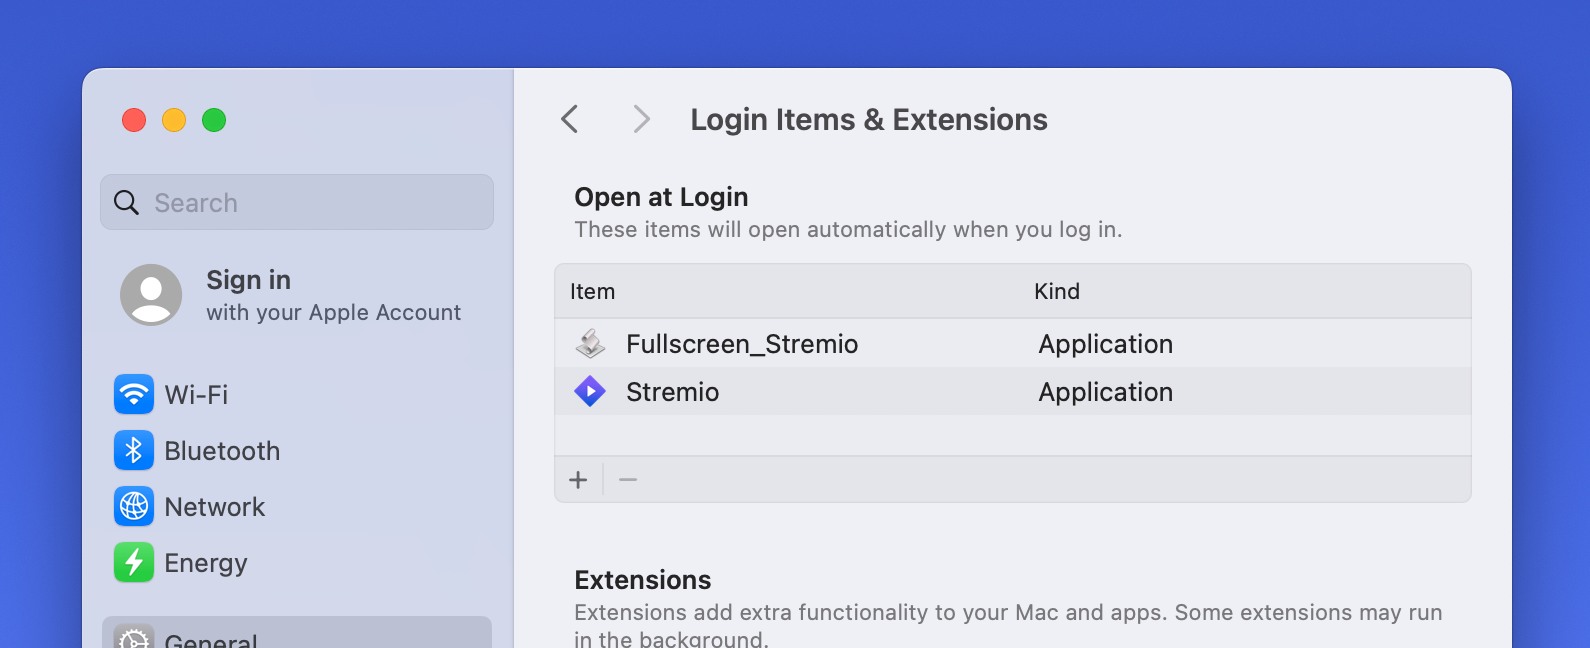
There are a few things you might want to do in order to get the best experience possible. With your “Media” account logging in automatically, it’s a good idea to also automatically launch your media center front-end of choice. You can do this easily by adding it to the “Open at Login” list under Settings > General > Login Items & Extensions.
In the case of Kodi, this works great since the app can be configured to launch in full-screen mode. For Stremio, things aren’t so rosy. I discovered that by writing a small AppleScript workflow that executes at login, I could use the default “F” keyboard shortcut to fullscreen Stremio at login.
If you want to copy my approach, launch Script Editor and paste the following:
Now save it as an Application, and run the application at login. You’ll need to grant the script the relevant permissions under Settings > Privacy & Security (you’ll get a pop-up the next time you restart).
Issues with the script running? Try unchecking the privileges you have granted under the relevant Privacy & Security menu and enabling them again. This fixed it for me.
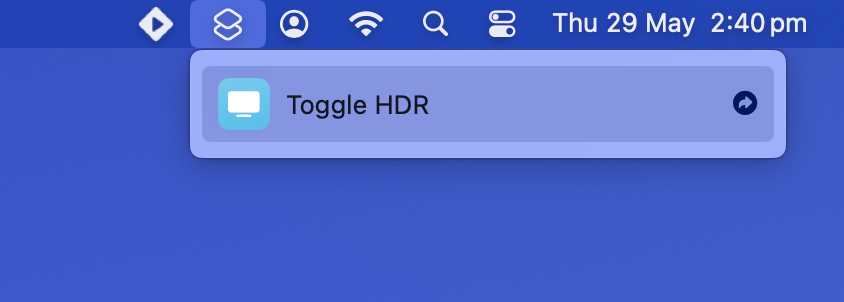
Lastly, I had some issues with HDR content. macOS doesn’t always handle HDR perfectly on non-Apple displays, with SDR content appearing a bit overcooked in my experience. The best way to solve this is to switch between HDR and SDR on the fly. I did this using the ToggleHDR Shortcut provided by Alin Panaitiu, who created the Mac brightness app Lunar.
One thing I love about my Mac mini media center is that it’s more stable than the webOS apps I’ve been relying on up until now. Having a responsive front-end and a reliable media server running on the same machine, which sits there and never makes a sound, is pretty neat.
Even though things aren’t perfect, notably HDR reproduction, I’m still glad I took a chance on this old silver box and I’m excited to expand its capabilities even further.

