Summary
- Exceptional print quality with the ability to create intricate textured surfaces.
- Innovative UV printer offers hands-free cleaning, auto-positioning, and can print on various materials.
- Both the software and firmware need updates before the printer is consumer-ready.
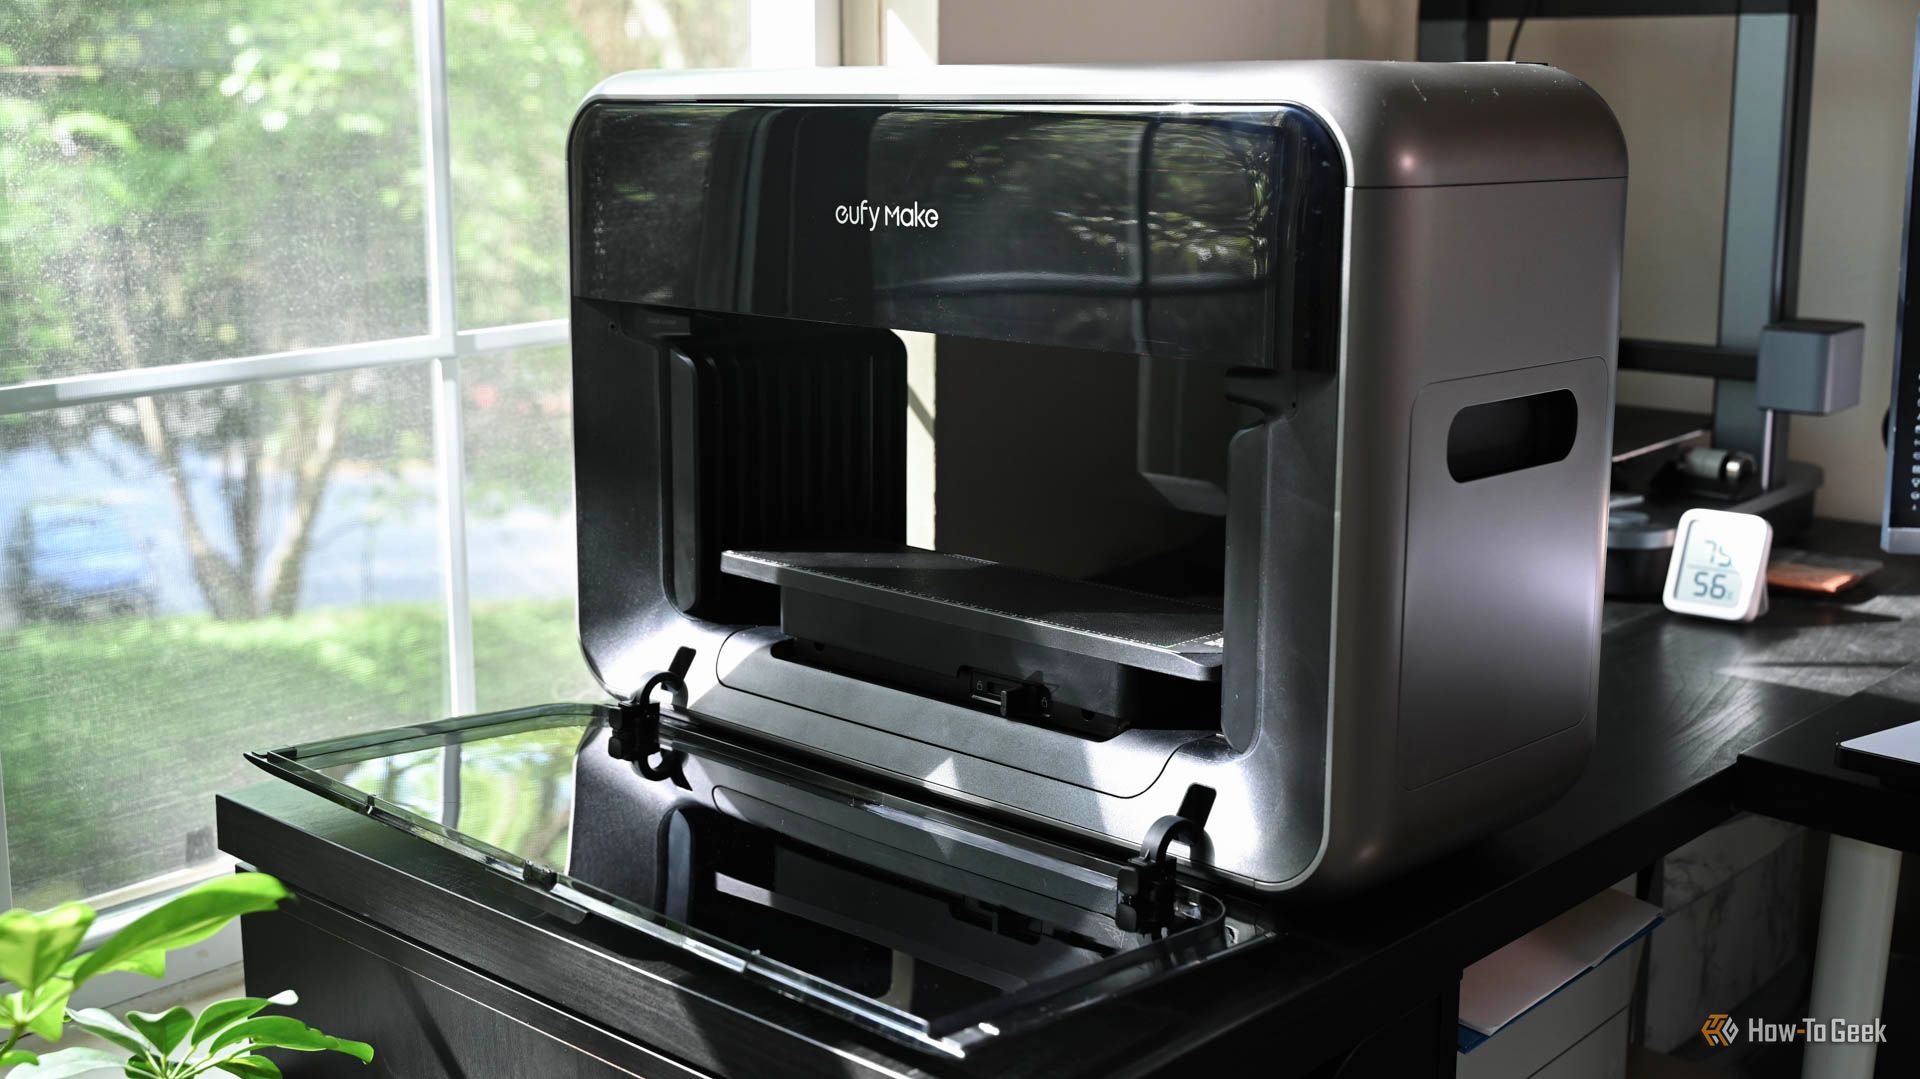
Anker’s former 3D printing division recently rebranded to eufyMake, and its first big launch of a consumer UV printer is underway. My initial skepticism turned to serious excitement when I saw the eufyMake E1 in person at CES, and while I’ve enjoyed using the printer, it could use some work.
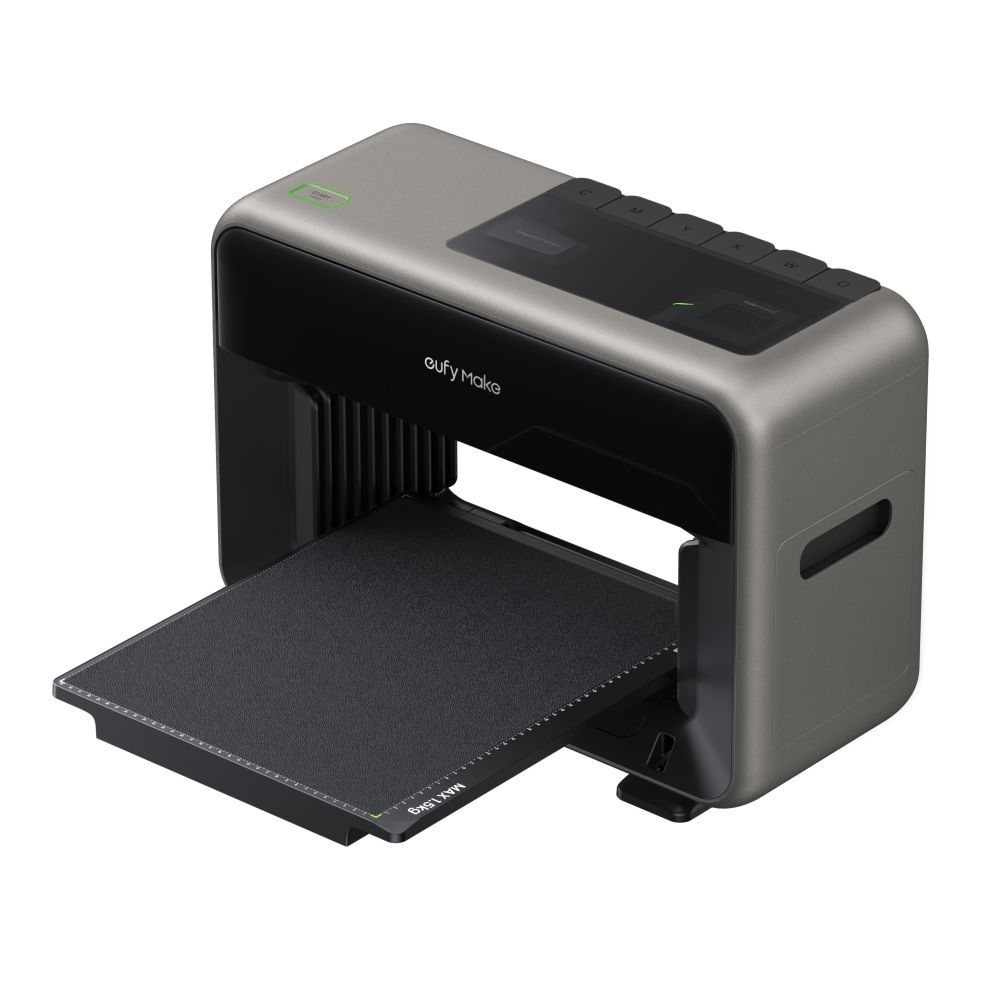
eufyMake E1 UV Printer
This revolutionary at home UV printer allows you to create 3D textured prints on more than 300 materials. With hands-free cleaning and auto-positioning, you can easily create high quality projects.
- Extremely high quality prints
- Creates intricate textured surfaces
- Tons of graphics available for use
- Can print on any material with a flat surface
- Quite expensive to up keep
- Machine constantly makes noise
- Numerous software limitations
See Our Process
How We Test and Review Products at How-To Geek
We go hands-on with every product to ensure it’s worth your time and money.
Price and Availability
The $1,699 early bird price of the eufyMake is intimidating at first, but compared to current UV printers, the E1 is significantly more accessible. That is still true at the full MSRP of $2,499.
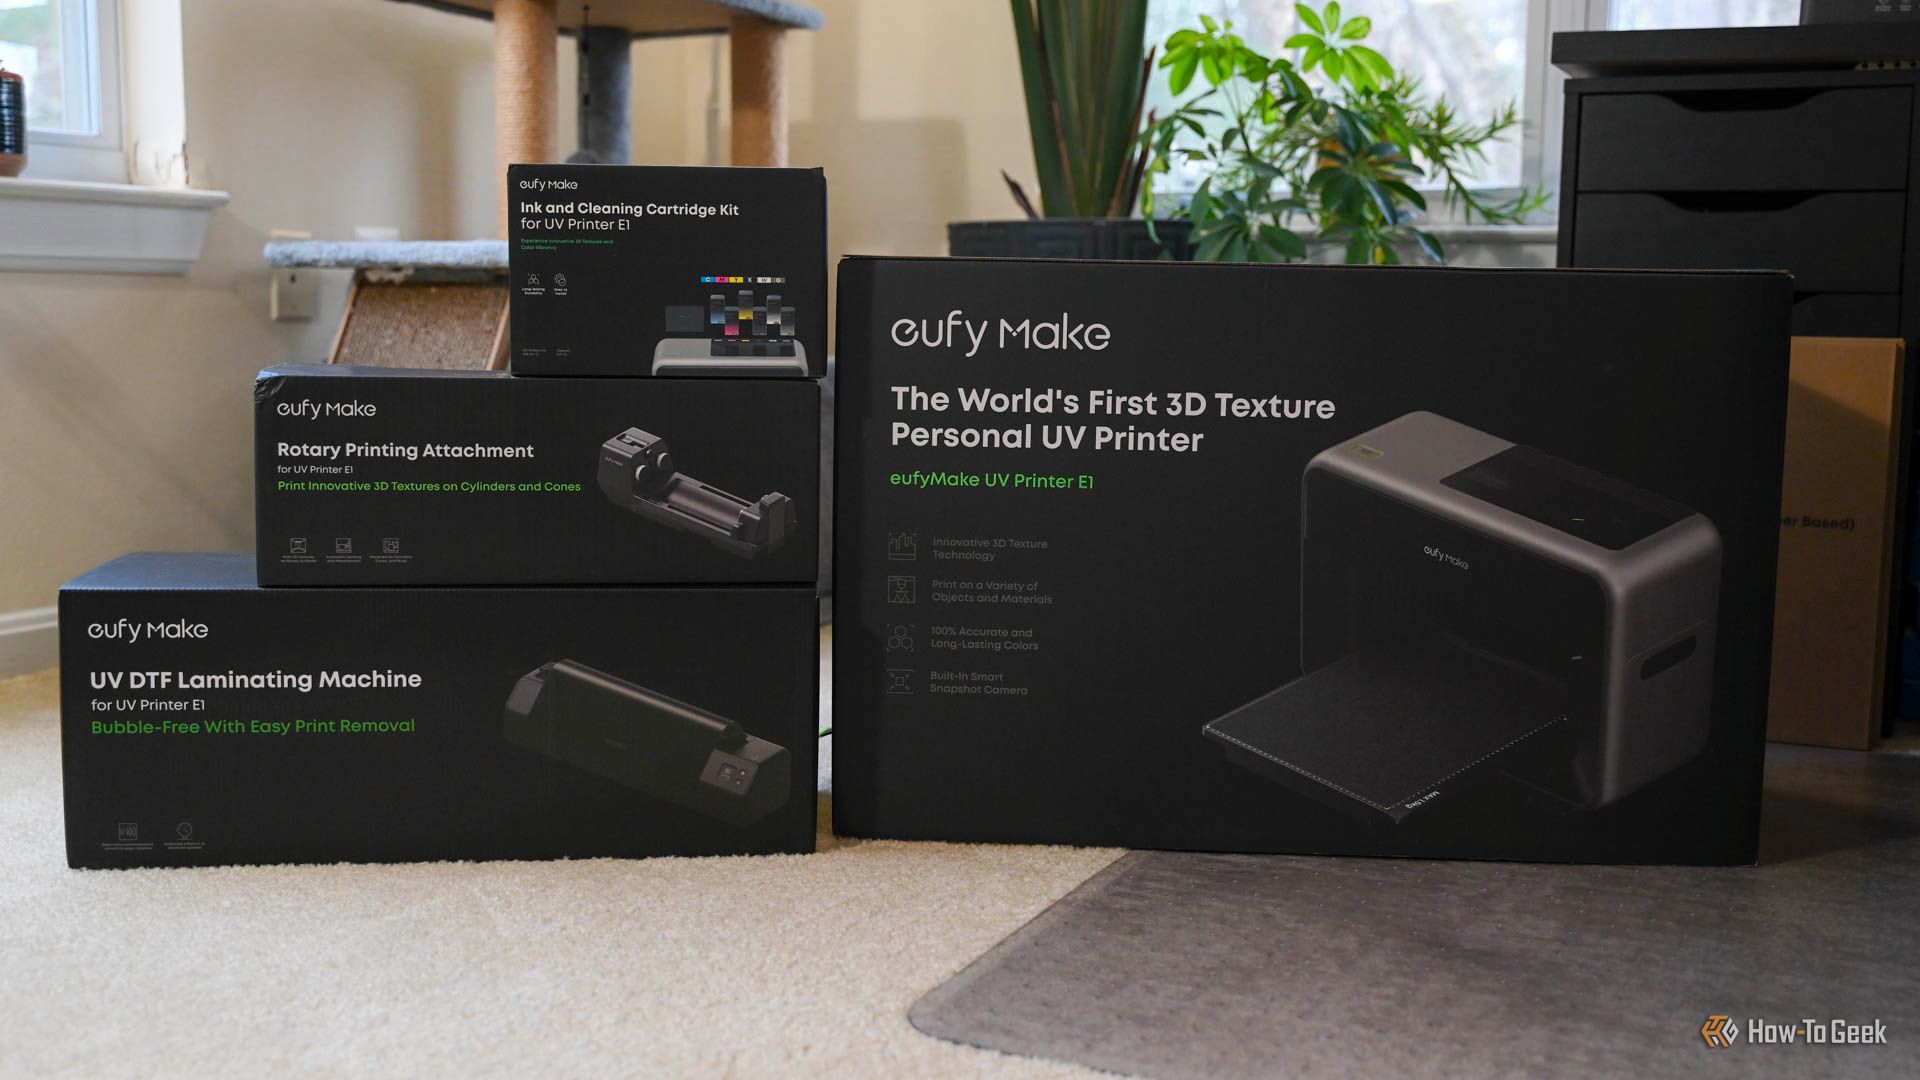
The main printer comes with mini and standard flatbed platforms, adhesive mats, UV goggles, an air filter, and power cables. It’s now available on Kickstarter, and shipments are planned to start in July 2025.
There are add-ons available such as the Rotary Printing Attachment ($399), the UV DTF Laminating Machine ($399), and the Ink and Cleaning Cartridge Kit ($299 for all six CMYKWG inks and a cleaning cartridge). Inks and cleaning cartridges can also be purchased individually. Subscription plans are available but not required.
UV Printing, Now At Home
This printer uses UV-cured inks. The process is similar to that of a 3D resin printer: numerous layers are applied and hardened, which can be used to build up texture. Here, the inks are cured directly onto the surface of the material you select, such as wood, acrylic, metal, canvas, ceramics, or pretty much anything else that’s flat (unless you are using the rotary tool). As the layers are printed, they are immediately cured with a UV light on the print head, so there is little concern of smudging wet ink.
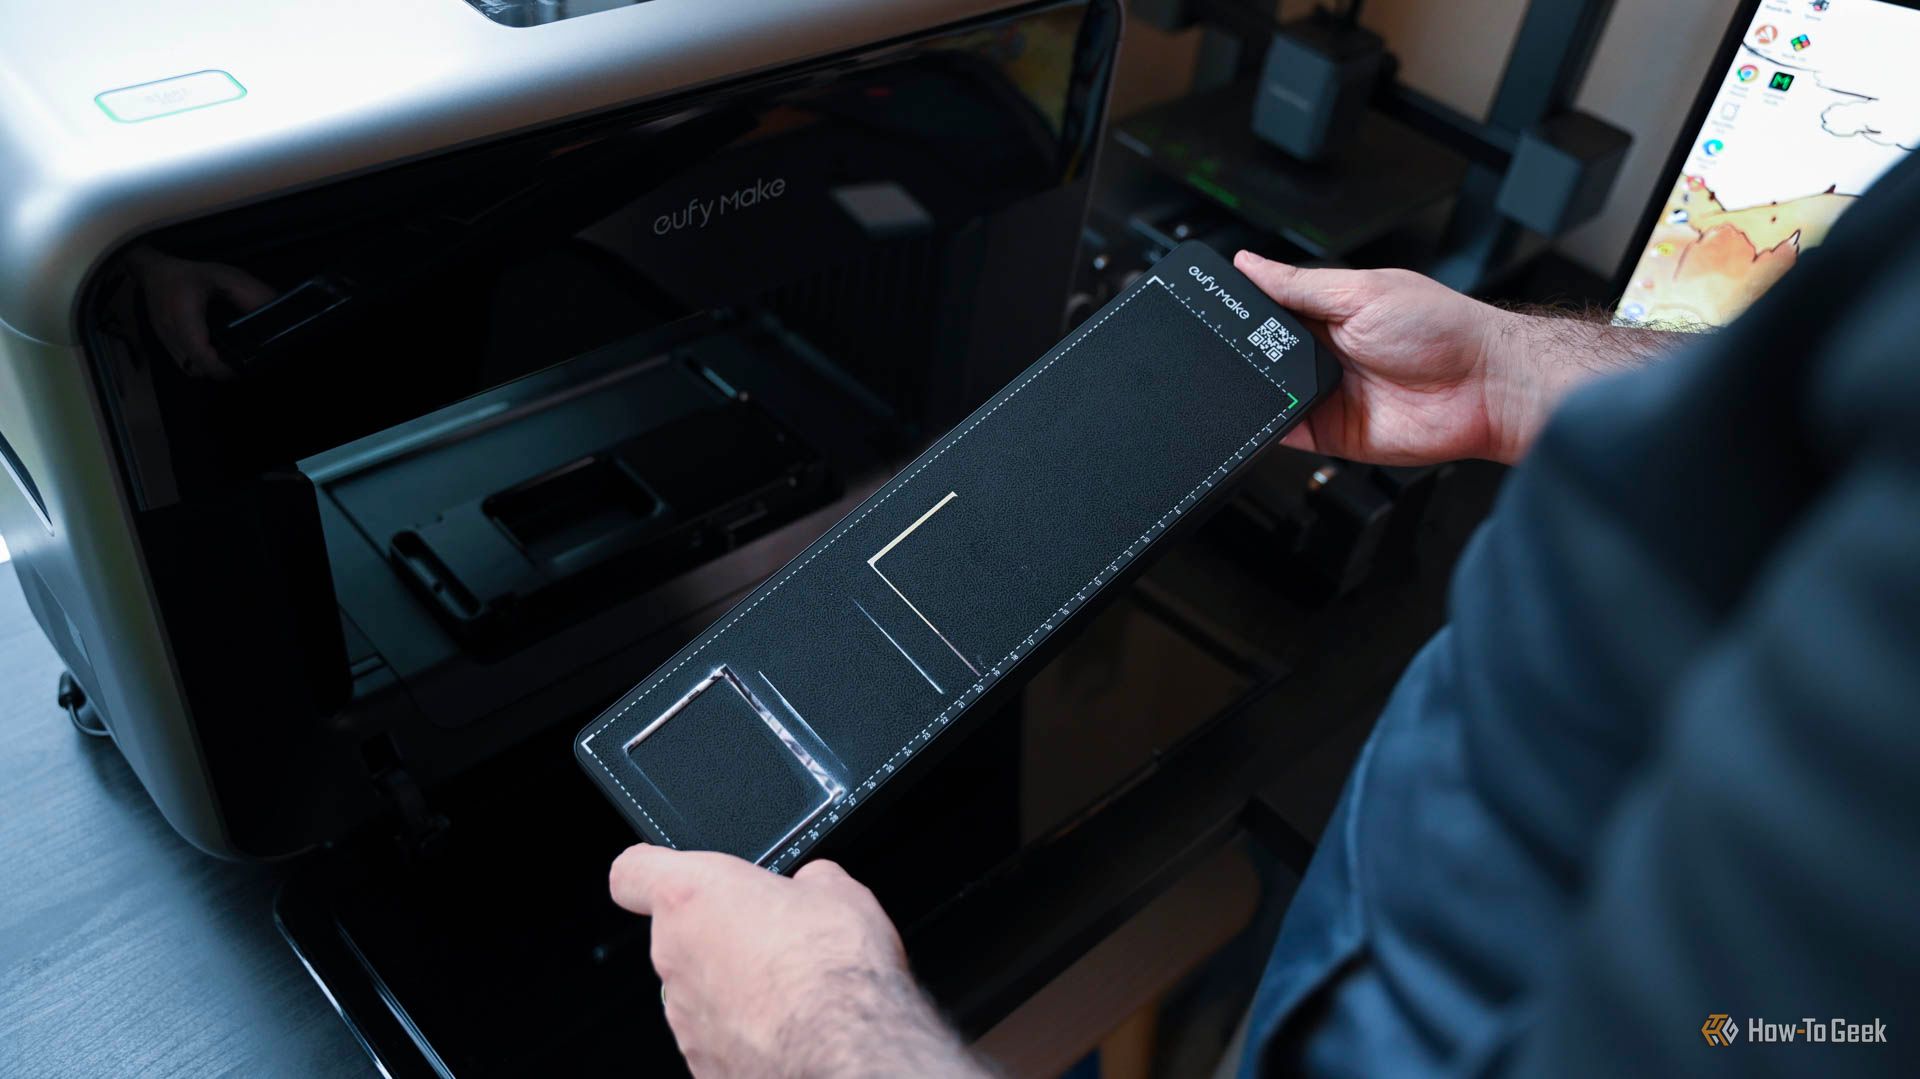
The beds can be swapped out easily, depending on what you want to print. The mini bed allows you to print smaller items like magnets, phone cases, and stickers with the doors closed.
The standard bed requires that both the front and back doors be open during printing. It can hold larger objects like canvases or can be useful when printing multiple objects at once. Personally, I use the mini bed whenever possible since it is nice to keep the doors shut during printing as a means to contain the smell.
The printbeds have replaceable mats with a sticky top surface to secure materials in place during prints. Printing on an object’s entire surface requires that you extend the design slightly past the material’s edges which adds a build up of excess material to your print bed so you do have to replace the mats somewhat regularly.
This guy takes up quite a bit of space. It wasn’t too hard to accommodate the large footprint of the printer, which is just shy of 2 feet by 1 foot, but the additional 12 inches needed on each side and the 16 inches needed in the front and back make the printer get put in a rather prominent position in my space.
Simple to Use and Hands-Off
The setup of the device itself is pretty simple. You have to install the six ink cartridges, a cleaning cartridge, and an air filter. There is only one button on the printer that you regularly interact with. You manually press the start button on the printer after sending a file from the eufyMake software or the eufyMake app, available on iPhone and Android.
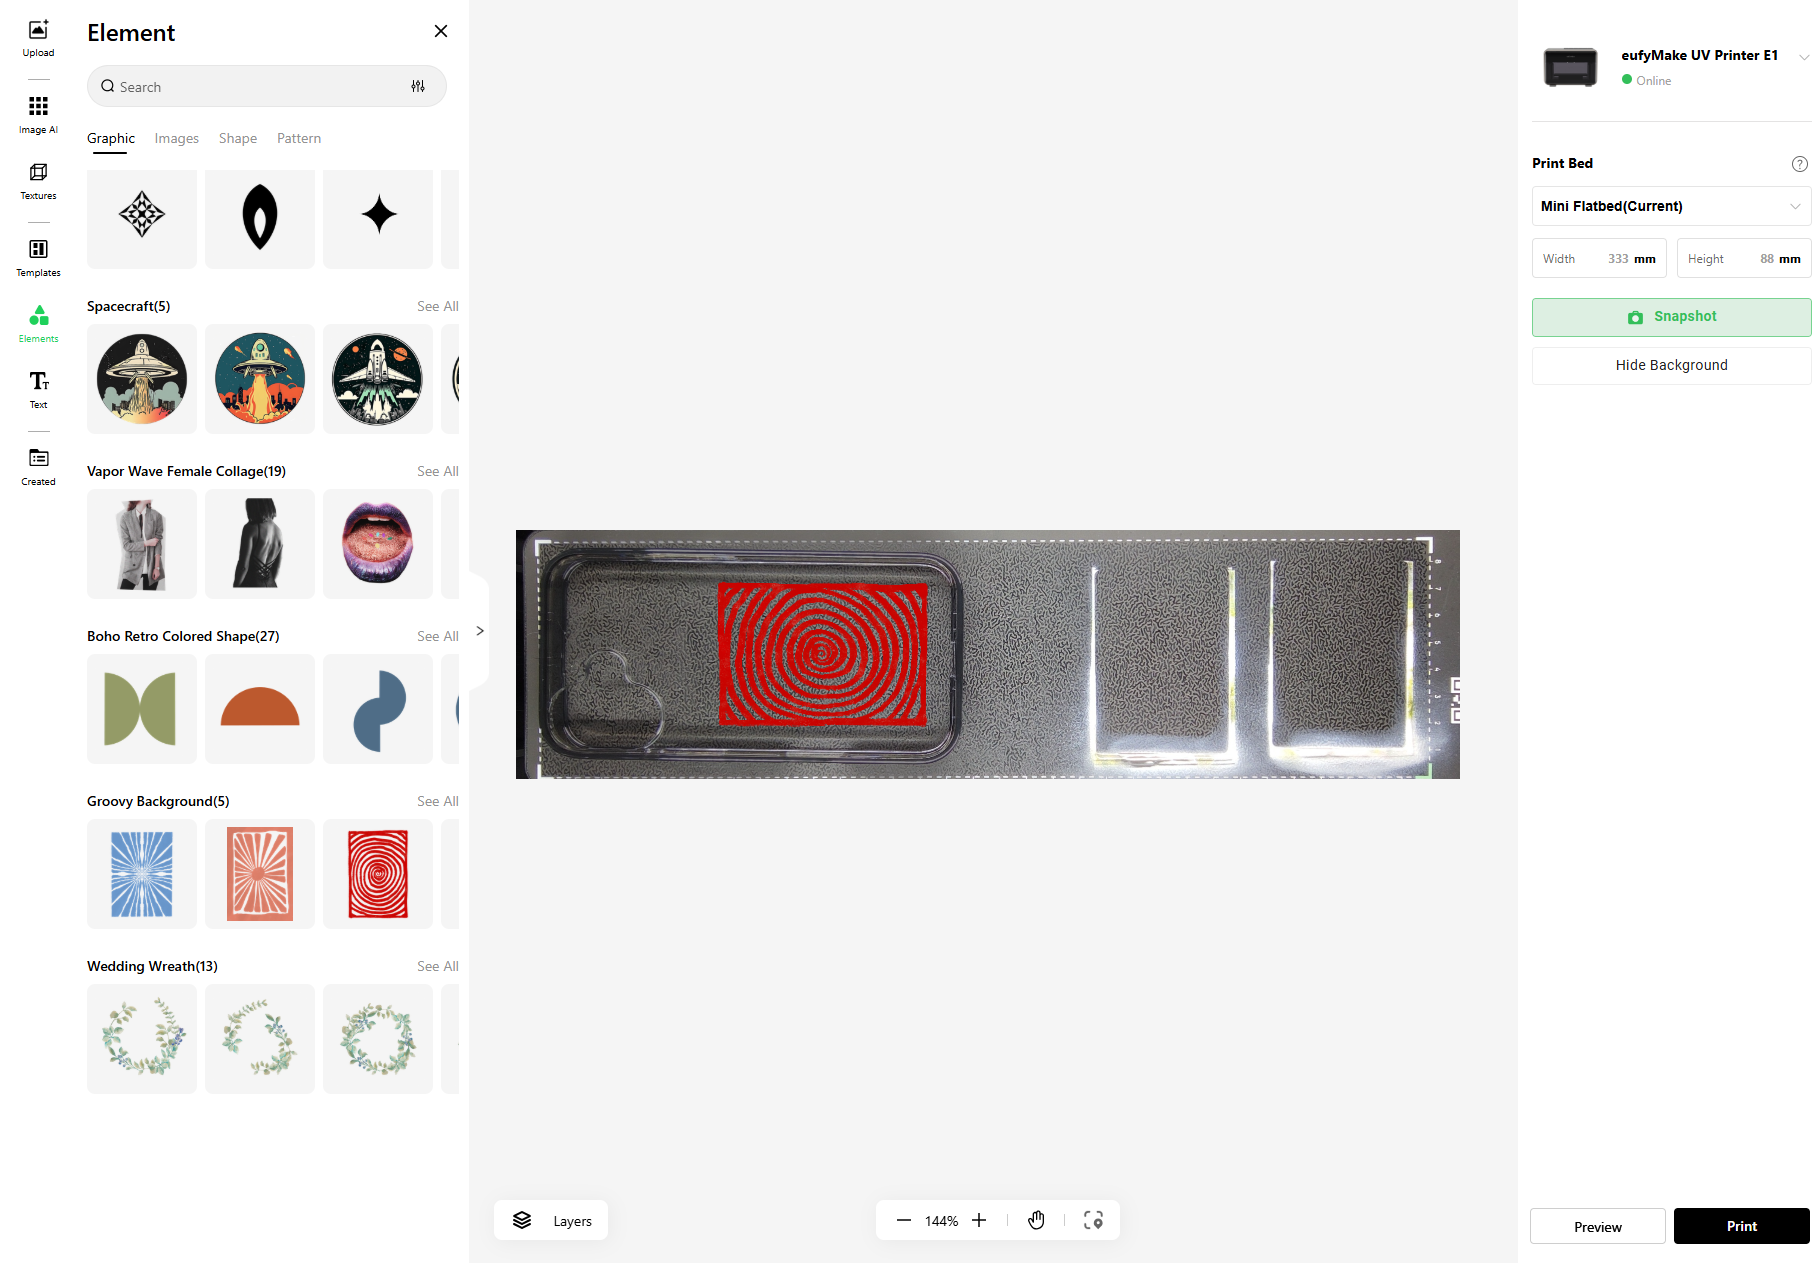
To set up materials, you place them on the bed and run a Snapshot. This underlays an image of what is on the print bed directly into your workspace. You can then align graphics to the corresponding materials.
Maintenance is pretty hands-off. Cleaning cycles are run from the app and don’t require you to do any manual work. The machine regularly cleans the nozzle. When it’s time to print, you inject ink into the nozzle with one click in the software, and after a bit of time, the machine is ready. It isn’t instantaneous. There are multiple moving liquids and parts, so this printer will probably take longer than you would expect to get ready to print.
One con of regular cleaning is that the printer makes noises every 20 minutes or so. Keeping it right in your workspace can be a bit irritating because of that.
Exceptional Print Quality
The prints that come out of this machine enter a whole new realm of what is possible for at-home creation. Products look authentic, official, and permanent. It’s a large step above the production value that vinyl cutters give you. With those and other current products targeted towards hobbyists, most things you can produce still feel handmade. There is a charm to that, but this printer is going for something else entirely: manufactured quality products.
The textured finishes enhance any print and give it more personality. That’s not to say prints without textures don’t have personality; they look fantastic as well. The colors are vivid, the finish is glossy, and they are more durable than previously possible with at-home printing.
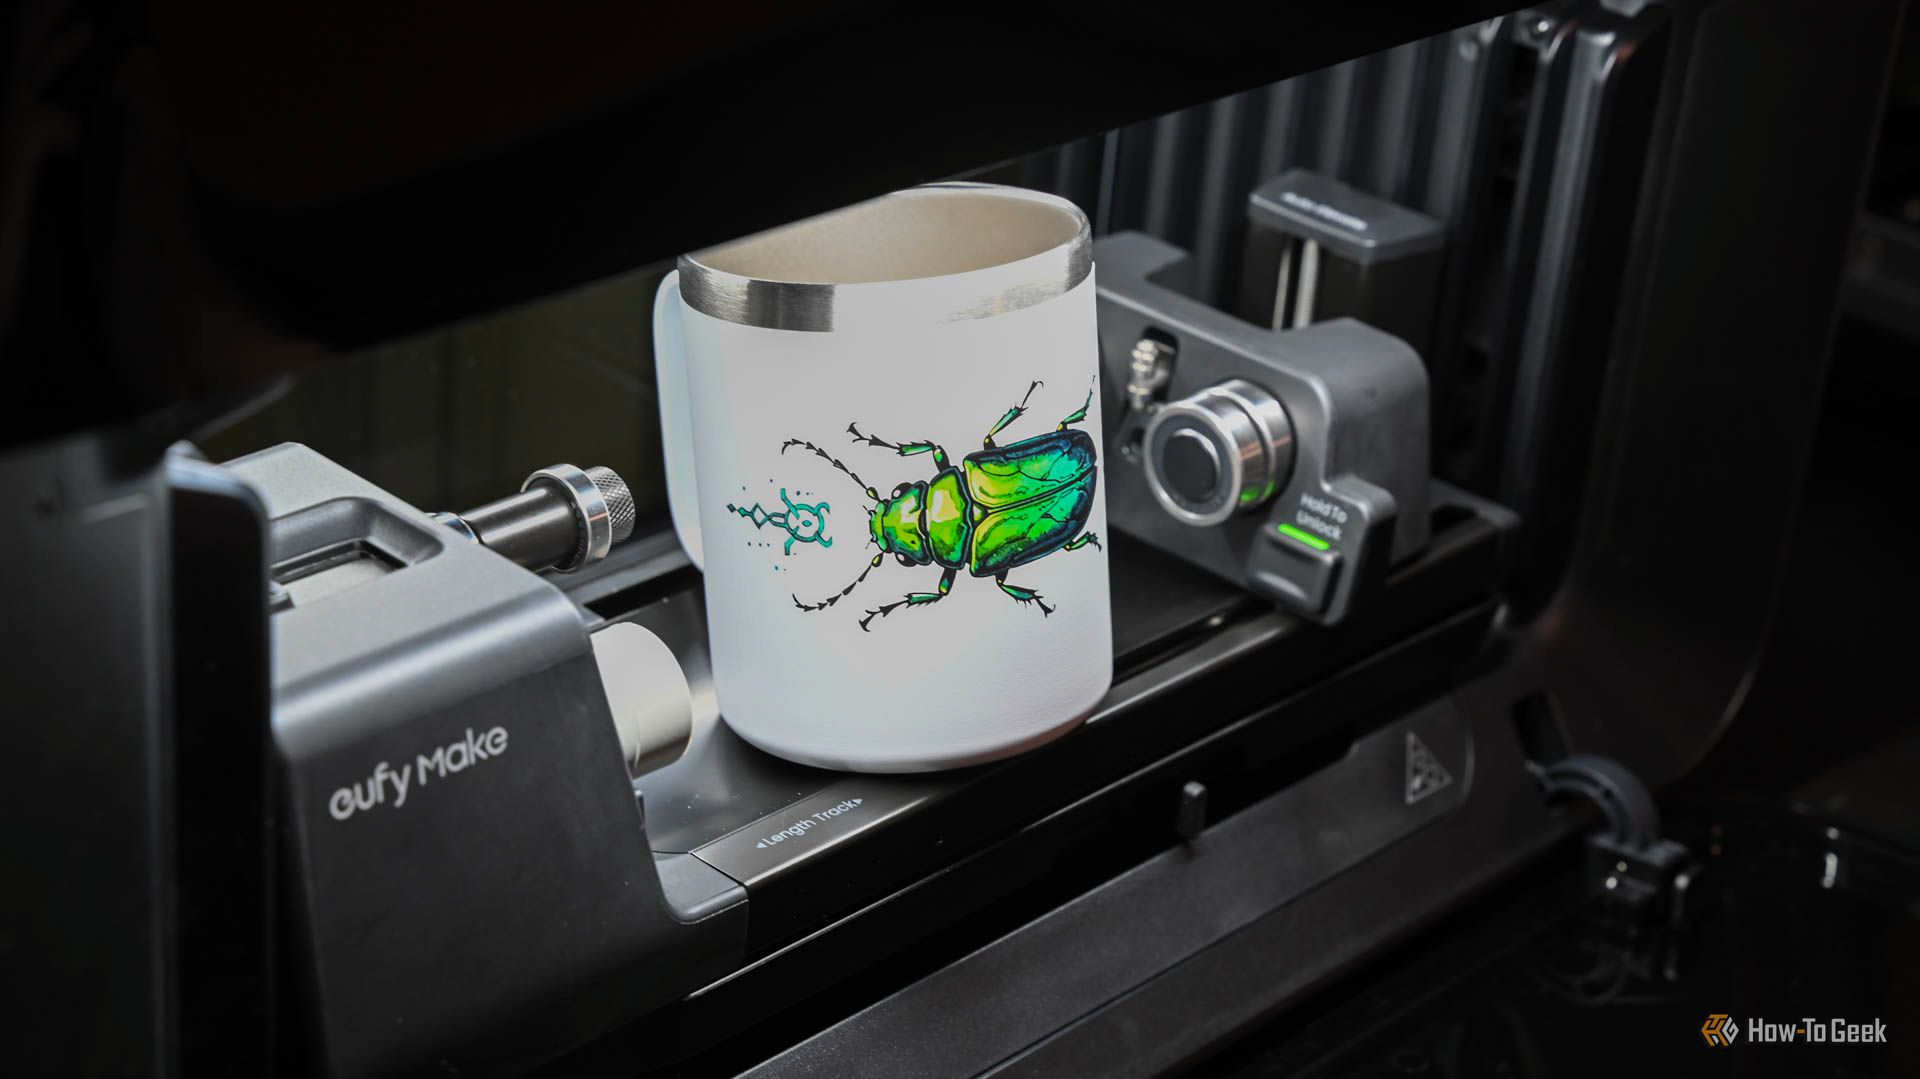
For more surface printing options, the E1 can be supplemented with a rotary printing attachment. It locks in place with the same easy connection as the print beds and utilizes impressive autoleveling. This device allows you to print directly onto cylindrical objects such as cups, mugs, and water bottles. You can’t create textured prints on cups, but the final products are still knockouts with crisp, waterproof designs.
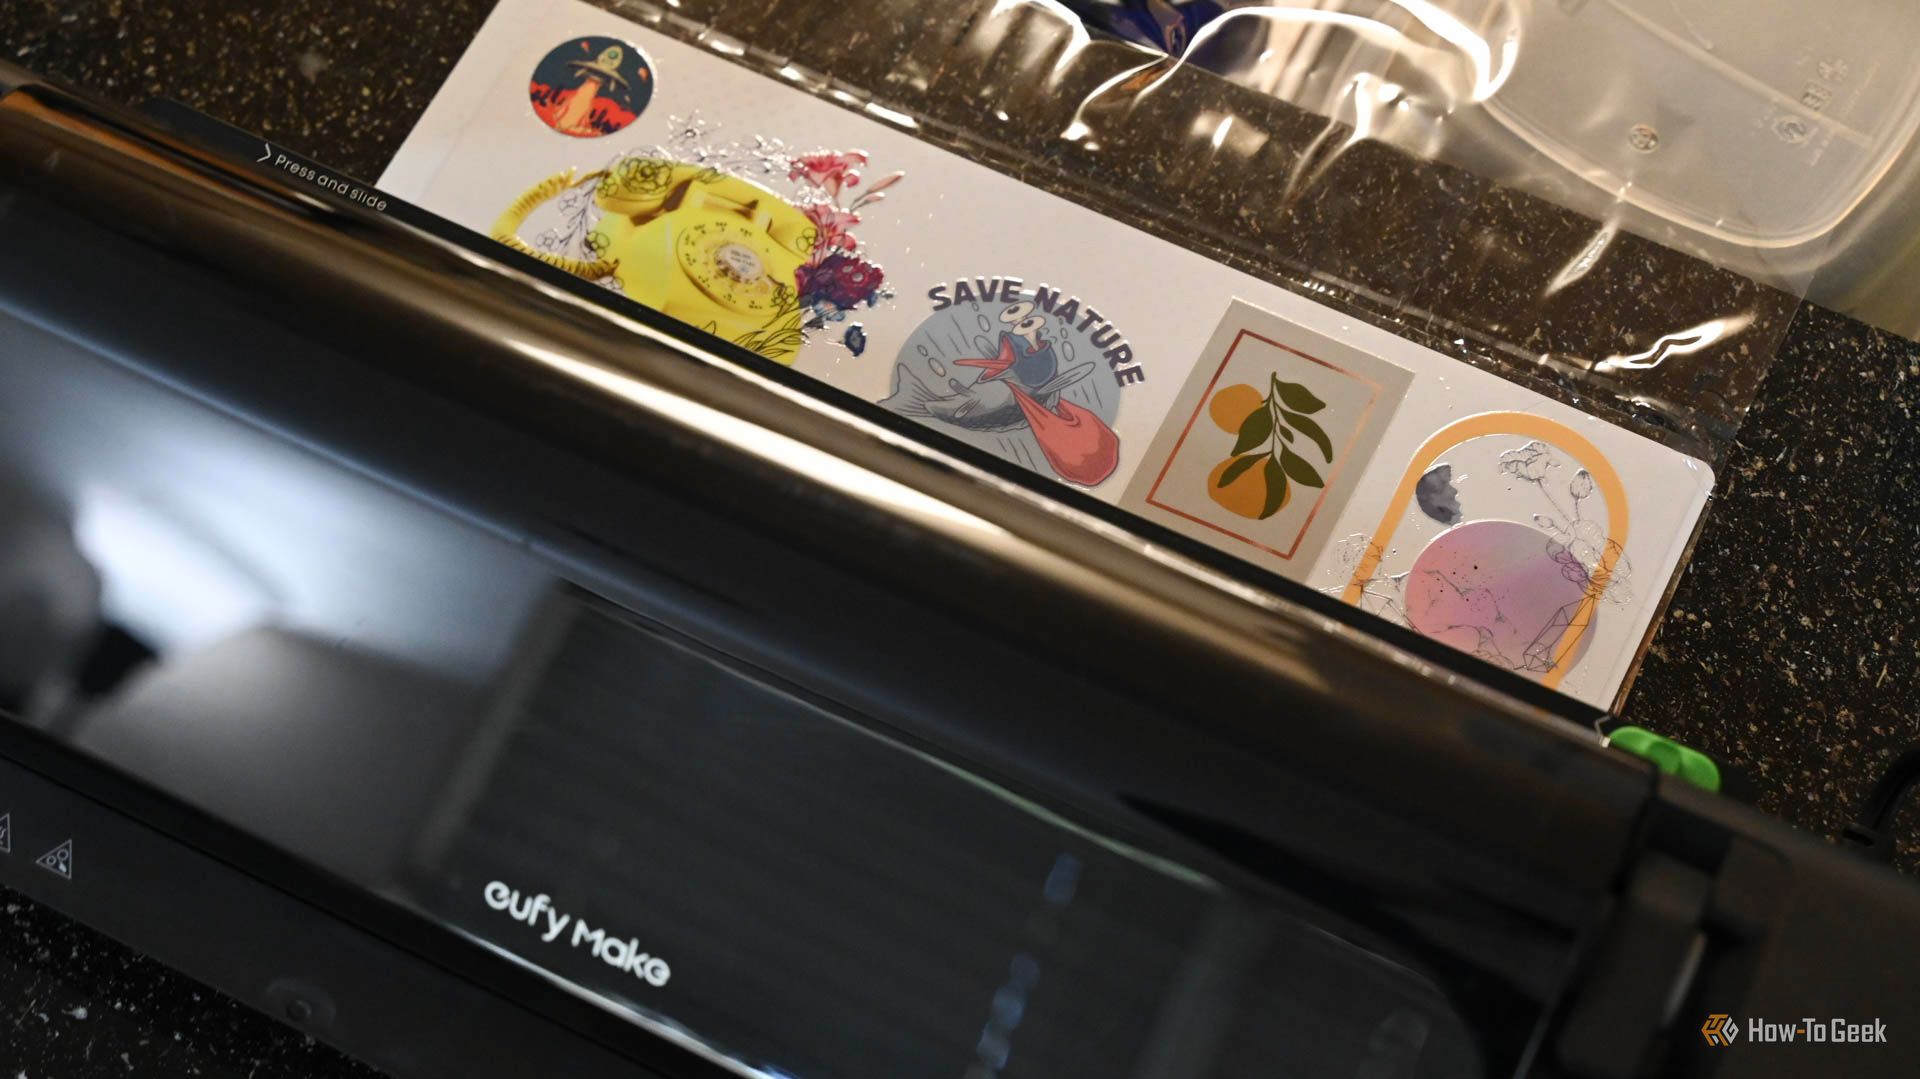
The DTF laminator allows you to easily create long-lasting stickers. The direct-to-film process works by printing on a rear film, laminating a new film on top, peeling the back film off, and then firmly securing the sticker in place by rubbing the surface with a flat-edged tool.
These aren’t peel-and-stick stickers, so I wouldn’t count on selling stickers as your final product, but you can easily use the stickers to customize products and then sell those. It is worth noting that, in my experience, linework doesn’t work too well with this technique. The prints are too fragile and then chip off in the transfer process.
AI Heavy, Basic Software
If you don’t know where to start, the AI Creative Lab is really helpful. You don’t have to be an artist coming up with elaborate graphics. There are a ton of pre-made templates, individual graphics, images, and 3D textures you can use to create your own designs. By bringing your own photos into the software, you can have them rendered into different styles for a few AI credits.
With a free account, you get monthly AI credits, but you can purchase more if necessary. Stylising photos and adding textures also cost credits.
The eufyMake software is very barebones for editing graphics. The background removal feature works pretty well, but other than that, you can really only crop, change the opacity, and upscale the definition.
Some elements of masking need to be included in this software. If I want to print a phone case, I should be able to easily confine my design to the bounds of that phone case. When adding a background color to the case, I have to either waste ink over the camera cut out or use an external software to design a graphic of the correct shape.
Problem-Solving Costs You Money
I’ve run into a few notable issues while testing the E1 Printer. First, one cartridge wouldn’t print. While this is apparently a known issue that R&D is working to resolve and can successfully be fixed by taping the cartridge down, I ended up running numerous test prints and cleaning cycles before I realized I couldn’t solve the issue on my own. I used up a significant portion of my cleaning solution to get nowhere.
I then had a recurring issue where the generated 3D texture of the print was offset from the object it represented. In general, this wastes the material it is printing on as well as inks, even though the error looked pretty neat on my canvas print. It seems that this happens when the art is repositioned in the print preview, but I can’t tell for sure.
As of this writing, there isn’t any way to tell the cartridge levels in either the software or the app. There is a spot for it, so I’m sure it will be implemented shortly, but as of right now, you’re just prompted mid-print to change a cartridge when it gets below 10%. I would very much like to know if I will run out of ink during a print before I start to make sure I have the correct ink on hand.
I also wish the gloss and white cartridges were larger. They are used significantly more than others since white builds up texture, and gloss covers every print. When I ran out of my first gloss cartridge, I had only printed a handful of small prints, and I really didn’t feel like I got a good value out of it. I know a lot of ink was wasted troubleshooting, but I still felt slightly disappointed with how fast it disappeared.
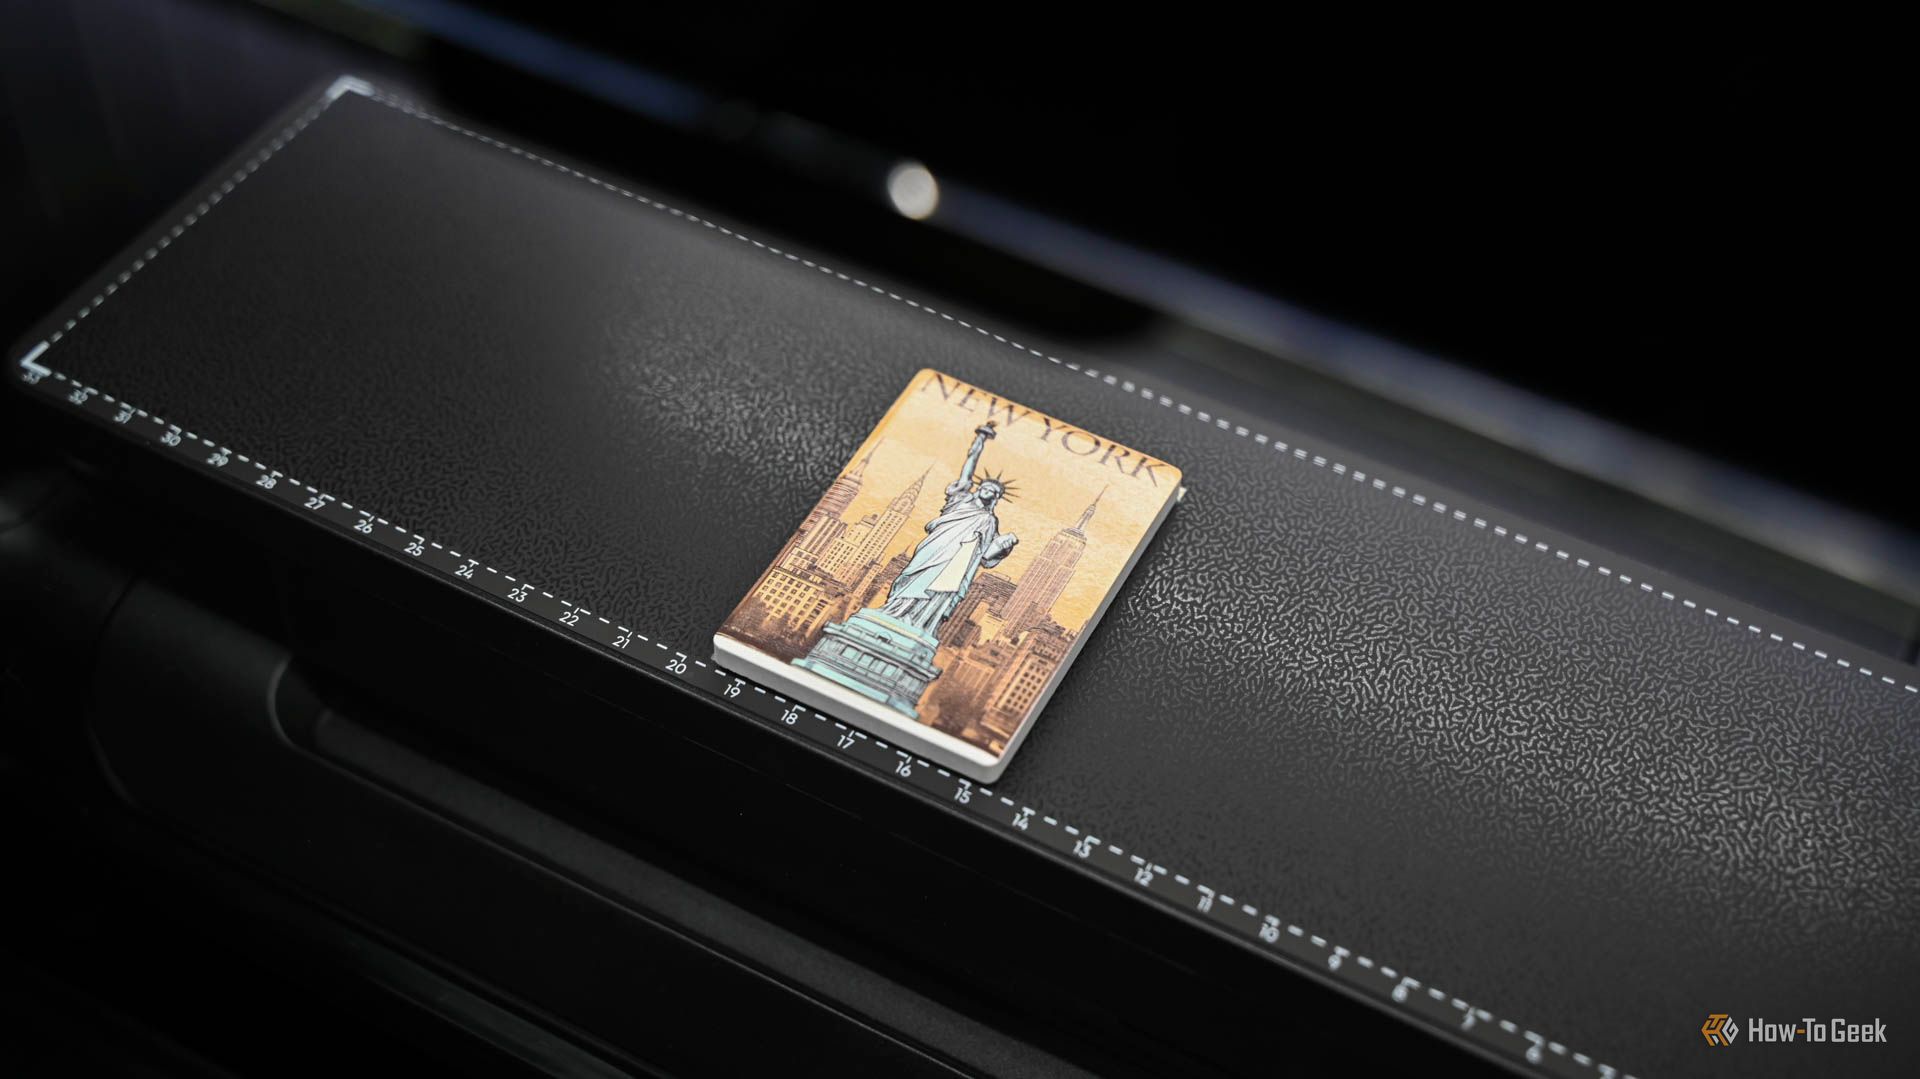
The machine also can’t print all the way up to the perimeter of the print bed. There are lines and measurements on the perimeter of print mats, so it seemed logical to use them to align my magnet to them as I set up my first print. You are just supposed to stick it arbitrarily on the mat and avoid the perimeter, since they are, in fact, not guidelines.
My testing has concluded, not by my choice, but instead because the printer no longer registers that the cleaning cartridge is installed. I’m disappointed since I did love playing with it, but I think this break is for the best. I want to utilize this machine, but I’ll wait to revisit it until it hits retail shelves so pre-launch bugs can be addressed.
Should You Buy the eufyMake UV Printer E1?
I know I have a lot of criticisms here, but I really love the technology and potential of the eufyMake E1. If you are considering this printer, please remember it will continuously require expensive ink, replacement print mats, and cleaning solution. If you are an entrepreneur, it might be worth the investment. These are high-quality prints, so you can plan to make some money if you sell them.
The technology is remarkable, but it isn’t quite ready for consumer use, though it is close. Since most of the hurdles I’ve run into could be fixed by software and firmware updates, it might be consistently functional by the time you can get it in your hands, but I can’t say for certain. The kinks need to be ironed out since any obstacle you encounter will result in you wasting materials.

eufyMake E1 UV Printer
This revolutionary at home UV printer allows you to create 3D textured prints on more than 300 materials. With hands-free cleaning and auto-positioning, you can easily create high quality projects.

