Quick Links
Your iPhone’s Wallet app is a convenient way to store multiple cards, passes, and IDs digitally, skipping the hassle of carrying physical items with you while worrying about safety.
You can store more than just a payment card and a few event tickets in your iPhone Wallet. Here’s a full list of items you can add to your wallet, though keep in mind not all features are available in all regions.
How to Add Passes and Cards to Apple Wallet
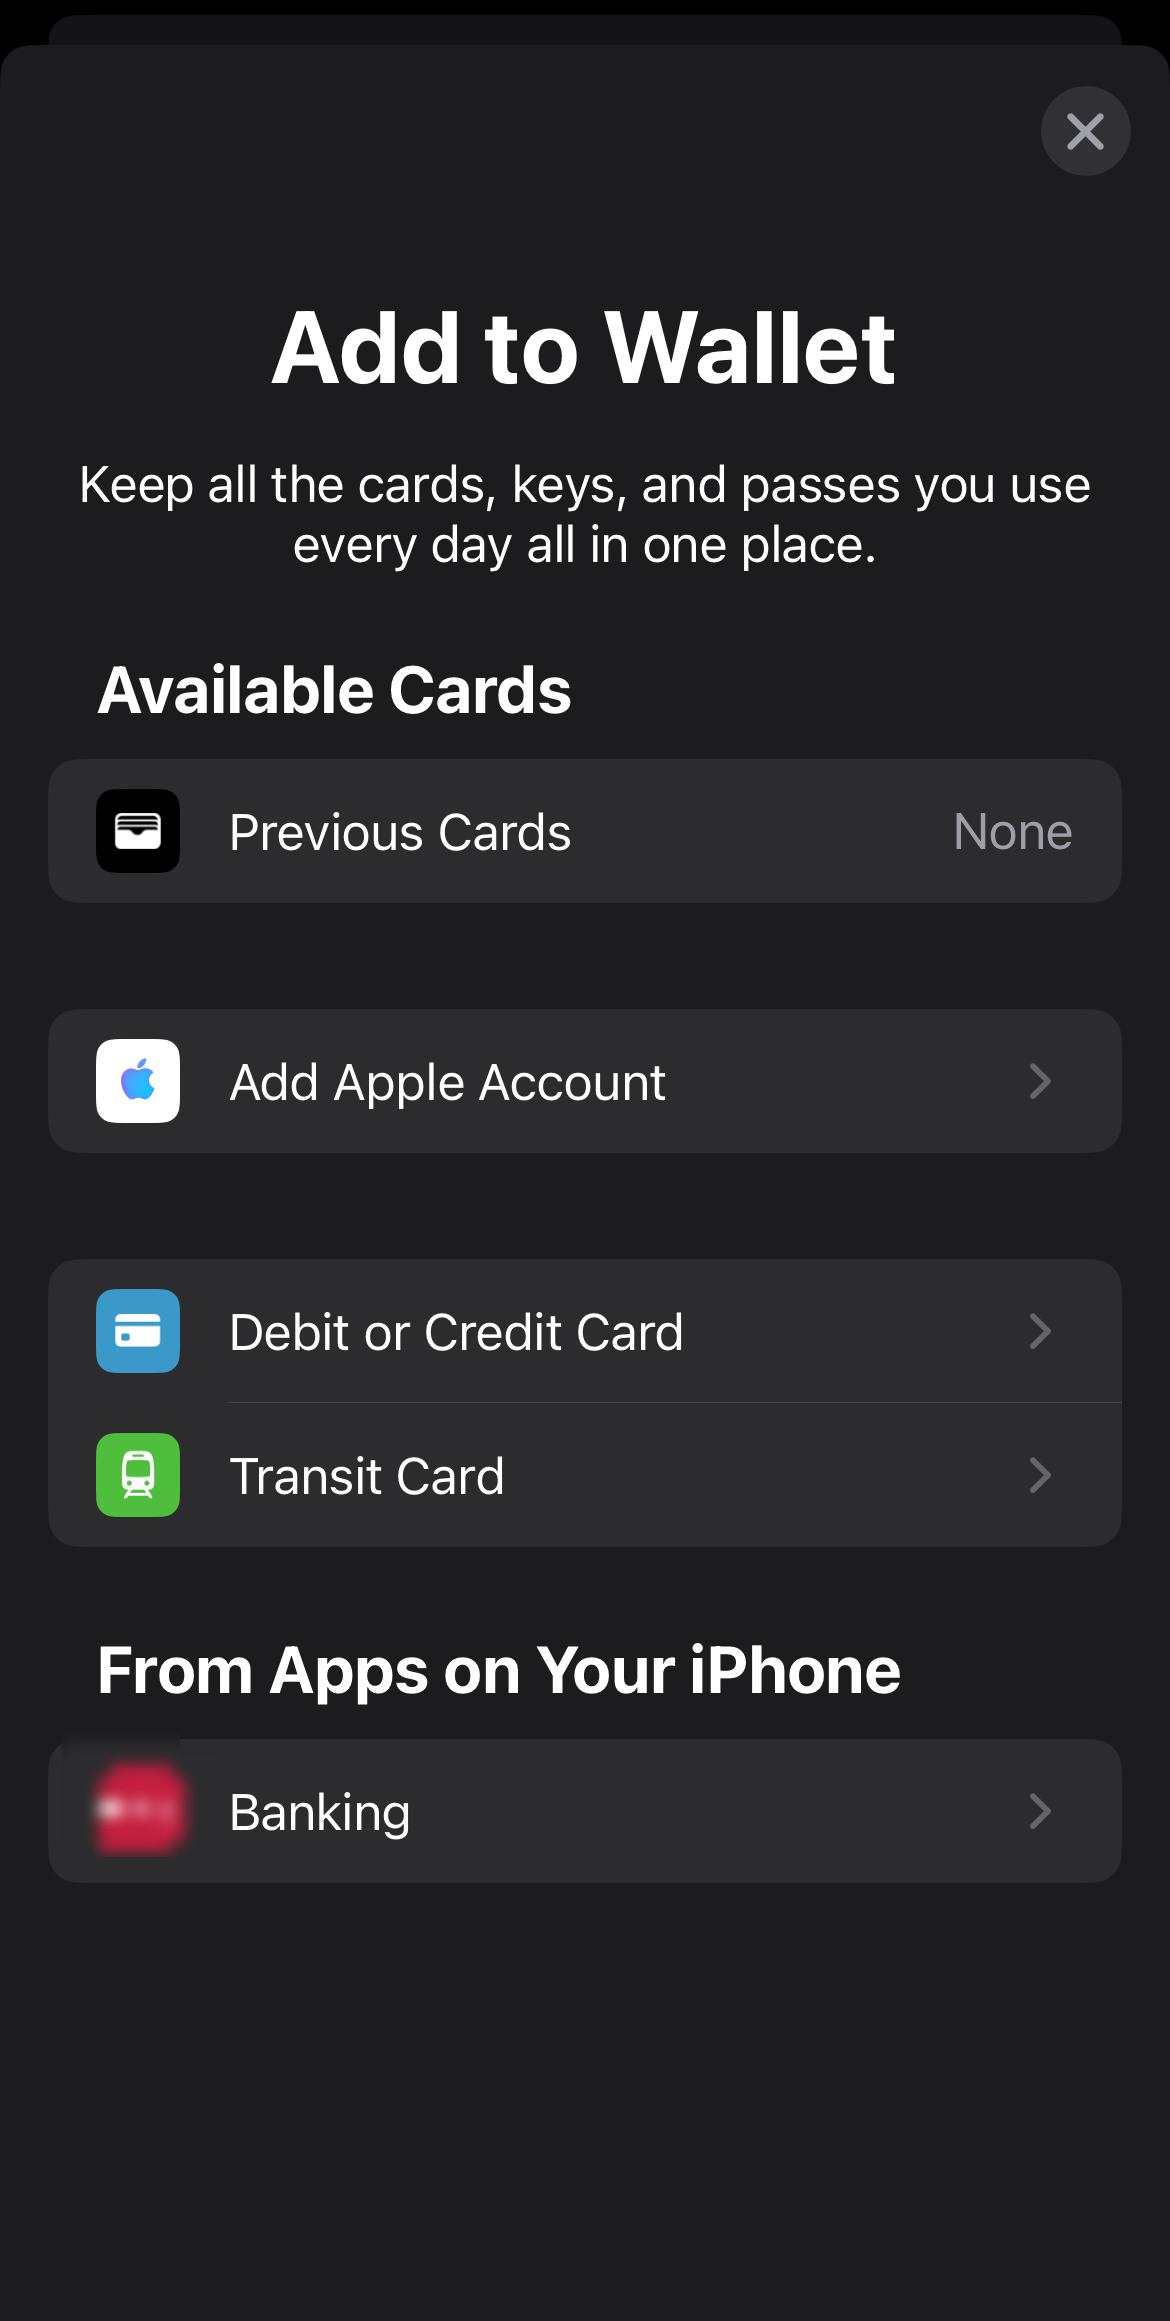
Before diving into what you can add to your Apple Wallet and use it with no hassle, let’s cover how to add cards, passes, and eligible items. There are two ways to go about this. First, you can add eligible cards from the Wallet app, including your debit or credit card, Apple account balance, transit card, tickets, and other items that can be added from apps on your iPhone (where supported).
Open your Wallet app and click the “+” (plus) button in the upper right corner, then tap on any available card to enter your details. Card details can be entered manually, or you can use the camera to scan them instead. You can tap “Apple Account” to use your account balance for purchasing products, apps, games, music, etc.
The other way to add items to Wallet is to add eligible cards and passes (IDs, passes, loyalty cards, etc.) through third-party apps that support Apple Wallet. After downloading the app, locate the card or pass that you need to add, and tap “Add to Wallet,” which usually has the Apple Wallet icon next to it.
Using A Saved Card from Wallet
Once a card, pass, or item has been added to Apple Wallet, you can use it for purchases, entry, or authentication with a simple step. To access your list of saved items in Wallet,
- Double-click your iPhone’s side button if your iPhone has Face ID, then authenticate it using either Face ID or your password (you can also locate the Wallet app and launch it manually).
- Authenticate with Face ID or Touch ID where relevant.
In both cases, you can switch between cards and authenticate them to use, either by showing or tapping your iPhone onto a contactless reader as needed. Organizing your cards and passes will make them easier to use. You can also pair and use your Apple Watch to pay or use saved cards, passes, and other items in Wallet. Make sure you have the latest version of iOS and watchOS so you don’t miss out on available cards and passes.
1
Credit or Debit Card
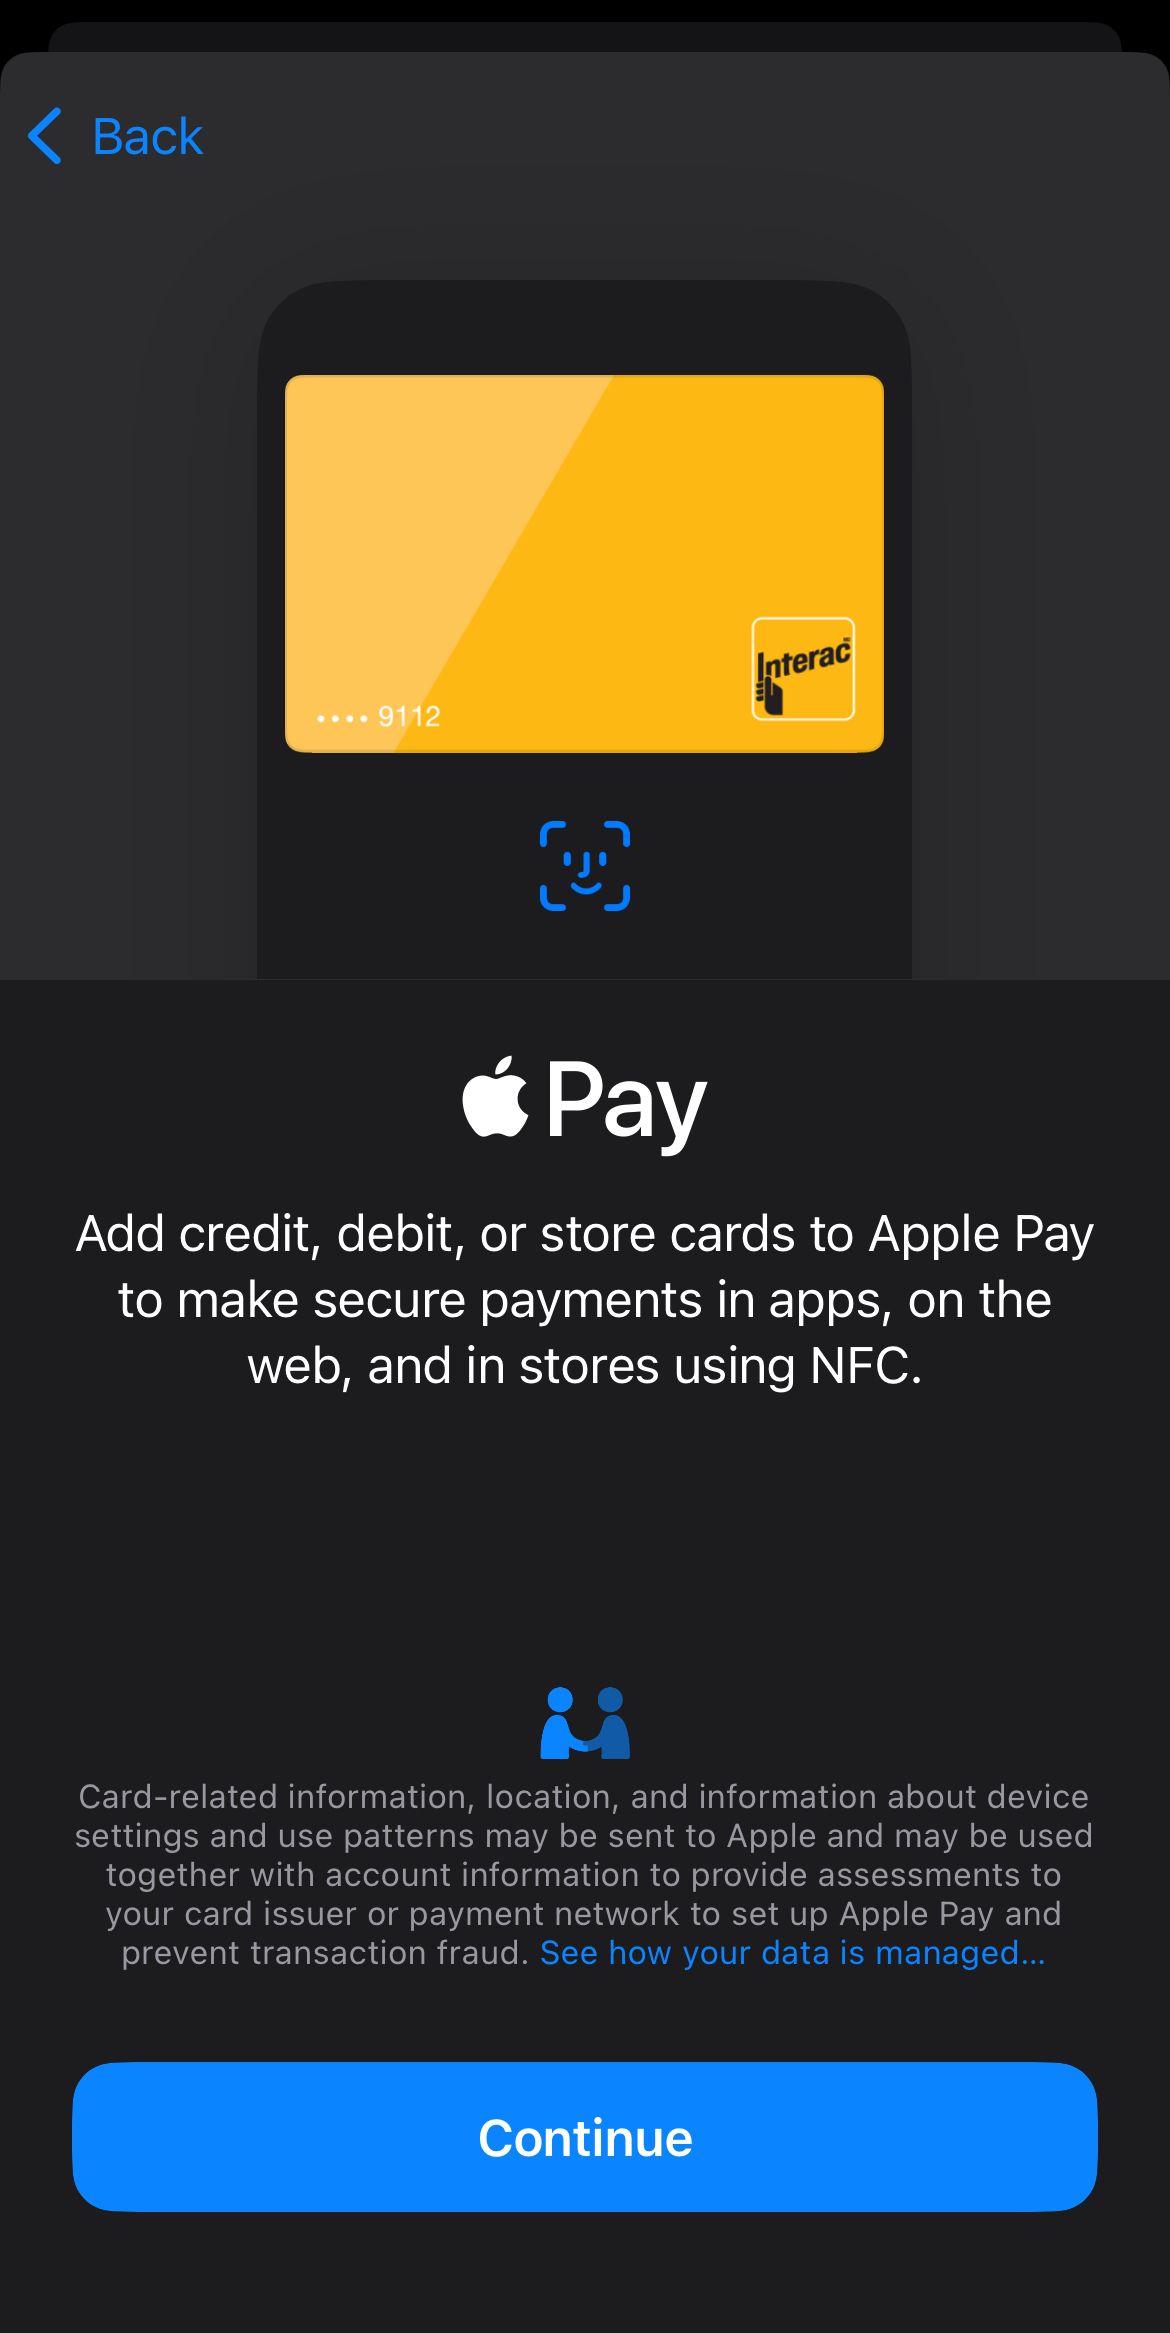
The most important card(s) that most users add to their Apple Wallet (and use Apple Pay) are their credit or debit cards. Any eligible card can be added manually to Wallet or tapped on your iPhone to be added (if the card issuer allows it). In some cases, you can scan the front and back of your card to add it to Wallet. Some card issuers may also let you view transaction details and account information by connecting your account to Apple Wallet.
Can’t add your card but are sure your provider supports it? Double-check your account preferences to allow the adding of digital cards.
2
Loyalty Cards
Want to earn rewards and loyalty points for your purchases? Apple Wallet supports loyalty cards and coupons from third-party issuers such as Walmart, CVS, Starbucks, and more, making it easy for you to use scan and pay, and track visits or other activity.
Starbucks’s app, for example, allows you to connect its reward and gift cards to your Apple Wallet for in-store payment and scanning. The app also allows you to link your Apple Wallet to your Starbucks card to reload funds quickly. Many other retailers offer similar rewards and scan features that link loyalty cards to your Apple Wallet for easy access, quick payments, and point collection.
3
Driver’s License or ID
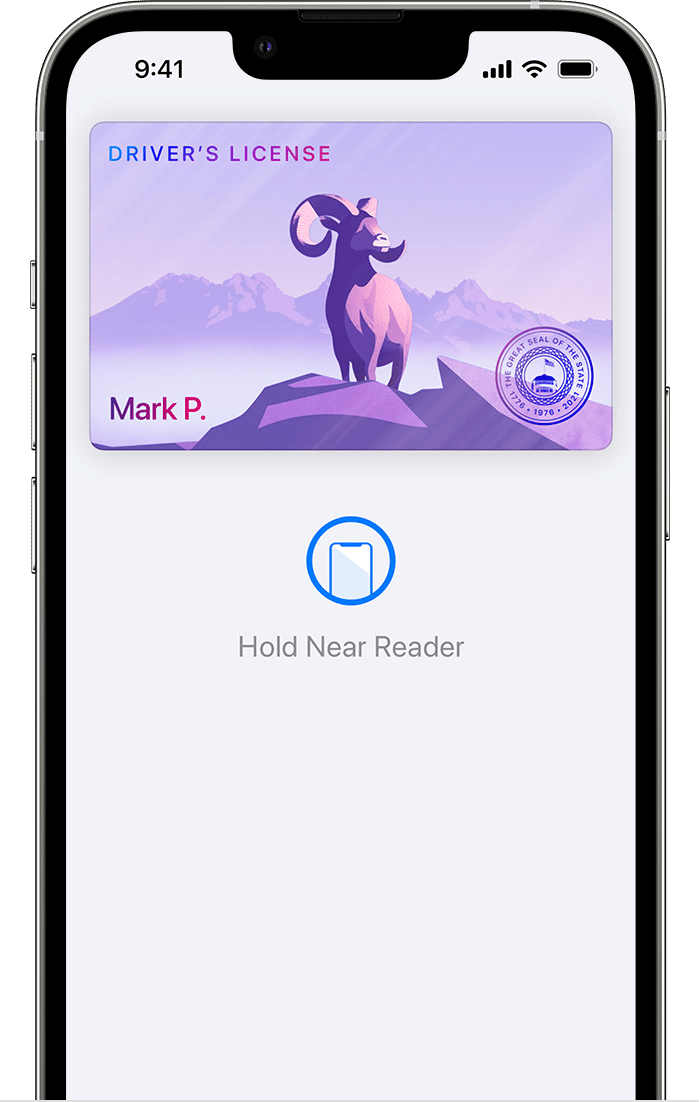
If you live in participating U.S. states and territories, Apple allows you to add your driver’s license to Wallet for quick access and authentication. This means you can skip carrying your physical ID when needed and use Wallet for purposes like showing proof of age or identity.
You can either present your ID to businesses that require proof of age or identity or at select TSA checkpoints that accept ID through Apple Wallet (using TSA readers).
You can add your license if your iPhone meets certain requirements, which are:
- An iPhone 8 or later.
- Face ID or Touch ID for authentication.
- Device region is set to the United States.
- Apple Account with two-factor authentication enabled.
When adding a driver’s license (or eligible state ID) to Wallet, scan your ID (including front, back, and photo if needed), and follow the steps in the app to send the ID to your state for approval. Once added, your driver’s license is encrypted on Apple Wallet, which means you don’t have to worry about privacy or security issues regarding your ID data.
As mentioned, you can only add your driver’s license to your Apple Wallet if you live in select U.S. regions:
- Arizona
- California
- Colorado
- Hawaii
- Iowa
- Maryland
- New Mexico
- Ohio
- Puerto Rico
4
Student IDs
Since 2018, Apple has been supporting and expanding contactless student IDs in US universities, which students have been using for entry to dorms, buying food and school supplies, and more. With more than 100,000 universities and colleges across the US, including Duke University, the University of Tennessee, Georgetown University, the University of Alabama, and many more, adopting contactless student IDs, students and staff have benefited from the convenience of accessing their IDs from their iPhones.
To add your student ID to Apple Wallet, check if your school supports Apple Wallet by signing in to your school app and checking for the “Add to Wallet” button. You can then follow onscreen instructions to access your student ID from Apple Wallet to check balances, present it for authentication, and tap it on a contactless reader for access to rooms.
5
Transit and Boarding Passes
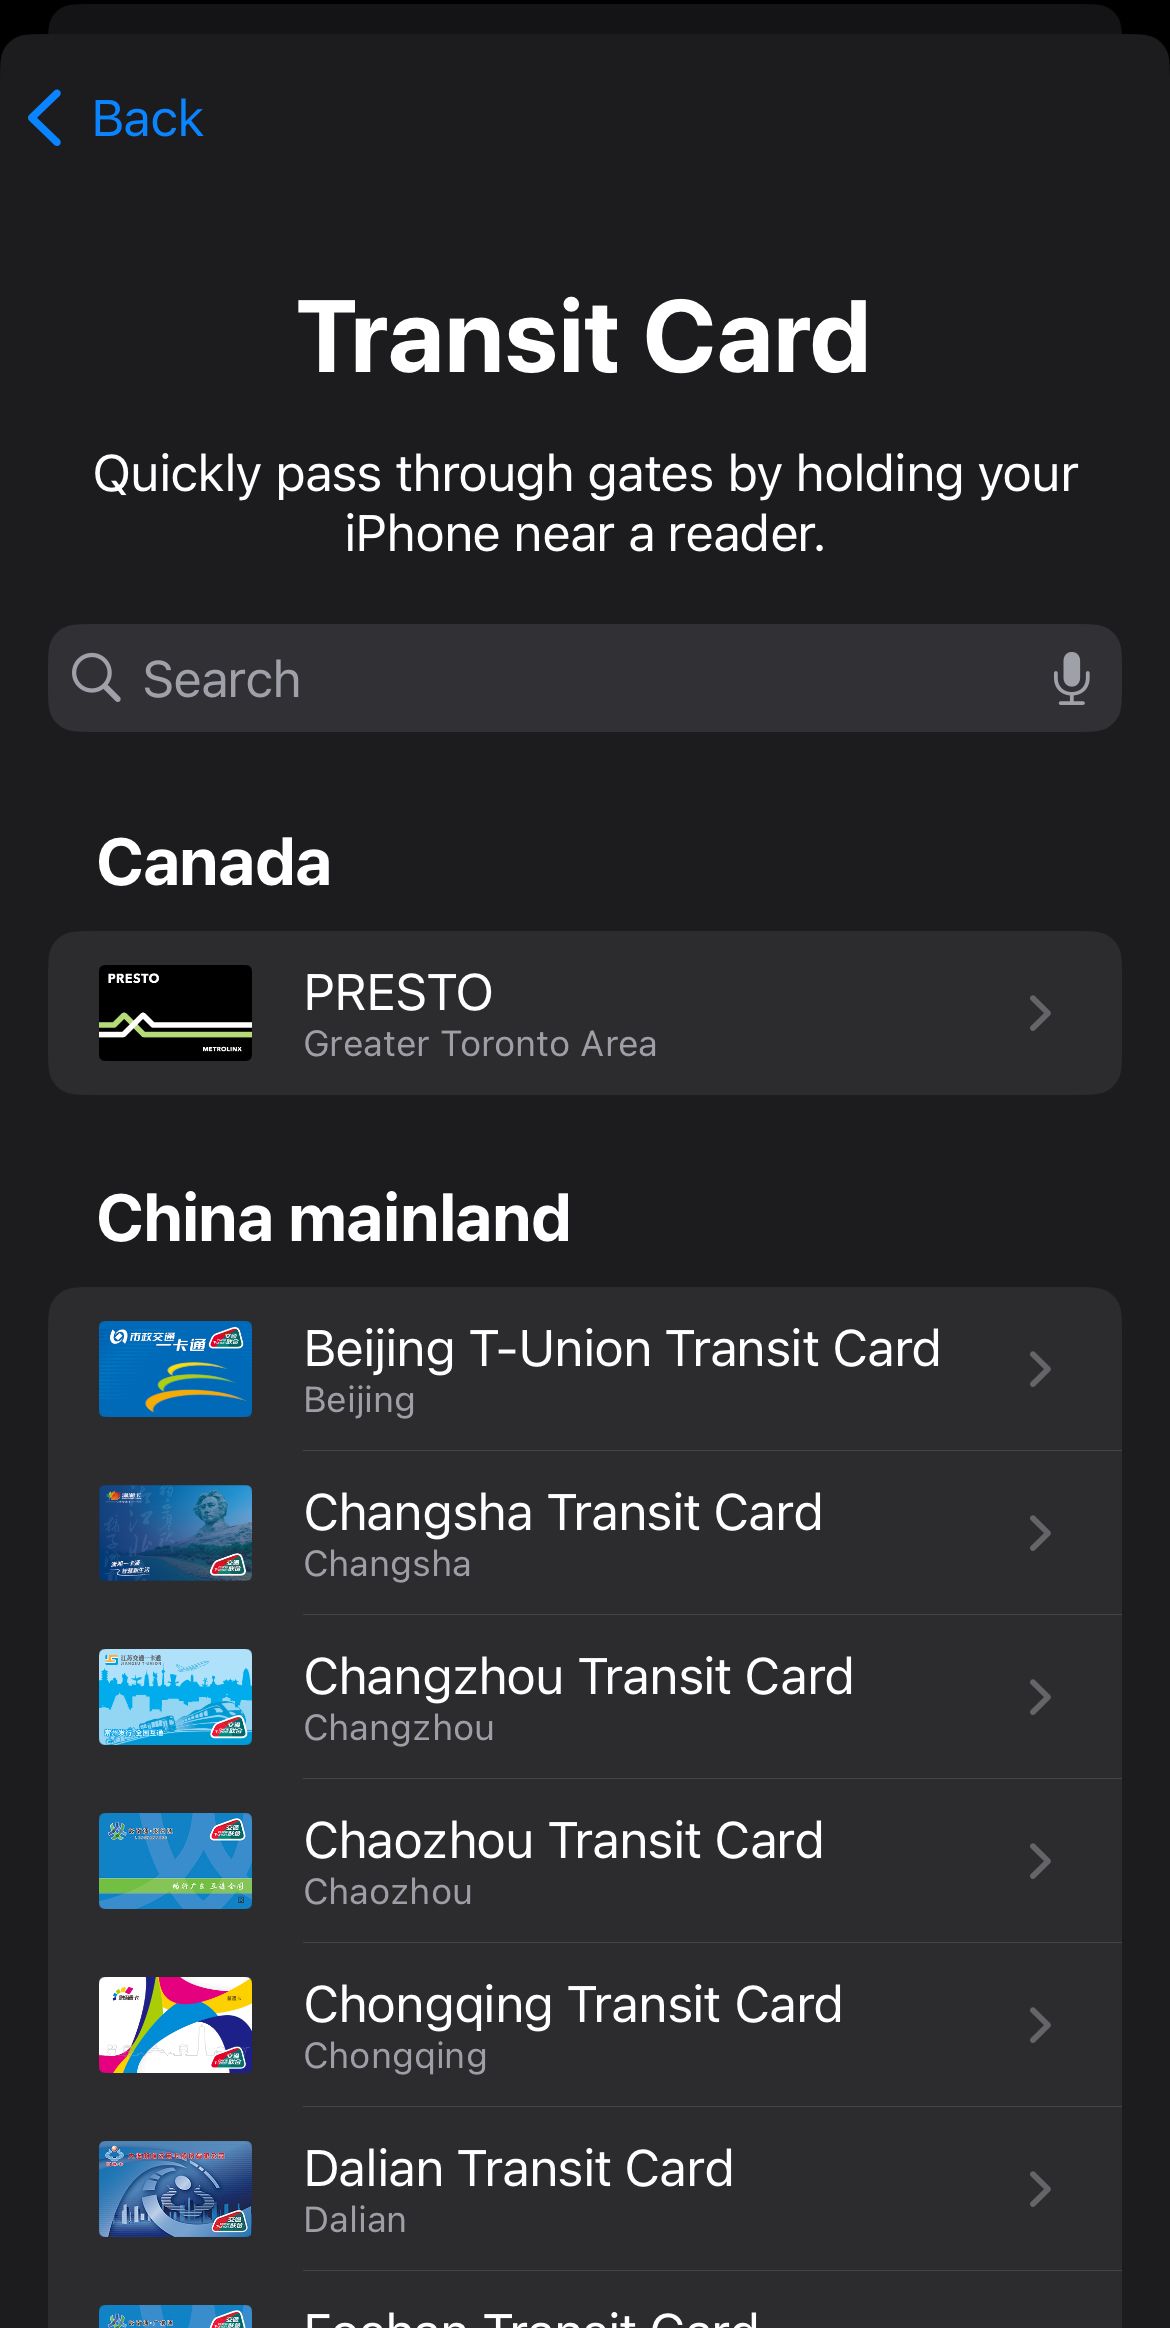
One of the most convenient cards you can add to your Apple Wallet is a transit card or boarding pass. You can add a transit pass from your Wallet app by tapping the “+” (plus) button and clicking on “Transit Card.” From the list, find your transit card or search for your location or card name to see if it’s eligible to be added. From here, save the card to Wallet and load the card with a balance to start using it to pay for your fares.
You can also transfer an existing physical transit card to Wallet by tapping the “Transfer Existing Card” option after finding your transit card from the app’s list. When you add a transit card to Wallet, it’s automatically set to Express Mode. This means that you don’t have to wake up or unlock your iPhone to pay for your fares using Apple Pay, and your transit card’s balance will automatically be used when you tap your phone to a contactless reader in buses, subways, and so on.
Besides transit cards, Apple Wallet is also a one-stop destination for another travel-related item: your boarding passes and tickets. To do this, check your pass’s notification (usually ab email or text) and check for an “Add to Apple Wallet” button. Follow the instructions on the screen, then simply access your Apple Wallet to present the pass when needed. You can even share your boarding pass by clicking the “Share” icon from the Wallet app.
6
Digital Keys
You can even skip carrying keys with Apple Wallet, if they’re eligible for it. Apple Wallet supports home, car, and hotel room keys from eligible manufacturers and suppliers.
- Home key: Eligible resident keys can be added if your property allows it. You can find this information either in any communication from your property management (app, email, or text), or by inquiry. Apple Wallet also supports home keys added using a HomeKit-compatible door lock. This can be done using the Home app after the lock has been added.
- Car key: With a compatible car (check with your manufacturer), use communication from your manufacturer or use your car’s display settings to add the key to Wallet. You might have to hold your iPhone to the key reader while your phone and car pair.
- Hotel room key: Eligible hotels will provide you with an “Add to Apple Wallet” option in their app near your reservation details. This can be used to view your reservation details, check-in, or unlock your hotel room. Once your stay is over, hotel room keys are automatically disabled, but you can also manually remove them from your Wallet app.
7
Entertainment Passes
Entertainment can be accessed from the comfort of your Wallet app: the app supports tickets to movies, live events, and concerts.
For entertainment passes and tickets, you can check communication material from the issuer (text or email) or the app/website where you booked or bought the ticket/pass to check Apple Wallet eligibility and add it to your Wallet app.
8
Apple Cash and Apple Card
Two more important items you can add to your Apple Wallet are Apple Cash and Apple Card.
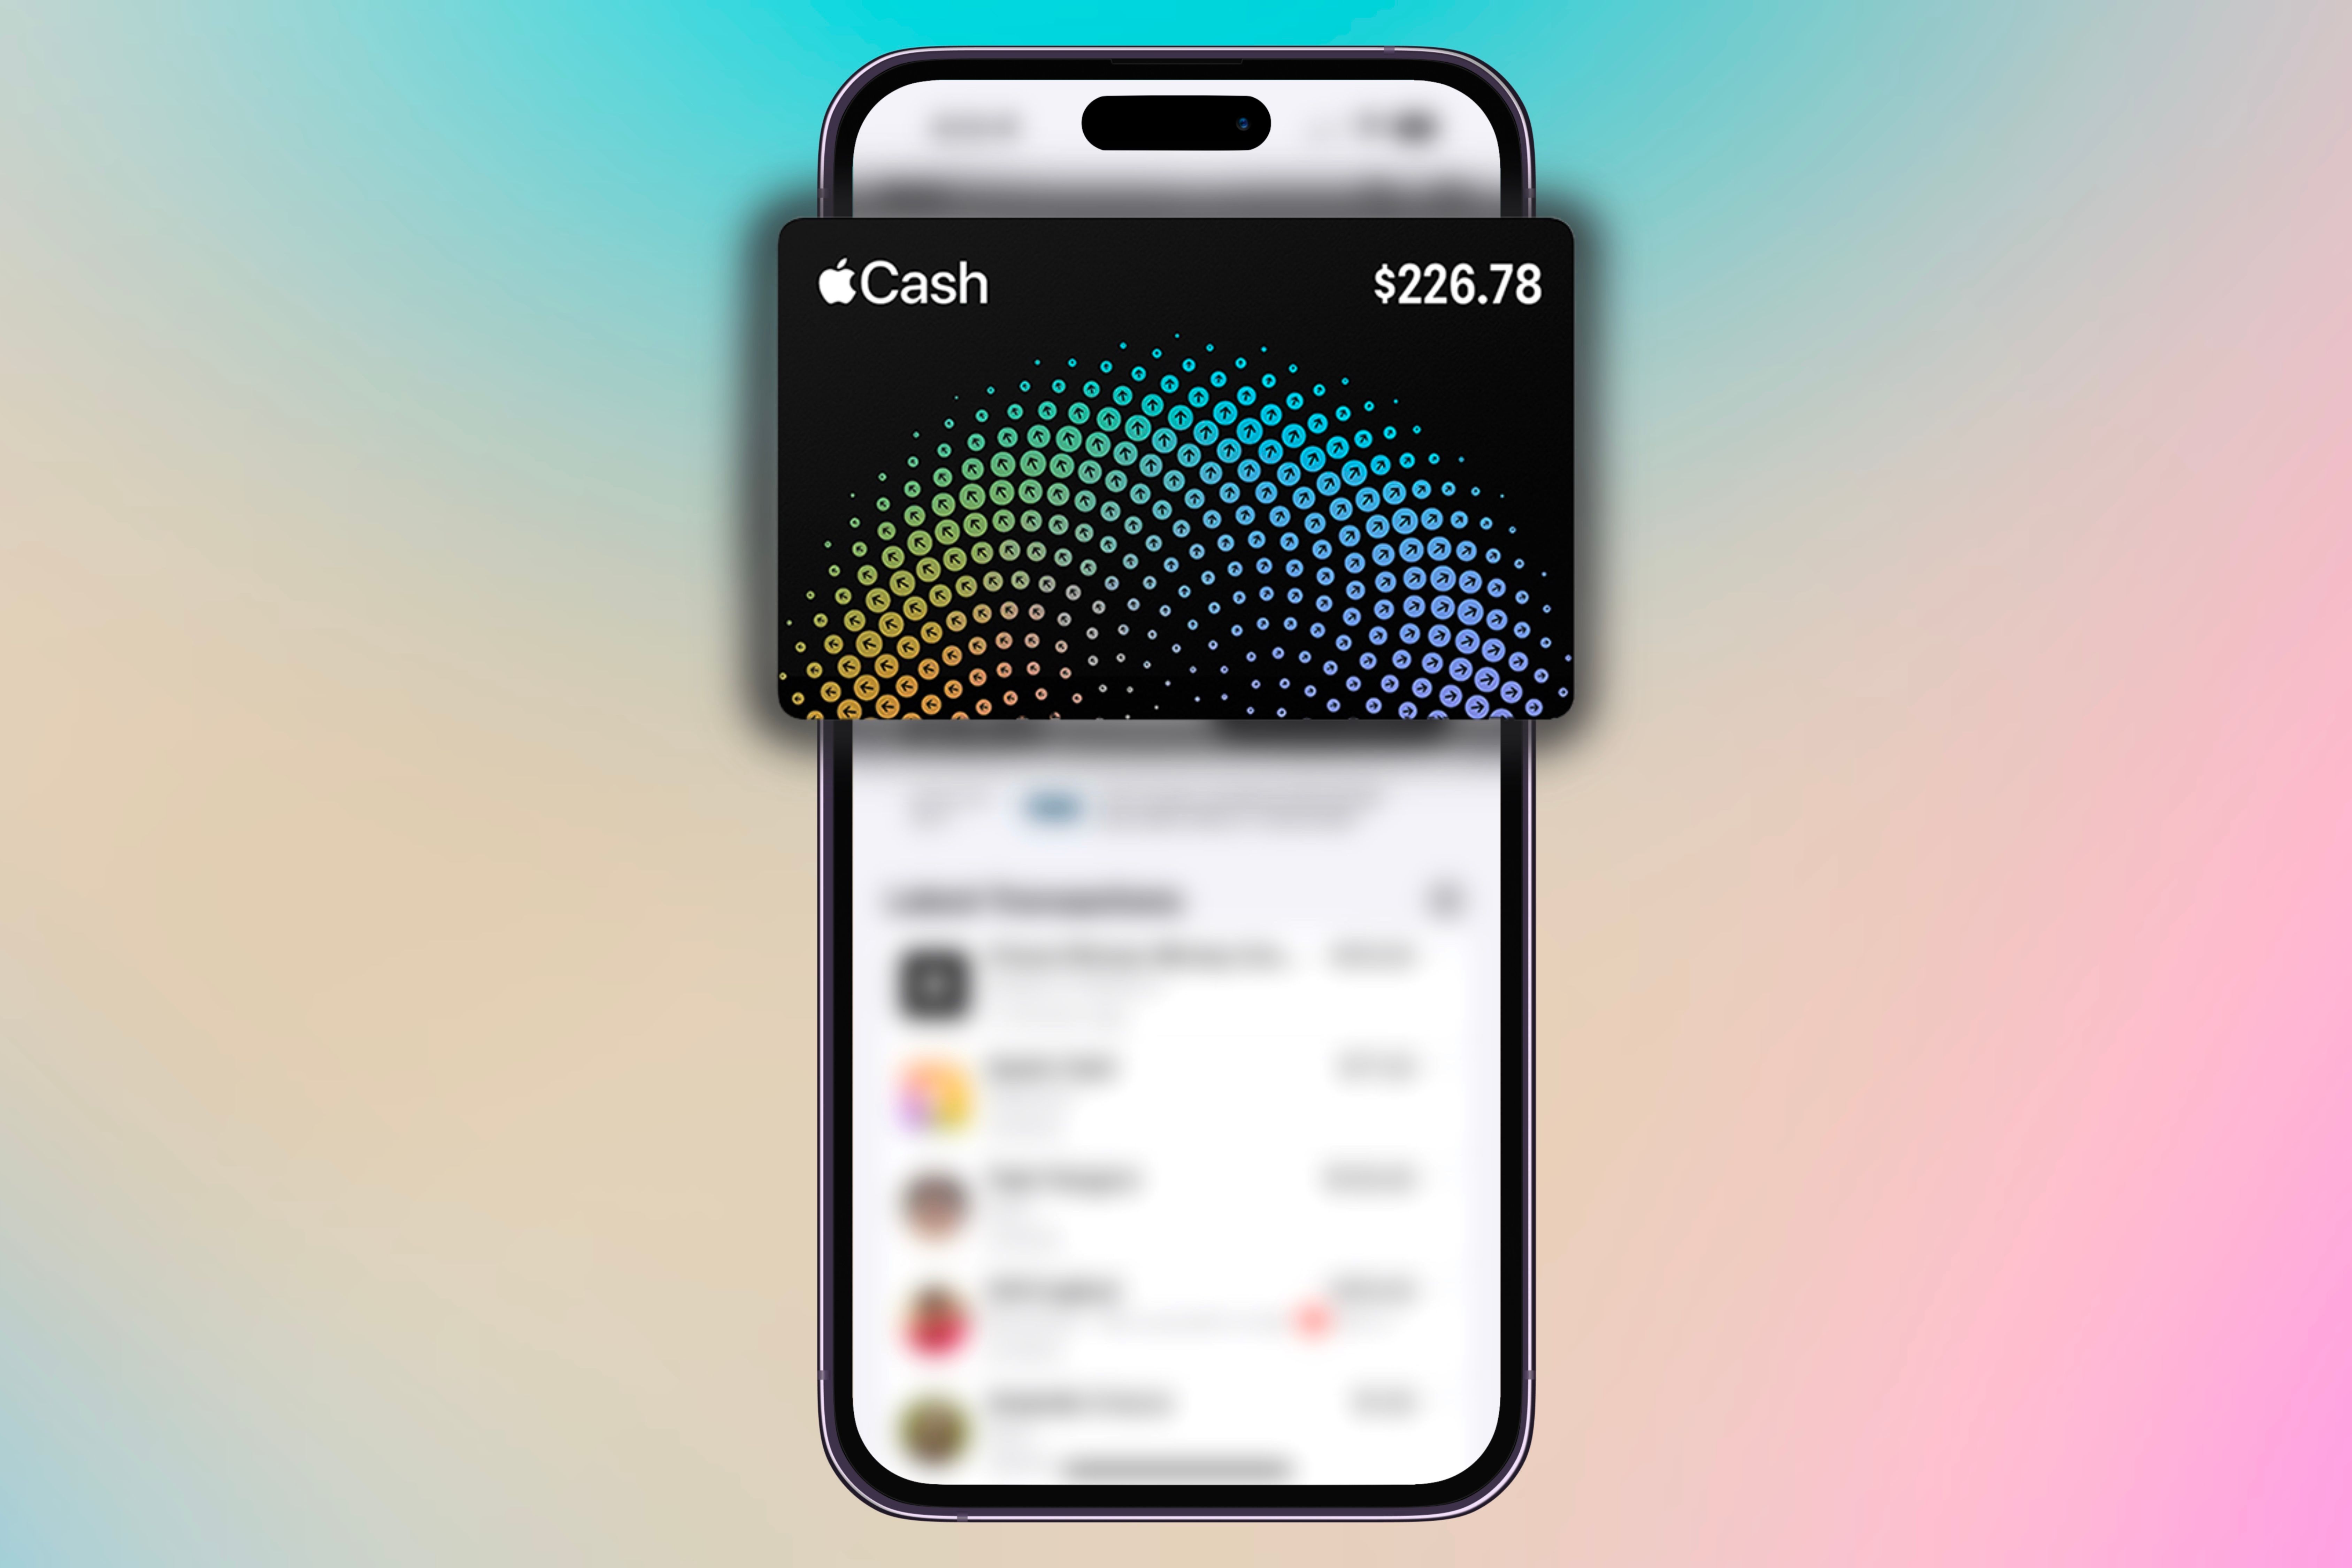
Apple Cash is a digital card that you can find in Wallet and use for purchases in-store, online, or on apps using Apple Pay. This built-in payment system can also be used through Messages or used as a tap with another iPhone user to send or receive money securely. It’s easy to use and convenient for quick payments, and can be used only in the United States.
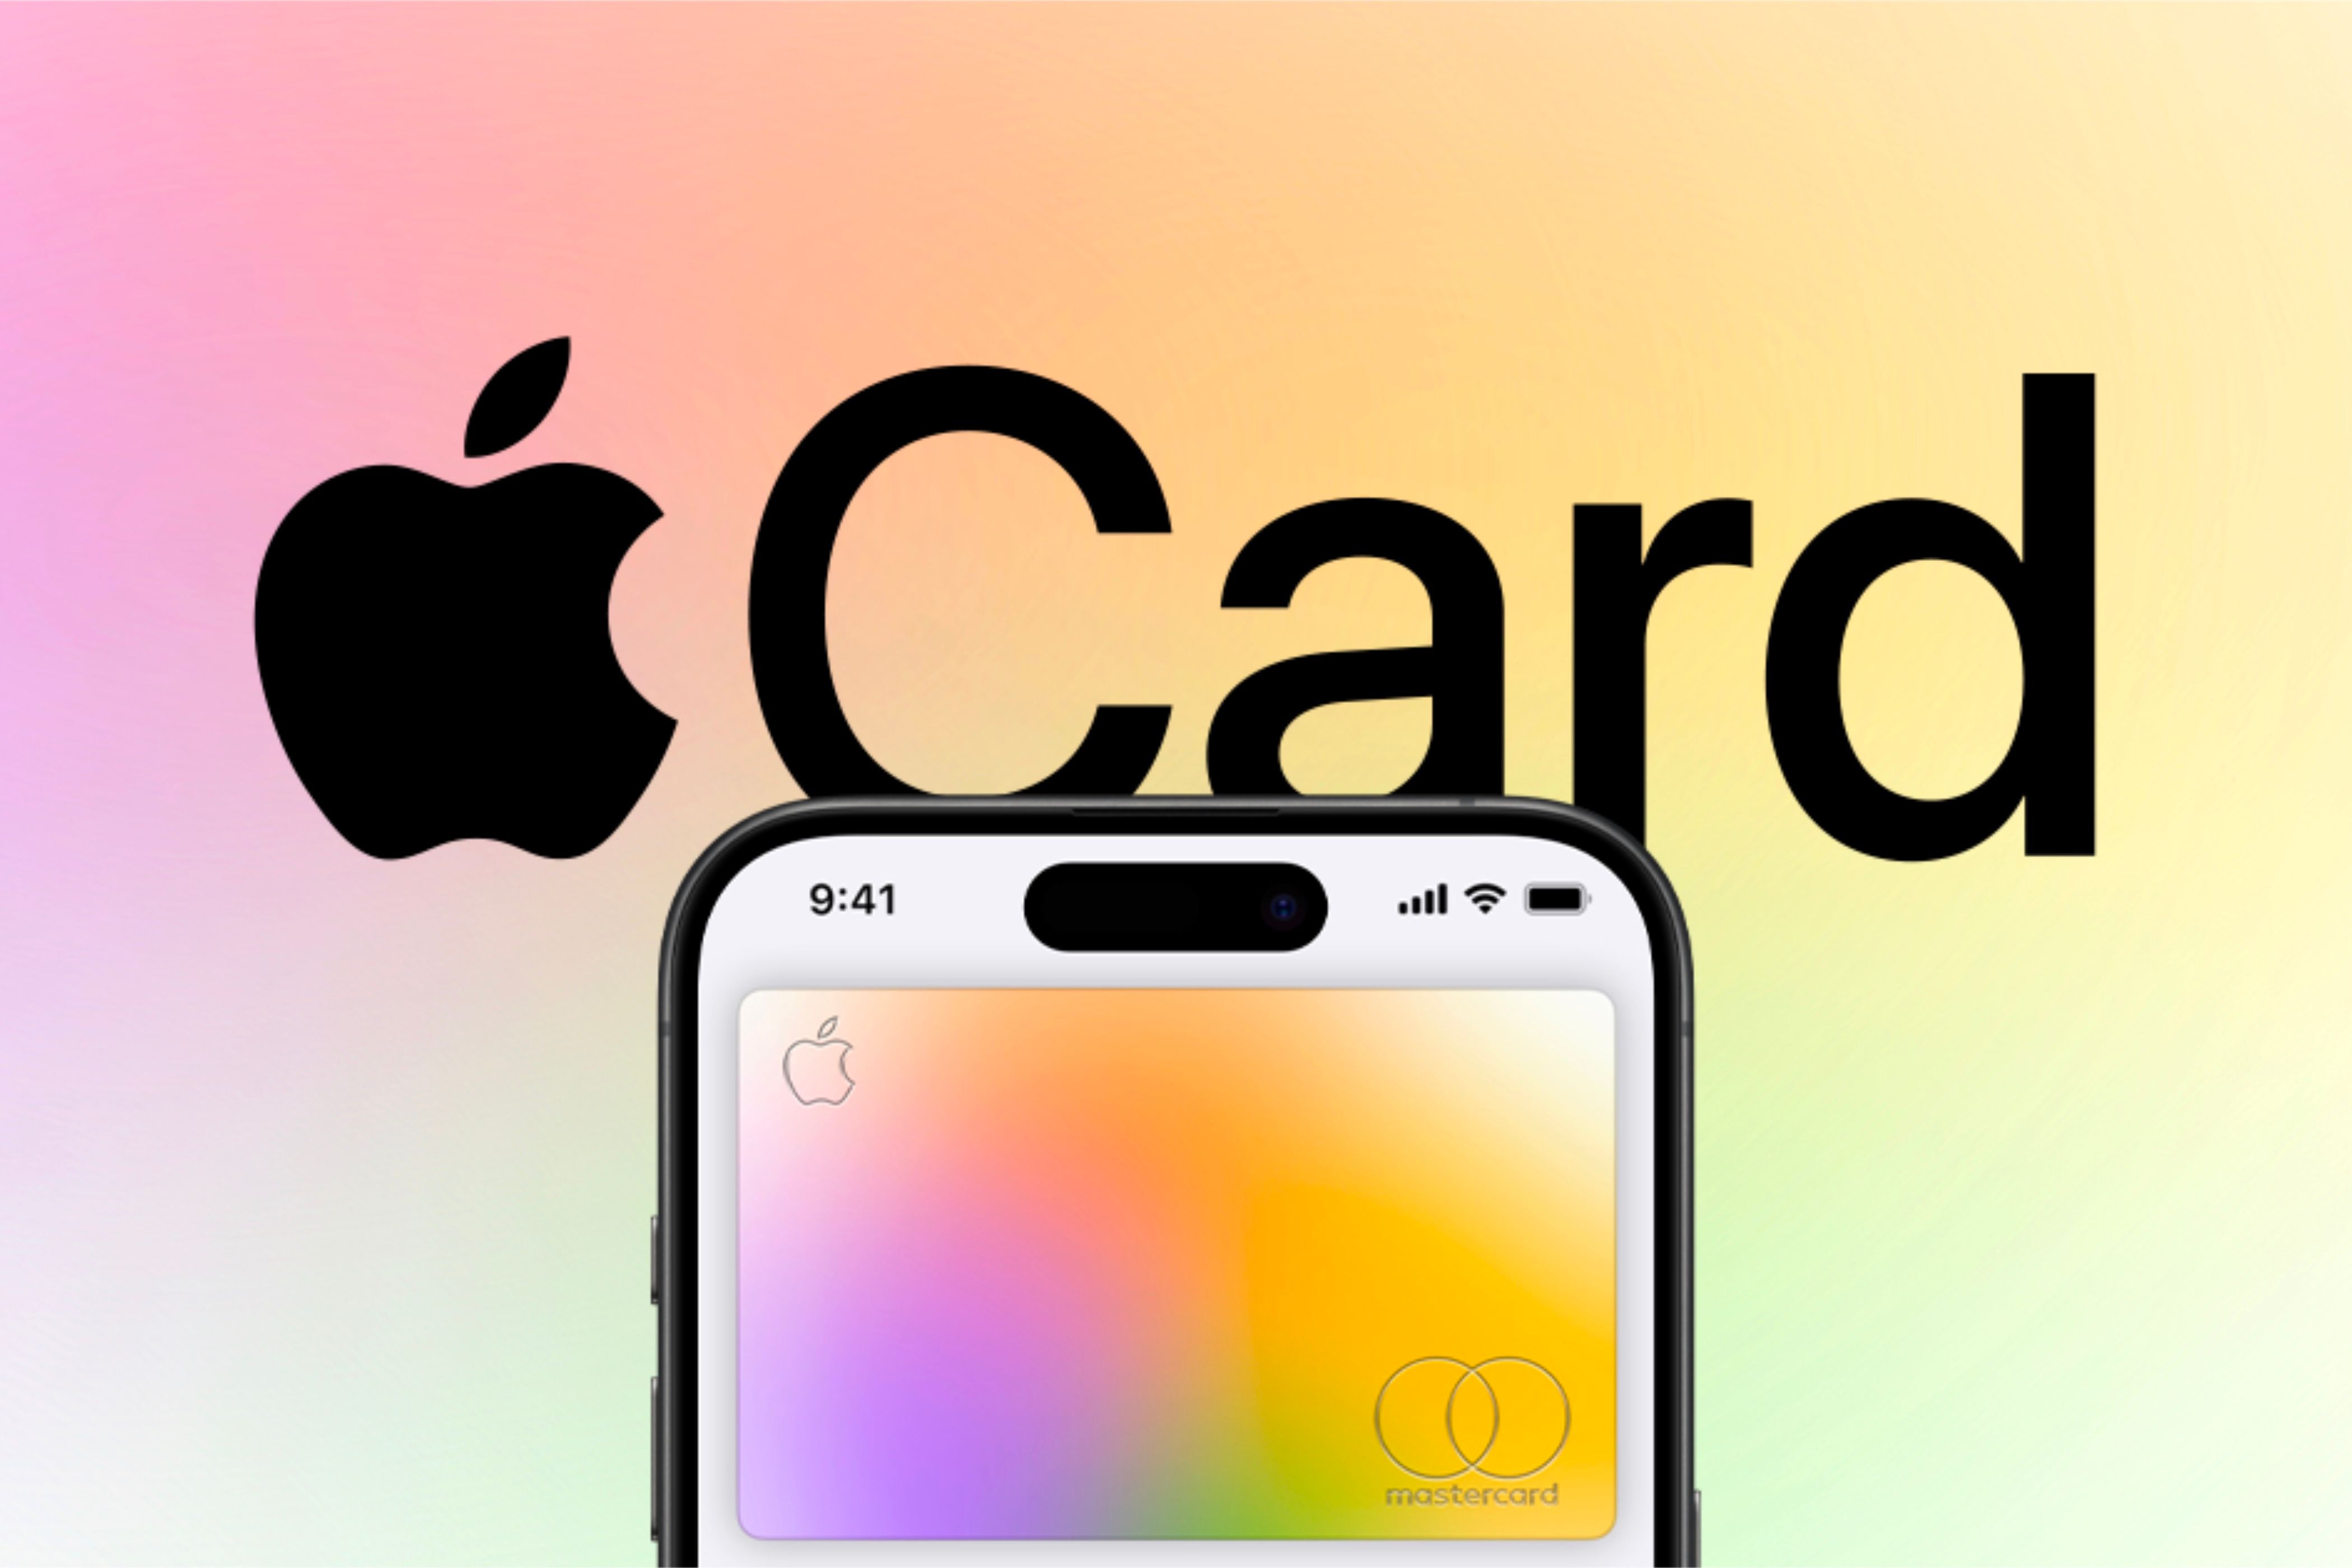
Finally, there’s Apple Card, a credit card that you need to apply for and get approval. This is another US-only feature that you can take advantage of for seamless payments by adding to your Wallet.
Besides these cards and items, you can even add unsupported cards that Apple Wallet has yet to expand to using a third-party app called Pass2U. This will allow you to customize and design how these cards look on the app, with different barcode styles as well.

