If you spend a lot of time typing on your Mac, you owe it to yourself to make life as easy as possible. There’s no better way to do this than to learn how to enter, edit, and manipulate text as efficiently as possible.
You’ll be amazed how quickly you pick up these tricks once you commit them to memory. Before long, you’ll be hitting keyboard shortcuts and making use of time-saving workflows without a second thought.
Move Around Text Quickly
Being able to efficiently move around a body of text is vital. The basis of this is to use the arrow keys to move the cursor, something you’re (hopefully) already doing.
But throw a few modifier keys in there and you can move even quicker. Using the Option key will allow you to jump whole words or paragraphs. So Option+Left Arrow will move your cursor one word to the left, while Option+Down Arrow will move your cursor to the very end of the current paragraph. Want to delete one word at a time? Use Option+Delete.
Use Command to jump even further distances. Command+Right Arrow will move your cursor right to the very end of the current line, while Command+Up Arrow will take you to the very top of the document. Want to delete everything to the left of the cursor? Try Command+Delete.
Quickly Select Text
On their own, these navigation tips are useful but not game-changing. Fortunately, you can throw the Shift key in there and use them to quickly select chunks of text to copy, format, or delete.
As an example, Option+Shift+Left Arrow will select the word to the left of the cursor, while Command+Shift+Right Arrow will select everything on the line to the right of your cursor.
Shift also works with the plain old arrow keys to select text one character at a time.
Set Up Text Replacement
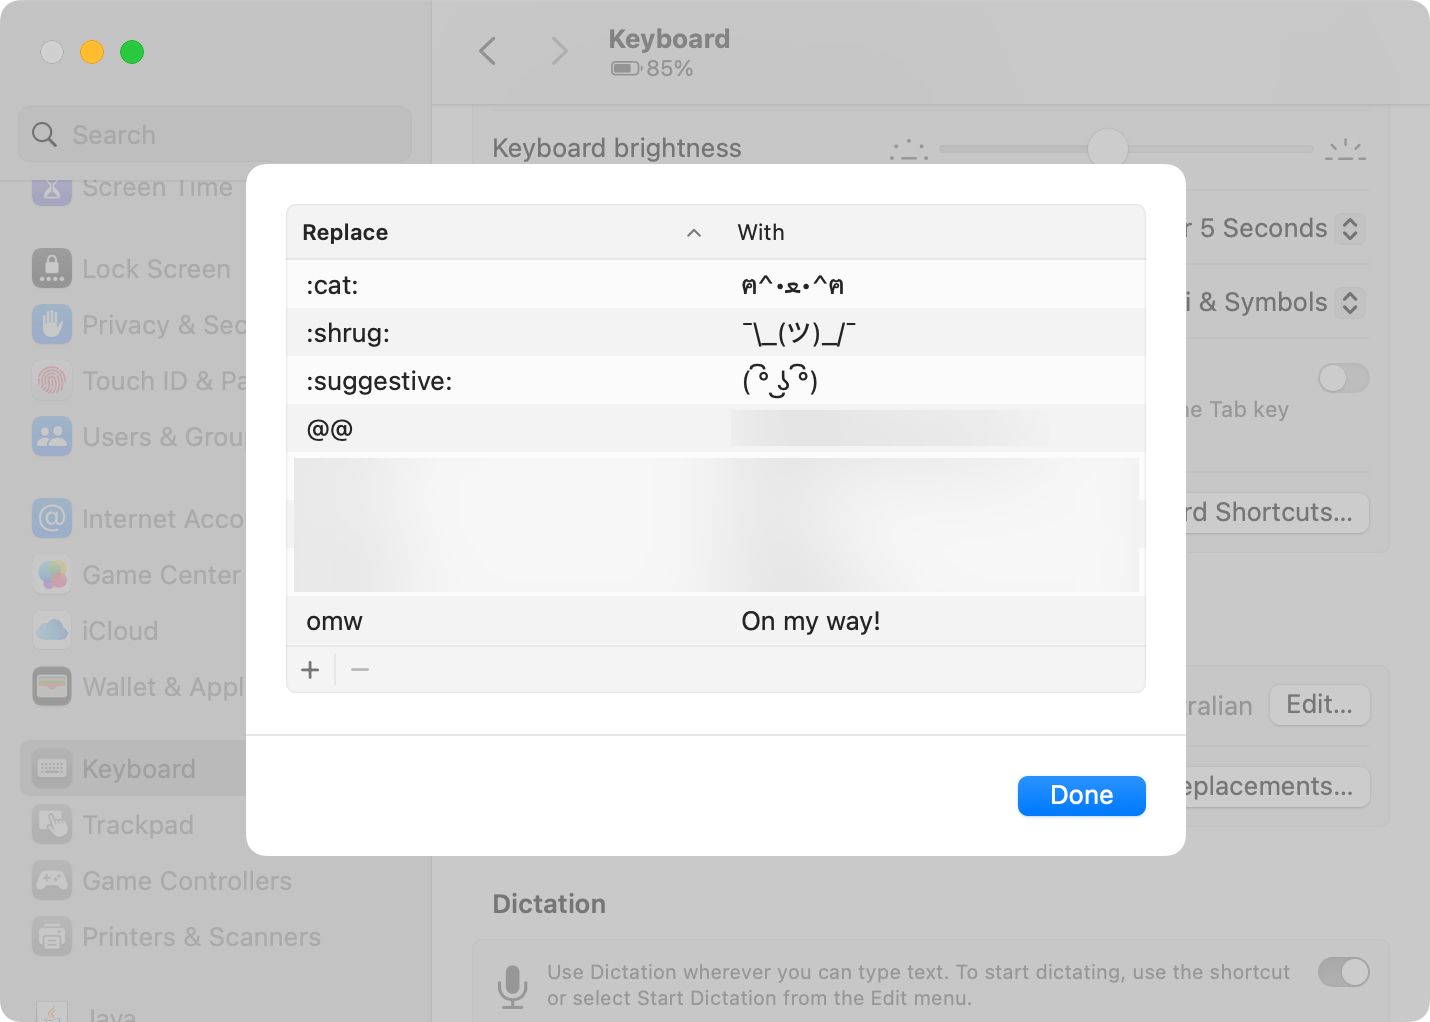
Do you often type out repetitive words or phrases that you’d like to abbreviate? Text replacement is a time-saving trick that you can use to substitute one typed word for something else. For example, when I type “@@“ on my keyboard, my Mac substitutes the text with my full email address.
I initially set this up on my iPhone to make typing longer phrases like email addresses easier, but thanks to iCloud these changes sync between devices.
To get started, head to System Settings > General > Keyboard > Text Replacements… and use the “+” plus button to add your own. In the “Replace” field type the trigger phrase, like “glhf” and under the “With” field type out replacement like “good luck have fun” then hit OK.
Paste and Match Style
By default, text will copy with its formatting attached. So if you copy text from a web page and paste it into a word processor like Pages, the text will be pasted with the font, color, and formatting attached. This is particularly annoying as you then need to clean up the text by matching the formatting.
To solve the problem, paste and match style using the Option+Command+Shift+V keyboard shortcut (also known as paste as plain text in some contexts). You can also use this in some apps to avoid turning a URL into an automatically clickable link (I do this all the time in the Ulysses markdown editor).

Related
Why You Should Be Writing Everything in Markdown
Markdown is an easy-to-learn language that’s readable, versatile, and works (almost) anywhere.
Use a Clipboard Manager
Being able to recall text and other items that you’ve previously copied to the clipboard is a superpower that prevents you from having to look up the same information twice. Apple doesn’t include this functionality in macOS, but it’s easy to add using a third-party app.
One free and open-source option is Maccy. Because the app’s source code is on GitHub for anyone to see, the developer’s transparency lends a degree of trust to the product. That way you know the app isn’t capturing the contents of your clipboard and doing something dodgy with it.
Once installed, you can use the default keyboard shortcut of Command+Shift+C to bring up a list of your last copied items. Use the arrow keys to select one, then hit Enter to commit it to your clipboard. You can now paste as normal. The app can be customized to paste automatically or strip out formatting if you’d rather.
You can even pin items, which is great if you often need to paste things like full addresses or boilerplate text.
Paste from Other Apple Devices
Something that can save you a lot of time, especially if you find yourself using another Mac or an iPhone, is the ability to paste between devices. This should “just work” as long as the devices share an Apple Account, you have Handoff enabled, and both Wi-Fi and Bluetooth are enabled on the devices.
You can check that Handoff is enabled under System Settings > General > Handoff and AirPlay on a Mac (and Settings > General > AirPlay & Continuity on an iPhone or iPad). Note that you’ll sometimes experience a slight delay when pasting.
Apple built a form of optical character recognition (OCR) into macOS and iOS, allowing you to identify and extract text from images. You can use this across the operating system in apps like Safari, Preview, and Photos. Just find an image that has text in it, hover your pointer over the text until it turns into a cursor, and click and drag to select.
With the text selected, you can copy it using the usual Command+C keyboard shortcut and then paste it wherever you want it.
Related
“Live Text” Is the Best iPhone and Mac Feature You’re Not Using
Extract from your camera or photos text that you can paste anywhere!
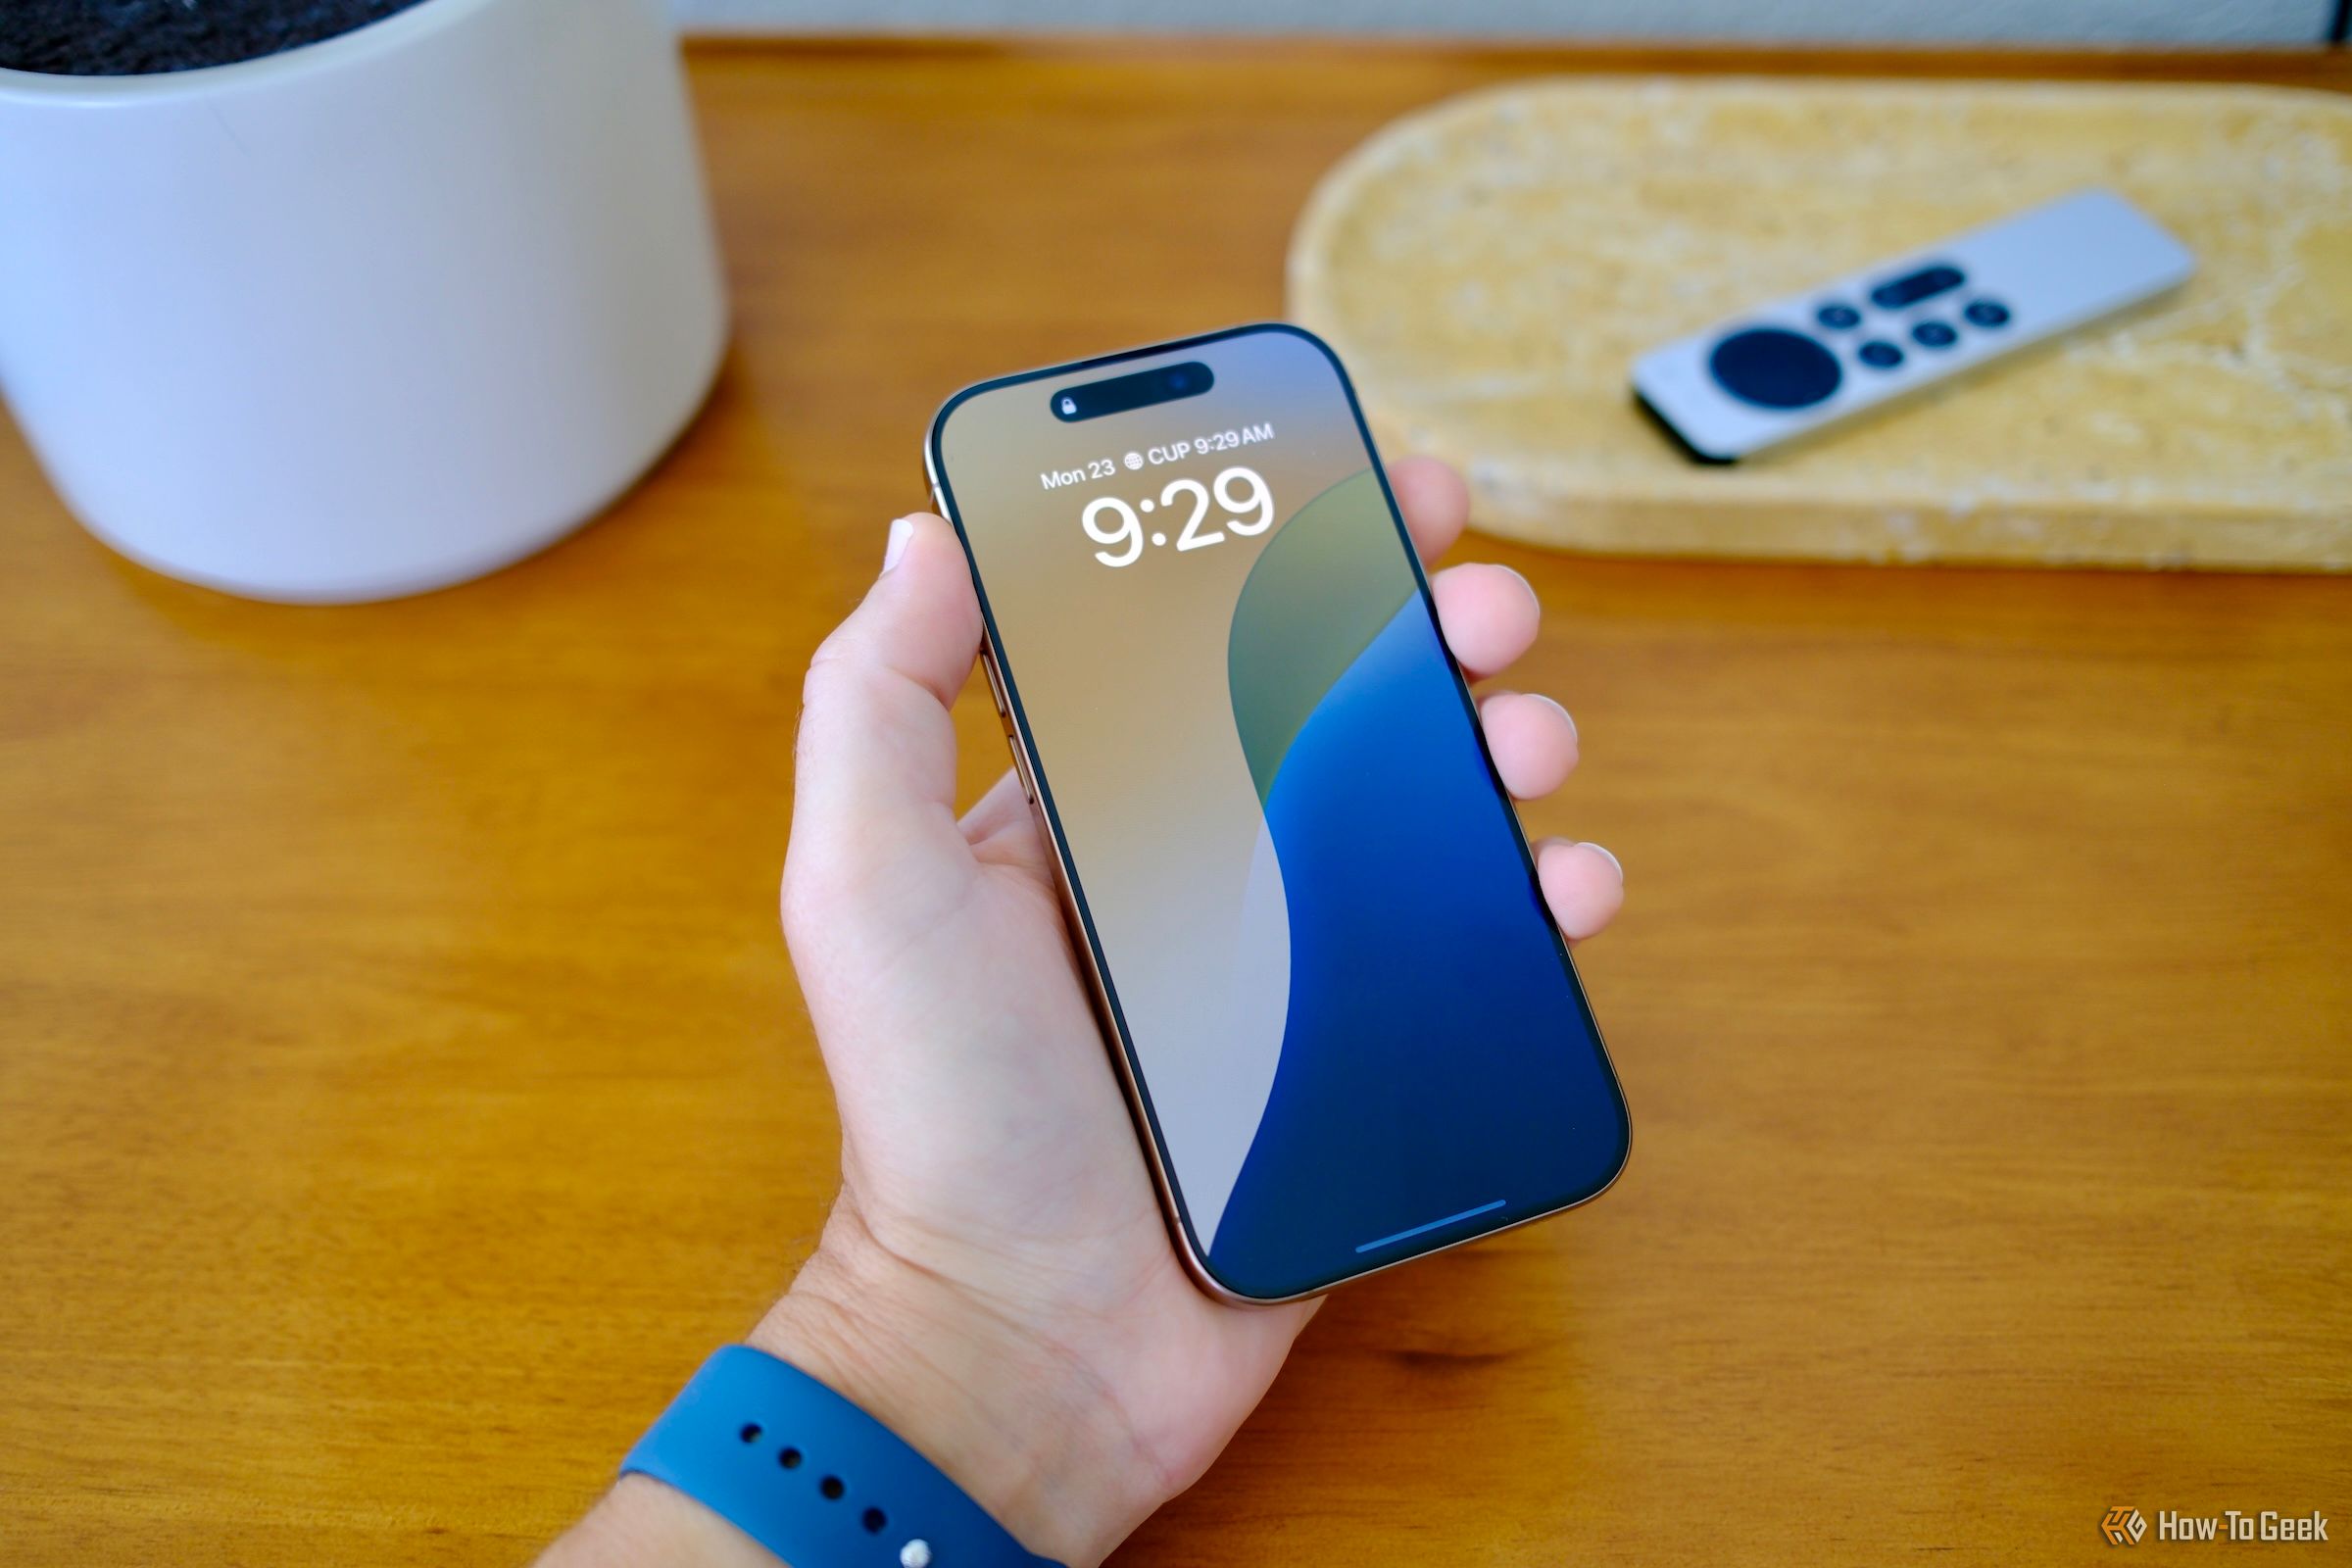
Since this also works on the iPhone and iPad, you can use your device’s camera to easily capture text for use on your Mac. To do this, open the Camera app and point your camera at whatever it is you want to copy. After a moment, your iPhone should recognize that there is text in the image and show the “Live Text” icon in the bottom-right corner of the viewfinder.
Tap on the icon and the text will be isolated. You can now tap and drag to select the text as you would a web page or other document. Use “Copy” to copy the text to your clipboard, then use the Universal Clipboard feature to paste the text on your Mac.
You can of course just snap some images with your iPhone and do it that way, just remember to delete the photos when you no longer need them.
This feature is perfect for quoting or referencing books and other printed materials without having to find a digital copy. Just make sure that you double-check for any errors, especially if there’s glare or folds in the page.
Quickly Find and Insert Emoji
Apple’s emoji picker is useful, but there’s an efficient way of using it that doesn’t involve a mouse cursor or scrolling through an endless list. First, make sure you hit the Fn+E keyboard shortcut to quickly bring it up (sometimes, just hitting the Fn key isn’t enough).
With the picker open, immediately type whatever it is you’re looking for. Be specific, and the picker will narrow down the choice (and even fetch custom Genmoji that you happen to have created). Hit the down arrow and then use the arrow keys to pick the emoji you want to see, followed by the Return key to insert it.
Learn Useful Shortcuts
There are a surprising number of text editing shortcuts you can use on your Mac, though not all of them will be useful for everyone. For example, you can use Fn+Delete to add a Windows-style “Forward Delete” feature to your Mac, or use Control+O to insert a new line directly below the cursor.
Check out our full list of Mac text-editing keyboard shortcuts and take note of the ones that are most useful to you. It’ll take some effort to learn them and put them into action, but they become second nature eventually.

Related
35+ Mac Text-Editing Keyboard Shortcuts to Speed Up Typing
Using keyboard shortcuts can speed up any writing or editing tasks you do on your Mac. We’ve listed the handiest of them here, and we’ll also show you how to create your own!
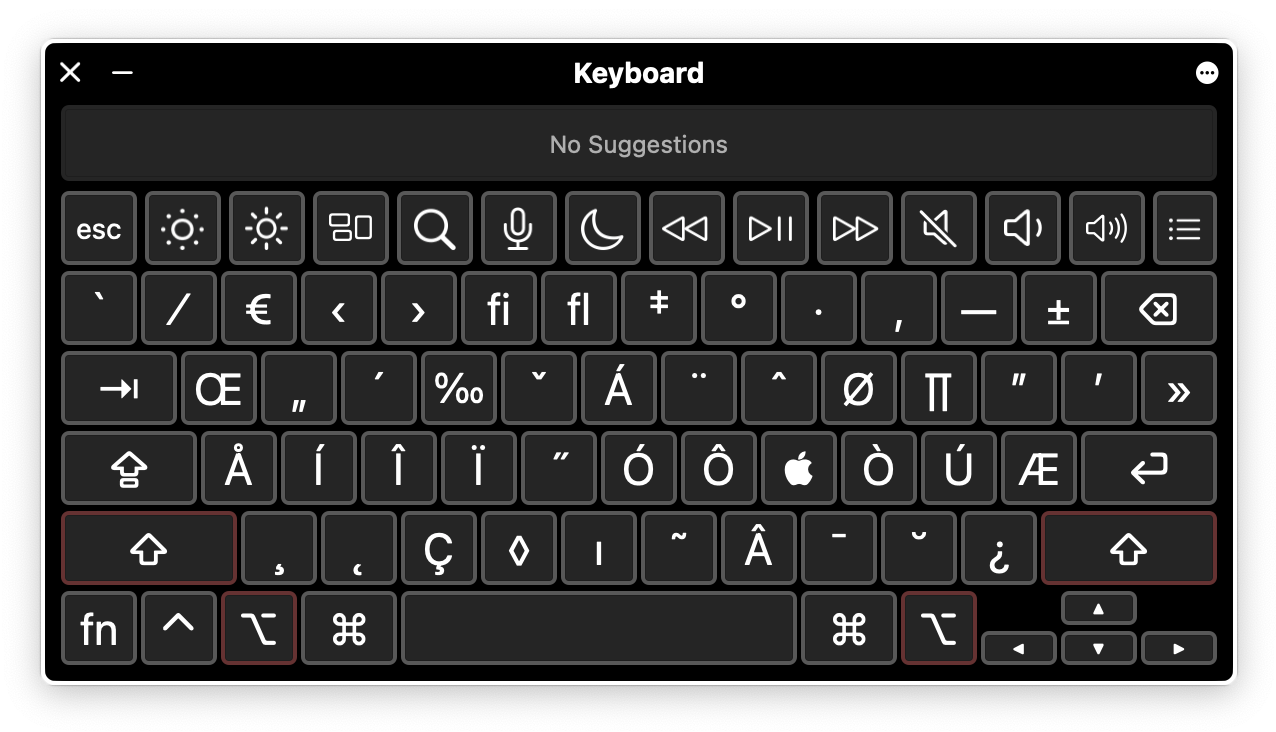
Typing special characters is surprisingly easy on a Mac keyboard as long as you know where they are. For example, you can type the degree symbol (º) using Option+0, the € symbol using Option+Shift+2, and the £ symbol using Option+3 (depending on your keyboard layout). I know these because I use them all the time, so I put a little effort into learning them.
To see what’s hiding under which combination of modifier keys, head to System Settings > Accessibility > Keyboard and enable “Accessibility Keyboard” to display a keyboard overlay. You can now hold down modifiers like Shift, Option, and Fn (and combinations thereof) for future use.
Use Apple’s Best-in-Class Dictation Feature
The best way to speed up your typing is not to type at all. Hit F5 on your keyboard to enter dictation mode, during which you can speak aloud and your Mac will translate your words into typed text. Since most of us can speak faster than we can type, dictating text is a much faster way of working (as long as your brain can keep up).
Dictation not working? Head to System Settings > Keyboard and toggle “Dictation” on.
It’s best suited to casual use, like when composing an email to a friend or when responding to an instant message. The good news is that you can type and dictate at the same time. Using your keyboard while dictation mode is active won’t disable it, so you’re free to make tweaks and corrections and then start speaking again.
You can also use the same dictation feature on iPhone and iPad too.
I’ll conclude with one more small tip: disable autocorrect on your Mac. For some reason, Apple enables this by default and while it’s a useful feature on touchscreen devices, it’s something that will quickly frustrate you on a Mac. Get rid of it under System Settings > Keyboard using the “Edit” button next to “Input Sources” and disabling the spelling and punctuation correction options.

